Espresso Brew Time Explained: The 25-30 Second Rule, When to Follow It and When to Break It
"Pull your shot in 25 to 30 seconds" is the first espresso rule most of us learn. It's useful, but it's also widely misunderstood. Brew time isn't a recipe ingredient you choose; it's a result of dose, grind and pressure. I've pulled thousands of shots on standard pump machines and levers. Here's what shot time really tells you, how to use it, and when you should ignore it.
We choose products independently. We may earn a commission through links on this page; your price stays the same. Affiliate policy
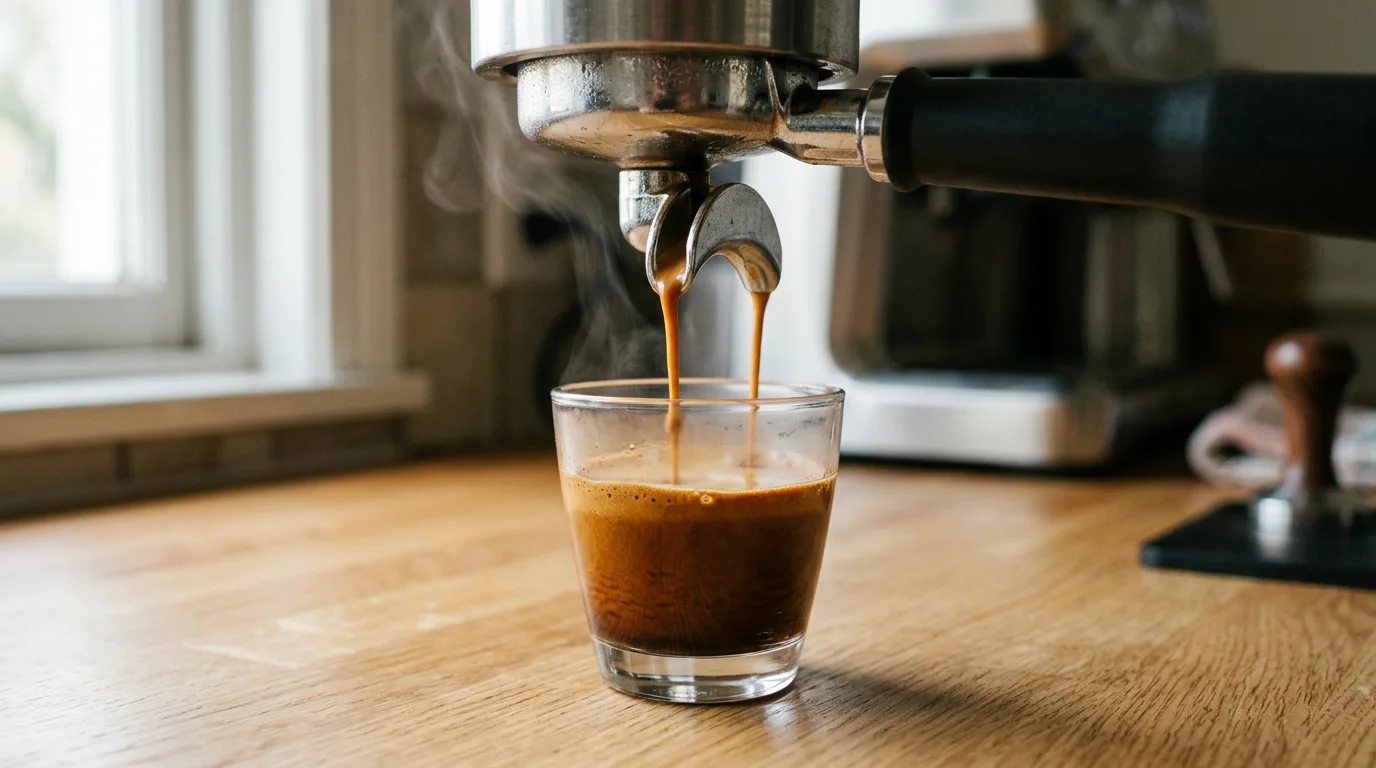
On a standard pump machine, aim for a 1:2 double shot (for example 18 g in, 36 g out) in about 25 to 30 seconds, then let taste make the final call. Brew time isn't something you set directly; it results from dose, grind and pressure. That makes it a great diagnostic: if time suddenly jumps or drops, something changed. But a shot can hit 28 seconds and still taste bad, and on lever machines, pre-infusion profiles and modern recipes, great shots often run much longer. Use the rule as guardrails while you learn, then break it on purpose.
Brew time is an output, not an input
Most espresso variables are things you choose: how much coffee you use, how fine you grind it, how much liquid you want in the cup, how hot the water is.
Brew time is different. You can't simply decide that a shot will take 28 seconds. The time is the result of how much resistance the coffee puck puts up against the water the machine pushes through it.
That's the key to using shot time well. It's a measurement, like a thermometer reading, that tells you something about the puck. It isn't a dial you turn.
Think of it like the time it takes water to drain from a sink. You cannot choose that time directly. You change it by opening or closing the plug, or by pouring in more or less water. In espresso, the grind and dose are the plug, and the yield is how much water you pour.
Seen that way, the 25 to 30 second rule is really a rule about resistance: it says that a puck which slows water down by about this much usually produces a balanced shot with a typical recipe. Useful, but only one piece of the puzzle.
When I understood that, two things changed for me. I stopped panicking when a shot came in at 32 seconds, and I started using sudden changes in time as an early warning that something had shifted.
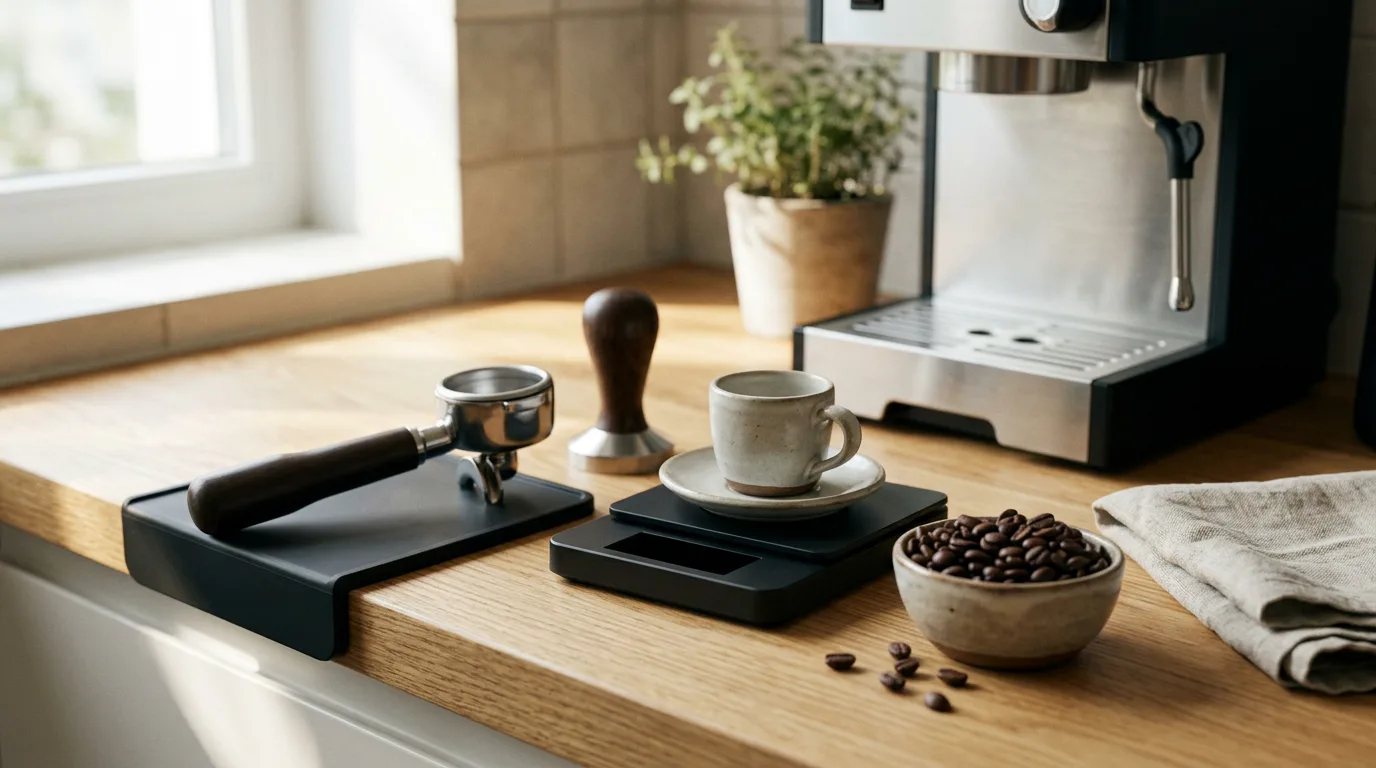
Espresso brew time at a glance
| Shot time (1:2 double) | What it usually means | Typical taste |
|---|---|---|
| Under 20 sec | Too little resistance | Sour, thin, salty |
| 20-25 sec | A little fast | Bright, possibly sharp |
| 25-30 sec | Classic sweet spot | Balanced, if prep is good |
| 30-35 sec | A little slow | Heavier, possibly bitter |
| Over 40 sec (steady pump) | Too much resistance or choking | Bitter, harsh, drying |
| 40-50 sec (lever, profiled) | Often intended | Can be excellent |
Treat these as rough guides for a standard machine. Roast level, basket and machine all shift the ideal window.
Where the 25-30 second rule comes from
Across the specialty coffee world, the 25 to 30 second rule is the most common guideline given to beginners. Cafés, machine manuals and barista courses all repeat it.
It became popular because, on traditional pump machines with steady pressure, shots in that window with a normal dose and ratio very often taste balanced. It's an observation from decades of practice, not a law of chemistry.
The rule also does an important job: it gives newcomers a starting target. Without some reference, a beginner has no idea whether 12 seconds or 60 seconds is normal.
The trouble starts when the rule is treated as the goal itself. A shot isn't good because it took 28 seconds. It's good because it tastes good.
A short history of shot timing
Early espresso machines in Italy were steam-driven and produced coffee that was quick but often harsh. Nobody timed shots in seconds; the goal was simply speed.
Spring-lever machines in the mid-twentieth century changed that. Baristas pulled a lever, the spring pushed water through at high pressure, and the shot lasted as long as the spring took to extend. The machine itself set the rhythm.
Electric pump machines made it possible to run water at a steady pressure for as long as the barista wanted. That's when timing became a real tool. Baristas noticed that shots finishing in a certain window tasted better, and over the decades that observation hardened into the 25 to 30 second guideline.
Specialty coffee then added scales, ratios and refractometers. Today, time sits alongside dose and yield as one of the three numbers almost every recipe includes.
What happens during an espresso shot
During a standard shot, the machine's pump pushes hot water, usually around 195 to 200°F (90 to 93°C), toward the portafilter at about 9 bar of pressure.
The water meets a compressed bed of finely ground coffee, the puck. The puck resists the water. The tighter and deeper it is, the more it resists, and the slower water flows through.
As water passes through, it dissolves acids, sugars, oils and bitter compounds. Gradually the puck loses mass and structure, resistance falls, and flow often speeds up toward the end of the shot.
You stop the shot when you reach your target liquid weight, the yield. The time it took to get there is your brew time.
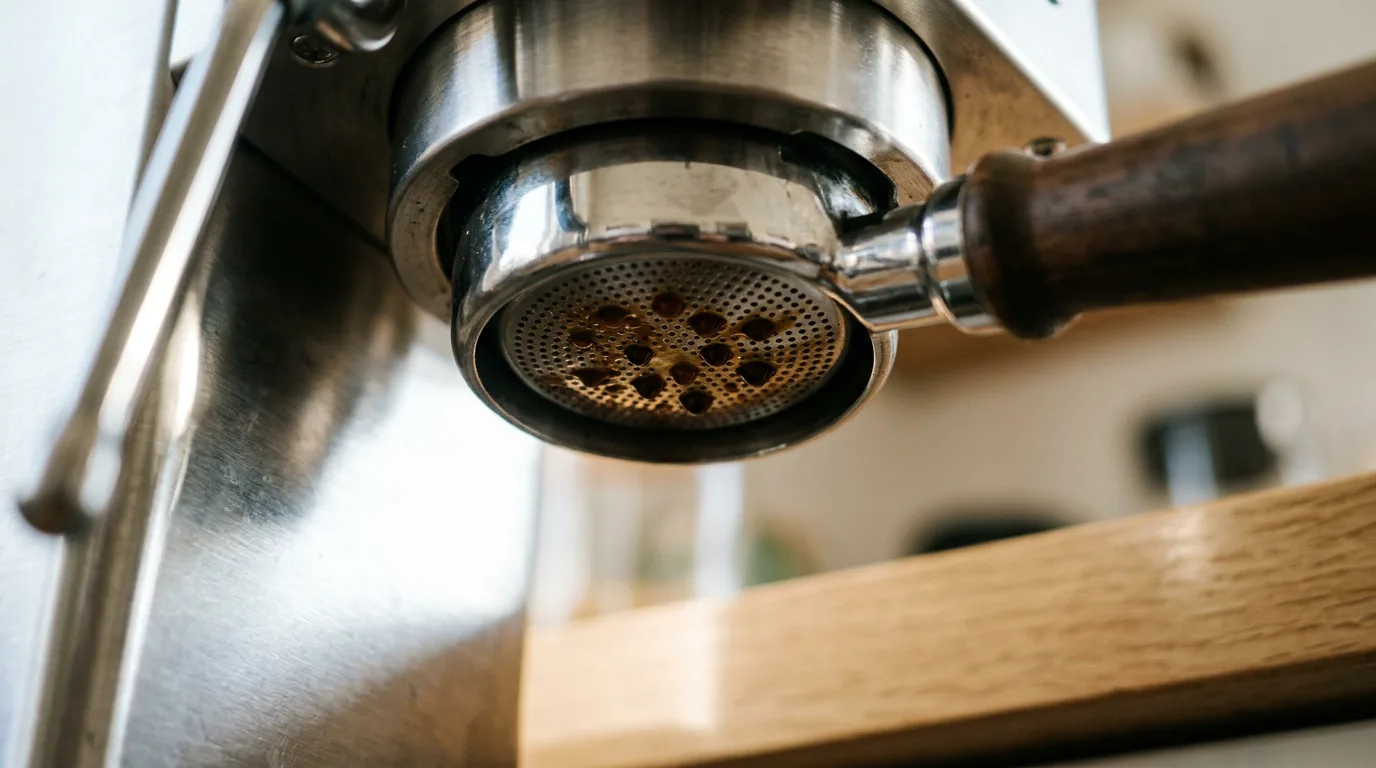
What sets puck resistance
If brew time is the result of resistance, the question becomes: what controls resistance? Three main things, plus a few supporting players.
- Dose: how much coffee is in the basket.
- Grind size: how fine the particles are and how they pack.
- Pressure and flow: how hard and how fast the machine pushes water.
Puck preparation, basket design, bean freshness and roast level also play a part. A well-distributed, evenly tamped puck resists water evenly. A clumpy or uneven one lets water rush through weak spots, which shortens the shot and spoils the taste.
Dose: more coffee, more resistance
Using a larger dose, for example going from 17 to 20 grams (about 0.6 to 0.7 ounces), creates a thicker, deeper puck. Water has more coffee to get through, so the shot slows down.
A smaller dose does the opposite: a thinner bed, less resistance and a faster shot.
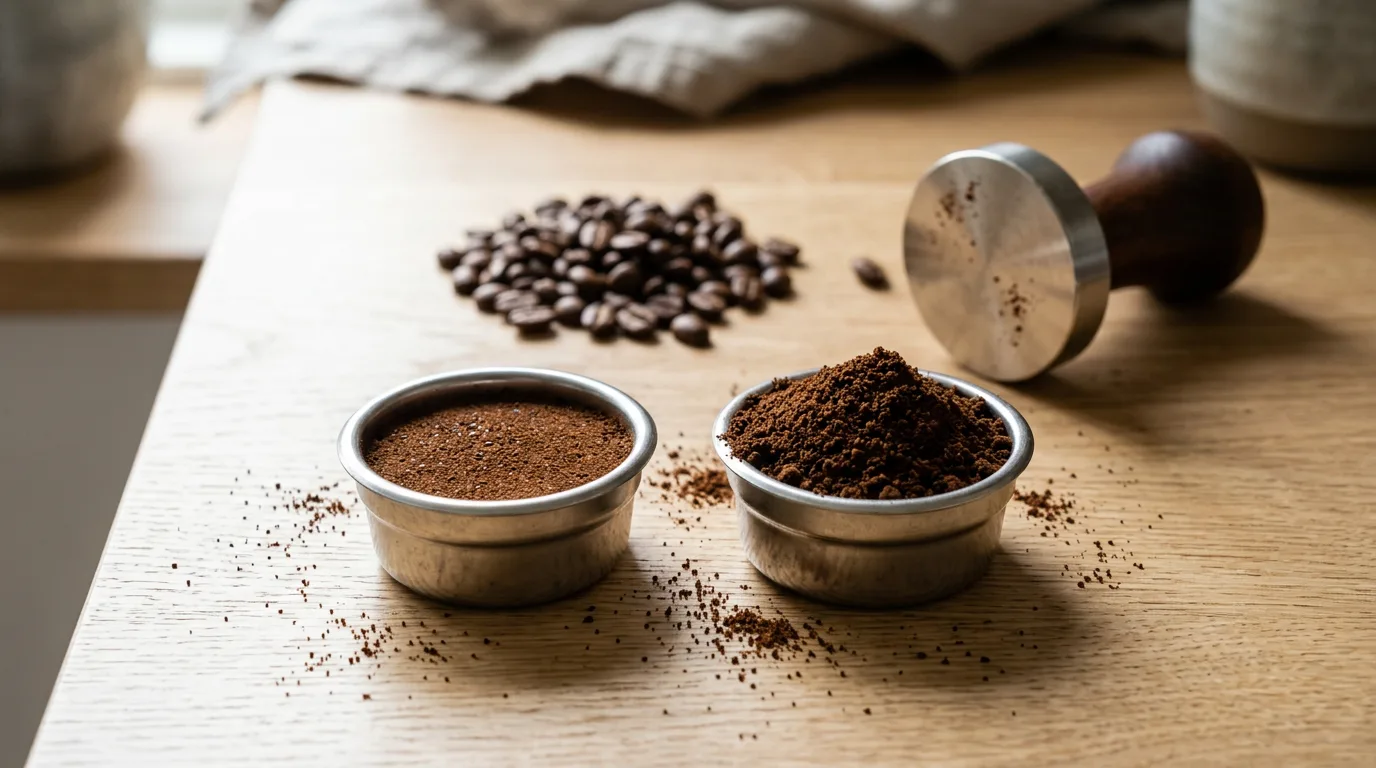
Dose also changes how much there is to extract and how strong the shot is. That's why I fix the dose first and use it only for deliberate recipe changes, not for chasing a time.
Our tip: Match your dose to your basket. An 18 g basket works best with about 17 to 19 g. Overfilling or underfilling a basket causes uneven extraction.
Grind size: the main time dial
Grind size is the variable most people use to control brew time, and for good reason. Finer particles pack more tightly and leave smaller gaps, so water flows more slowly. Coarser particles pack loosely and let water through quickly.
With a fixed recipe, say 18 g in and 36 g out, grind becomes the clearest lever. If a small turn of the grinder takes your shot from 27 to 34 seconds, the timer confirms you've changed resistance meaningfully.
Grind also changes surface area, so it affects extraction directly, not just through time. That double effect is why grind adjustments feel so powerful. My guide to coffee grind size covers dialing in step by step.
Yield and ratio: how long you let it run
The yield is how much liquid espresso you collect. The ratio compares it to the dose: 18 g in and 36 g out is a 1:2 ratio.
A longer yield takes longer to reach, so time rises. A shorter yield, like a ristretto, finishes sooner. That's why brew time only makes sense alongside a ratio. "28 seconds" means nothing on its own.
| Style | Typical ratio | Typical time |
|---|---|---|
| Ristretto | 1:1 to 1:1.5 | 15-25 sec |
| Normale | 1:2 | 25-30 sec |
| Lungo | 1:2.5 to 1:3 | 30-40 sec |
| Allongé | 1:4 to 1:5 | Varies widely |
For more on these styles, see my guide to ristretto vs espresso vs lungo.
How roast level changes the ideal time
The 25 to 30 second window was built largely around medium and medium-dark espresso blends. Other roasts often prefer something different.
Dark roasts
Dark roasts are very soluble and extract quickly. Many taste best with slightly shorter ratios and cooler water, and they can turn bitter if pushed too long. A 1:2 shot in 22 to 27 seconds is often lovely.
Medium roasts
The classic 1:2 in 25 to 30 seconds suits most medium roasts very well. This is where the rule shines.
Light roasts
Light roasts are dense and harder to extract. They usually want longer ratios, such as 1:2.5 or 1:3, hotter water and sometimes longer shots. Pre-infusion often helps. Times of 30 to 40 seconds, or more on profiled machines, are common.
My guide to coffee roast levels explains why roast changes extraction so much.
Baskets, puck prep and brew time
The basket and how you prepare the puck can shift brew time as much as a grind change.
- Precision baskets have very uniform holes and often flow a little faster than stock baskets with the same grind.
- Basket size sets the ideal dose. Under-filling leaves headspace that can make the puck soggy and uneven.
- Distribution breaks up clumps. Clumps create dense and loose zones, which lead to channeling and erratic times.
- Tamping needs to be level and firm. Tamp pressure matters less than consistency and keeping the surface flat.
- Puck screens and paper filters can even out water flow and slightly change time.
When I switched to a precision basket, I had to grind a step finer to keep the same time. The shots also became noticeably more consistent, which made the timer far more useful as a diagnostic.
Decaf, blends and very fresh beans
Some coffees behave differently enough to be worth knowing about.
Decaf is often more porous and brittle after decaffeination. It tends to run faster at the same grind, so expect to grind finer, and taste carefully, as decaf can turn bitter quickly.
Blends mix beans of different densities. They usually behave predictably in the classic window, which is one reason cafés love them for espresso.
Very fresh beans, roasted only a few days ago, release a lot of carbon dioxide. That gas can push against the water and make shots erratic. Resting beans for a week or so usually stabilizes brew time. My guide to coffee freshness and degassing explains why.
Brew time as a diagnostic tool
This is where shot time really earns its place. Once a coffee is dialed in, time becomes a quick, objective check that everything is still the same.
If yesterday's shot ran 28 seconds and today's runs 22 with the same grind, dose and yield, something changed. Common culprits:
- Bean age. As beans lose gas over a few weeks, shots usually run faster.
- Humidity and temperature. They affect how beans grind and how grounds clump.
- Grinder retention or drift. Old grounds or a grinder warming up can change the grind.
- Puck prep. A rushed distribution or uneven tamp can cause channeling.
- A new bag. Even the same coffee can behave differently from one roast batch to the next.
The timer doesn't tell you which one it is, but it tells you to look. That alone saves a lot of bad shots.
Our tip: Write down time, dose and yield for your first good shot of each bag. When the time drifts by more than a few seconds, you'll know to investigate before tasting.
Reading the flow, not just the clock
Watching the espresso as it pours tells you as much as the timer.
- The first drops should appear after a few seconds on a standard machine, evenly across a bottomless basket.
- The middle of the shot should look like warm honey: a steady, thin stream, dark brown turning to caramel.
- The end of the shot usually lightens in color, a sign that the flavorful compounds are mostly extracted. This is called blonding.
- Spurts and pale streaks mean channeling, whatever the timer says.
- A gushing stream early on means too little resistance; a slow, stubborn drip means too much.
If the flow looks right and the time is close, you're very likely in good shape. If the flow looks wrong, fix puck prep before touching the grinder.
Right time, wrong taste
Hitting 25 to 30 seconds doesn't guarantee a delicious shot. A shot can run exactly 28 seconds and still taste sour, bitter, astringent or hollow.
That happens when other variables are off:
- Water temperature too low for a light roast, or too high for a dark one.
- Channeling that makes part of the puck over-extract and part under-extract, even though the total time looks normal.
- Stale beans that lack sweetness no matter how they're brewed.
- The wrong ratio for the coffee, for example a light roast pulled too short.
- Poor water that flattens flavor.
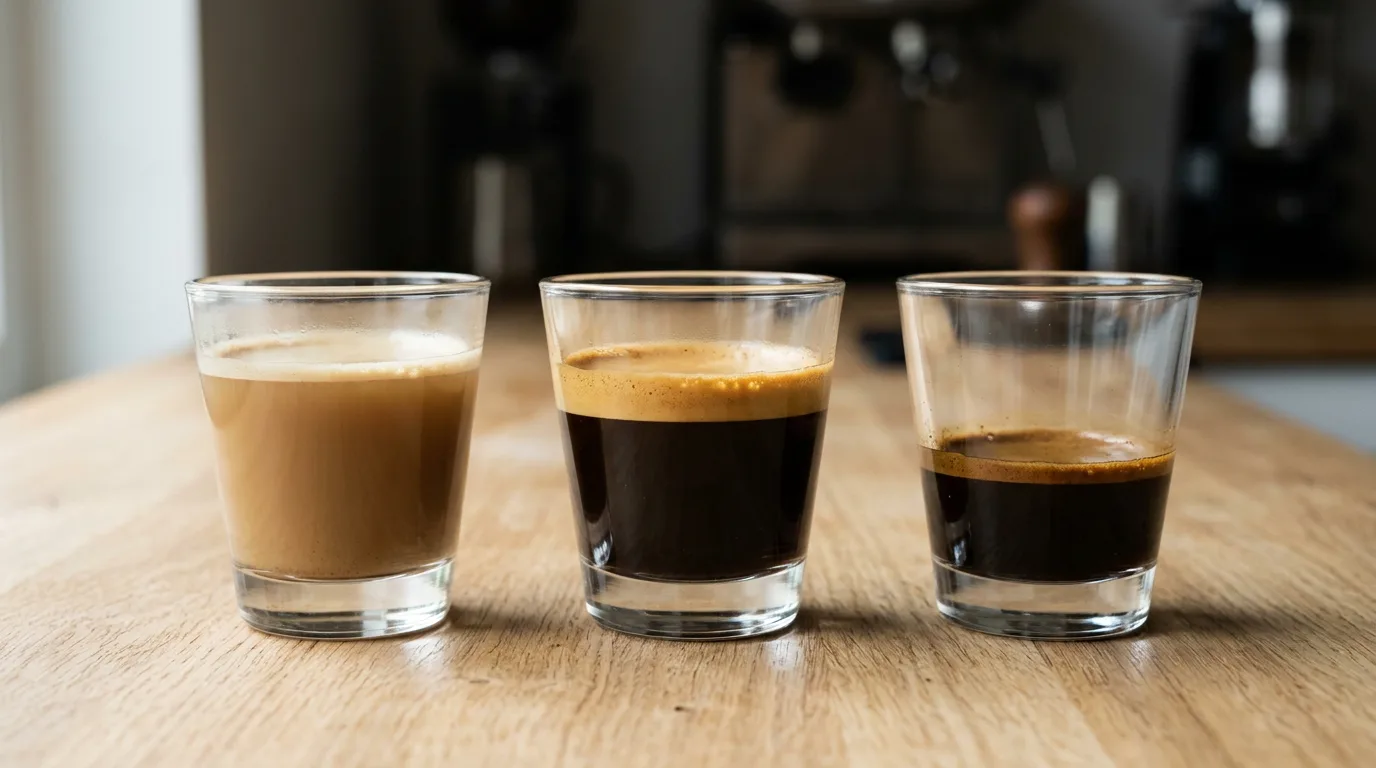
Time is a guide to resistance. Taste is the judge of extraction. When they disagree, believe your tongue. My guide to why coffee tastes bitter or sour helps decode what you're tasting.
Temperature and brew time
Water temperature doesn't change shot time much, but it changes how much flavor comes out within that time.
Hotter water extracts faster. A light roast pulled at 202°F can taste sweet in 28 seconds, while the same shot at 194°F might taste sour despite the identical time.
Cooler water extracts slower and can soften the harshness of dark roasts. If a dark roast tastes bitter in a perfectly timed shot, lowering the temperature a couple of degrees often helps more than changing the grind.
That's one more reason to judge by taste. Two shots can share the same time and taste completely different because of temperature alone.
When should you start the timer?
Surprisingly, there's no universal agreement. Two methods are common.
From pressing the button
You start timing the moment the pump starts. This is simple and consistent, and it's what most beginner guides mean by 25 to 30 seconds.
From the first drip
You start timing when the first drops of espresso appear. Supporters argue this removes the effect of pre-infusion: whether your machine soaks the puck for 3 seconds or 15, timing from the first drip compares the actual flow phase.
Both methods work, as long as you're consistent and you say which one you're using. A 28-second shot timed from the button might be a 20-second shot timed from the first drip.
I time from the button on my everyday machine and from the first drip when I'm experimenting with long pre-infusion. The key is not mixing the two.
Pre-infusion and why long shots can be great
Pre-infusion means wetting the puck at low pressure before full pressure kicks in. It lets the coffee swell and saturate evenly, which can reduce channeling and improve extraction.
Holding water on the puck at low pressure for 15 or 20 seconds at the start of a shot does fully saturate the grounds and begins a slow extraction. But that phase adds a lot of time to the shot.
So a shot with a 20-second soak, a short peak at full pressure and a gentle taper at the end might take 45 seconds and taste wonderful. Judged by the 25 to 30 second rule, it looks "wrong." In the cup, it's right.
This is why the rule is a beginner's tool. It assumes a steady-pressure machine with little or no pre-infusion. Change the machine, and the rule needs to change too.
Contact time vs extraction
In immersion brewing, like a French press, leaving coffee and water together for longer lets more solids dissolve. It's natural to assume espresso works the same way: longer shot, more extraction.
It's not that simple. Research into espresso extraction, including work popularized by coffee researcher Christopher Hendon, suggests that espresso extraction is driven mainly by three things:
- The mass of coffeeYour dose.
- The mass of water passing through itYour yield.
- The available surface areaSet mostly by grind size.
Time on its own matters less than many people think. When shots that normally finished in 28 seconds were stretched to 40, 45 or even 50 seconds simply by tapering off the pressure, extraction didn't rise dramatically, because the same amount of water passed through the same coffee.
In practice, that means a slow shot isn't automatically over-extracted, and a fast shot isn't automatically under-extracted. Ratio and grind usually matter more than the clock. My guide to coffee extraction explains the bigger picture.
Pressure profiling and brew time
On machines that let you change pressure or flow during the shot, brew time becomes something you shape rather than something that simply happens.
- Long pre-infusion adds time at the start for even saturation.
- Declining pressure slows the end of the shot and softens harshness.
- Low-flow profiles stretch shots for very light roasts.
On these machines, chasing 25 to 30 seconds would throw away the advantages of the hardware. You almost certainly should break the rule to make the most of what the machine can do.
If you're curious how much pressure itself matters, my guide to espresso pressure: 6 bar vs 9 bar covers blind tests at both levels.
Brew time for milk drinks
If most of your espresso ends up in lattes and cappuccinos, you can be a little more relaxed about time.
Milk softens acidity and bitterness. A shot that tastes slightly sharp on its own can be perfect in a flat white, and a slightly heavy shot can taste rich and chocolatey under milk.
Many baristas pull milk-drink shots a little shorter or with a slightly finer grind for more body and intensity, so the coffee doesn't disappear under the milk.
My guide to cappuccino vs latte vs flat white covers how the milk ratio changes the taste of the espresso.
Why time alone is useless when sharing recipes
Telling someone "my best shot took 45 seconds" doesn't help them at all. They need to know how those 45 seconds were made.
A 45-second shot made with a 20-second low-pressure pre-infusion, a brief peak at full pressure and a gentle decline is completely different from a 45-second shot that choked at 9 bar the whole time.
When I share a recipe, I include:
- Dose and yield in grams.
- Total time, and whether it's timed from the button or the first drip.
- Pre-infusion length and pressure, if any.
- Water temperature.
- Machine and basket, because they change everything.
With those details, time becomes useful information. Without them, it's just a number.
Beginners vs professional baristas
For beginners and intermediate home brewers, the 25 to 30 second window works like guardrails on a mountain road. It keeps you from wandering too far while you learn what balanced espresso tastes like.
When dialing in a new bag at home, the rule narrows the possibilities. Instead of wondering whether to change dose, grind, ratio and temperature all at once, you fix the recipe and adjust the grind until time lands in the window. Then you taste and fine-tune.
Professionals use time differently. They already know what good espresso tastes like, so time isn't a target; it's a monitoring signal that tells them when conditions have changed.
Both uses are valid. The mistake is to stay in the beginner mindset forever and judge every shot by the clock.
Brew time in a busy café
A café barista might pull 100, 200 or even 500 shots in a single day. They can't taste every one, so time becomes a vital quality check.
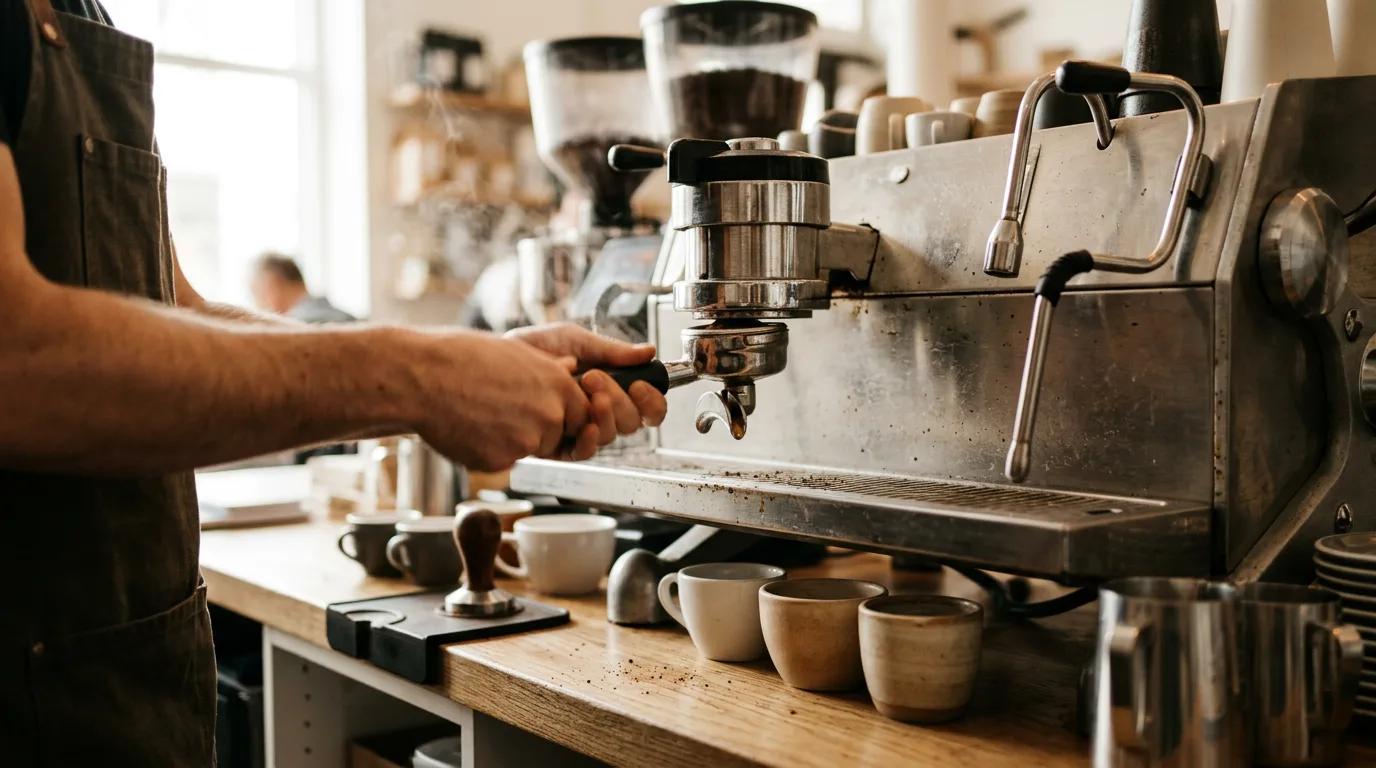
Say the café's recipe is 18.5 g of coffee yielding 37 g of espresso in 28 seconds. The barista watches the time on every shot. If it suddenly drifts to 22 seconds or creeps up to 35 during the morning rush, it tells them something has changed: the grinder has warmed up, humidity has shifted, or a new bag has started.
They adjust the grind, pull a test shot, taste it and get back on recipe. Without the timer, those drifts might go unnoticed until customers start leaving half-finished cups.
Good cafés taste regularly throughout the day too, sometimes making tiny changes to yield to make a shot juicier or cleaner. Time and taste work as a team.
Dialing in with time: a simple routine
- Fix your recipeFor example 18 g in, 36 g out. Keep temperature constant.
- Prep carefullyDistribute evenly and tamp level, the same way every time.
- Pull and time the shotStart the timer the same way every time.
- Check the windowUnder 25 seconds: grind finer. Over 30 to 35 seconds: grind coarser.
- TasteIf time is in the window, judge by taste. Sour: grind a touch finer or extend yield. Bitter: shorten yield or grind a touch coarser.
- Record the resultNote dose, yield, time and grind setting for that coffee.
- Watch for driftUse time on later shots to spot changes early.
Our tip: A scale with a built-in timer makes this routine effortless. Weight and time on one screen is all the data you need.
Shot styles and their typical times
Typical brew times by style (relative)
Turbo shots use a coarser grind and lower pressure for very fast, clean shots. Long pre-infusion and lever shots go the other way. All of them can taste excellent when the whole recipe fits together.
Different machines, different rules
Standard pump machines
If your machine delivers a steady, unchanging pump pressure, embrace the 25 to 30 second rule while you build experience. Lock in a consistent dose, around 18 g, and aim for a 1:2 ratio.
Lever and profiling machines
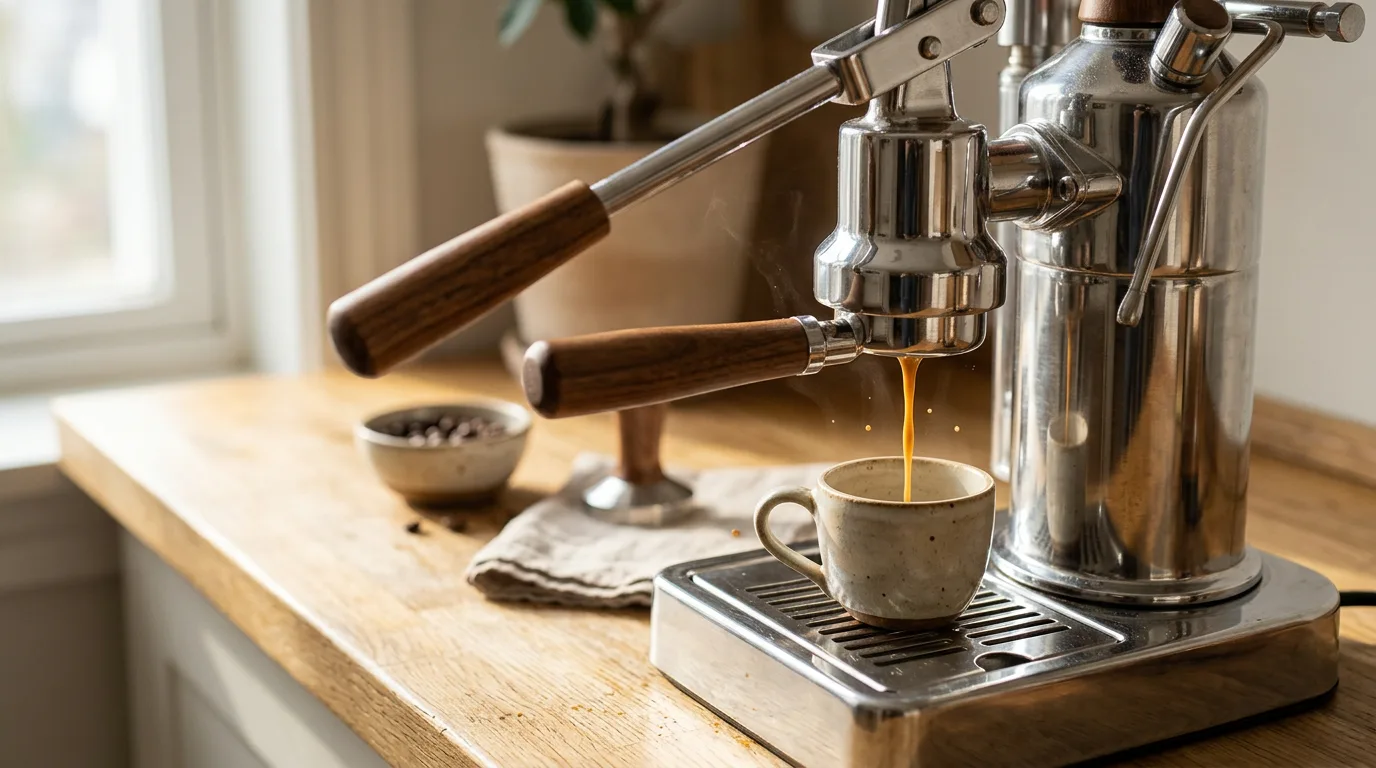
On a spring lever, a direct lever, or a pump machine with pressure or flow profiling, you can, and probably should, break the rule. Longer, gentler shots are often the point.
Machines with pressurized baskets
Many entry-level machines use pressurized baskets that create resistance artificially. Time is less informative there, because the basket, not the grind, controls most of the flow.
Super-automatics
Bean-to-cup machines control everything internally. Shot time is usually fixed by the program, so focus on strength and volume settings instead. My comparison of super-automatic vs semi-automatic machines explains the differences.
And don't let equipment overwhelm you. You don't need profiling, refractometers or exotic baskets to make great espresso. A steady machine, a decent grinder, a scale and fresh beans go a very long way.
My own experience with the rule
For my first year of espresso, I treated 25 to 30 seconds as gospel. If a shot came in at 31 seconds, I adjusted the grinder, even when the shot tasted good.
That cost me a lot of beans and a lot of good espresso. Some of my best shots were 32 or 33 seconds with a medium roast, and I kept "fixing" them.
Things changed when I started tasting first and looking at the timer second. I kept the rule as a starting point for each new bag, then let my palate decide where to land.
Later, a lever machine taught me the rest. My favorite lever shots run 40 to 45 seconds and taste sweeter and rounder than anything I pulled in the classic window. The rule wasn't wrong; it just wasn't written for that machine.
Tools that make timing easy
- A scale with a built-in timer. Weight and time on one display; many start the timer automatically when liquid hits the cup.
- A machine with a shot timer. Handy, but it times from the button, so remember that.
- A bottomless portafilter. Shows when the first drops appear and whether the flow is even.
- A notebook or app. Records time, dose, yield and taste for each coffee.
You don't need all of them. A simple timer scale covers most of what you need.
A one-week practice plan
If you're new to espresso, here's a simple way to learn what time and taste mean together.
- Day 1-2: hit the windowFix 18 g in, 36 g out and adjust only the grind until shots land in 25 to 30 seconds.
- Day 3: pull one fast, one slowDeliberately pull a 20-second and a 35-second shot with the same recipe and taste them side by side.
- Day 4: change the yieldKeep the grind and try 32 g, 36 g and 42 g out. Notice how strength and sweetness change.
- Day 5: change the temperatureIf your machine allows it, try two degrees hotter and cooler.
- Day 6-7: taste firstPull shots and decide what to change by taste alone, then check the timer afterward.
By the end of the week, you'll understand far more about espresso than the rule alone could teach you.
One more thing: consistency beats perfection
The most useful habit I have built around brew time is not hitting a perfect number, but hitting the same number. When dose, yield and time stay consistent from one morning to the next, any change in taste points straight to the beans or the water, and dialing in becomes calm instead of frustrating.
So weigh every shot, time it the same way, and write it down when it tastes great. After a few weeks, you will have a small personal library of recipes that work, and the timer will feel less like an exam and more like a helpful friend reminding you when something has changed.
Brew time troubleshooting
| What you see | Likely cause | What to try |
|---|---|---|
| Fast shot, sour taste | Grind too coarse or dose too low | Grind finer; check dose |
| Slow shot, bitter taste | Grind too fine or dose too high | Grind coarser; check dose |
| Normal time, sour and bitter | Channeling | Improve distribution and tamp |
| Normal time, flat taste | Stale beans or poor water | Fresher beans, better water |
| Time drifts during the week | Beans aging | Grind gradually finer |
| Time jumps between shots | Inconsistent prep or retention | Purge, weigh, prep the same way |
| Shot chokes, barely drips | Grind far too fine | Grind much coarser |
Brew time glossary
Common brew time mistakes
- Chasing time instead of taste. A 28-second shot that tastes bad is still a bad shot.
- Not weighing yield. Stopping by eye makes time meaningless.
- Changing dose to fix time. Adjust grind first; change dose only on purpose.
- Mixing timing methods. Button and first-drip times aren't comparable.
- Applying the rule to every machine. Levers and profiled shots play by different rules.
- Ignoring sudden changes. A jump in time is a signal worth investigating.
- Using pre-ground coffee. It stales quickly, and shots speed up day by day.
Myths about espresso brew time
"Good espresso always takes 25 to 30 seconds"
It's a helpful starting point on steady-pressure machines, not a definition of good espresso.
"Longer shots are always over-extracted"
Extraction depends mostly on dose, yield and grind. A long shot from pre-infusion or a taper can be perfectly balanced.
"If time is right, the shot is right"
Temperature, freshness, channeling and ratio can all ruin a shot that hits the window.
"You set brew time on the machine"
On most machines, time is a result of puck resistance. You influence it through grind and dose.
The bottom line
Brew time is one of the most useful numbers in espresso, as long as you understand what it is: an output that reflects puck resistance.
If you're new to espresso, use the 25 to 30 second rule with a 1:2 ratio as guardrails. Fix your dose, adjust your grind, and learn what balanced espresso tastes like.
Once you know that taste, use time as a diagnostic tool to catch drift, and don't be afraid to break the rule on machines and recipes designed for longer, gentler shots.
It also helps to remember why the rule exists. It was never meant to be a test you pass or fail. It was a shortcut that experienced baristas handed to newcomers so they could start somewhere sensible. Once you have tasted enough shots, you can carry that experience forward without needing the shortcut every time.
Above all, let taste have the final word. The clock tells you what happened; your palate tells you whether it was good.
Frequently asked questions
How long should an espresso shot take?
On a standard pump machine, a 1:2 double shot usually takes about 25 to 30 seconds. Lever and profiled shots often take longer.
Why is my espresso running too fast?
Usually the grind is too coarse or the dose too low. Grind finer first.
Why is my espresso running too slow?
Usually the grind is too fine or the dose too high. Grind coarser first.
Should I time from the button or the first drip?
Either works if you're consistent. Timing from the first drip removes the effect of pre-infusion.
Does a longer shot mean more extraction?
Not necessarily. Dose, yield and grind drive extraction more than time.
Can a 45-second shot taste good?
Yes, especially with long pre-infusion or a declining pressure profile.
Why does my shot time change from day to day?
Bean aging, humidity, grinder retention and puck prep are the usual causes.
Do I need a timer?
It helps a lot. A scale with a built-in timer is the simplest option.

- Michael Reynolds, thousands of shots on pump and lever machines
- Espresso, Wikipedia
- Espresso machine, Wikipedia
- Coffee preparation, Wikipedia
Related guides
Coffee grind size explained Espresso pressure: 6 bar vs 9 bar Ristretto vs espresso vs lungoWritten by Michael Reynolds. Last updated November 20, 2026.