Espresso Pressure: 6 Bar vs 9 Bar, What Blind Tasting and Physics Really Show
Few espresso topics spark as much debate as brew pressure. Some swear 6 bar makes light roasts sweeter and shots more consistent; others say 9 bar is the proven standard. I ran blind side-by-side tests with four very different coffees to find out. The answer surprised me, and it says more about grind size and puck resistance than about the number on your gauge.
We choose products independently. We may earn a commission through links on this page; your price stays the same. Affiliate policy
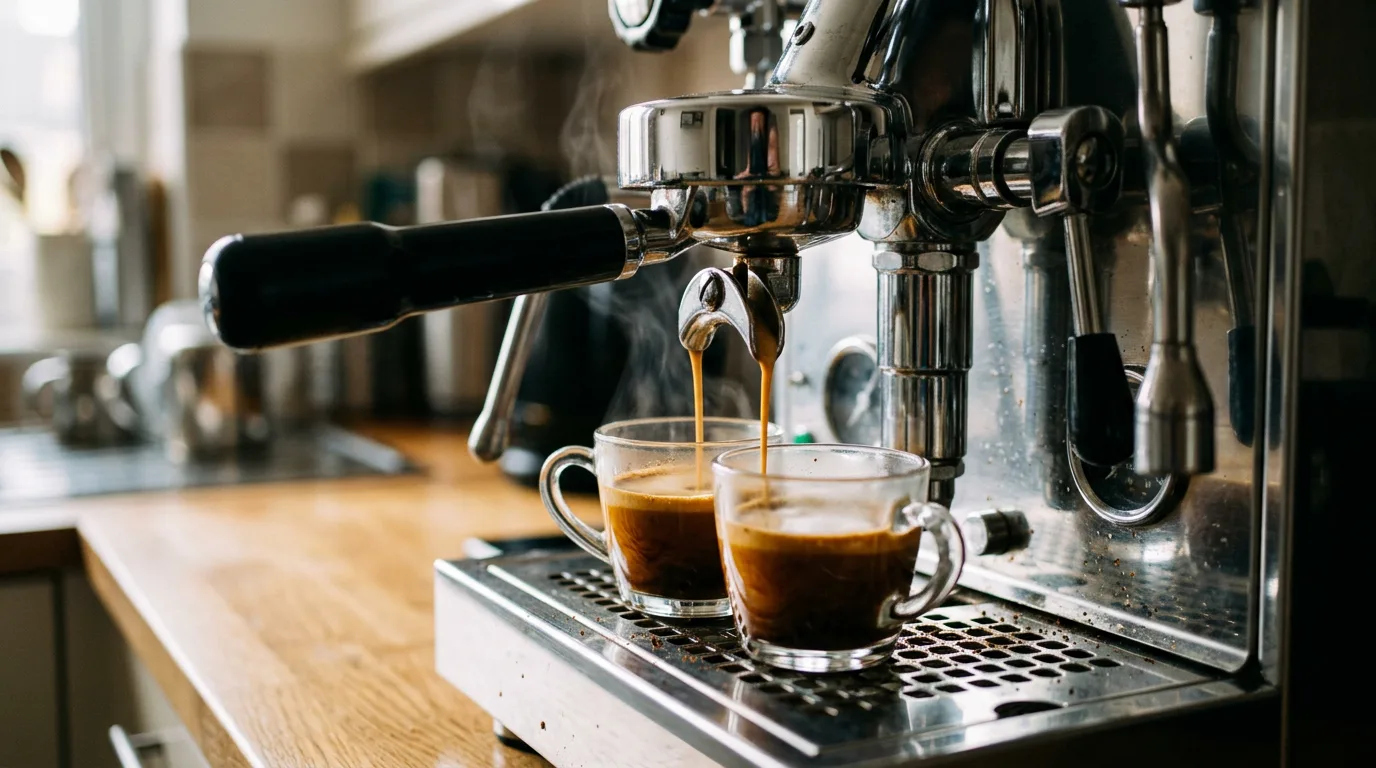
For most espresso, 6 bar and 9 bar taste the same. When the grind is fine enough for a traditional shot, the coffee puck, not the pump, limits how fast water flows, so the two pressures produce nearly identical extraction and flavor in blind tastings. A difference only appears with coarser, faster shots, where the puck is close to breaking down. In my tests, 9 bar actually won there. If your machine reads 9 or even 9.7 bar, don't worry about it. Focus on grind size, puck preparation, ratio and temperature instead.
The pressure debate
In specialty coffee, few variables cause as much passionate argument as extraction pressure. In forums, social media and coffee bars, strong beliefs have formed about the "right" number.
A popular modern view is that lowering pressure to 6 bar makes light roasts sweeter, reduces channeling and gives more consistent shots. Others insist the traditional 9 bar exists for good reason.
Taste is easily swayed by expectation, hype and placebo. If you believe a modification will make coffee sweeter, it probably will taste sweeter, at least until you taste blind.
I understand the appeal. Changing a spring or turning a valve is a quick, concrete upgrade, and the idea that a simple tweak could unlock sweeter shots is very attractive. I almost made the change myself before deciding to test it properly.
So I set out to answer four questions as fairly as I could:
- Does 6 bar really make light roasts taste better?
- Does lower pressure give more consistent shot times and yields?
- Does switching pressure change the grind or recipe you need?
- Can you actually tell the two apart in a blind tasting?
What a bar actually is
A bar is a unit of pressure roughly equal to the air pressure at sea level. So 9 bar is about nine times atmospheric pressure, roughly 130 psi, and 6 bar is about 87 psi.
In espresso, that pressure pushes hot water through a tightly packed bed of finely ground coffee. Without it, water wouldn't pass through such a fine grind in any reasonable time.
| Pressure | In psi | Where you see it |
|---|---|---|
| 1 bar | ~14.5 psi | Air pressure at sea level |
| 1-2 bar | ~15-30 psi | Moka pot |
| 2-4 bar | ~30-58 psi | Typical pre-infusion |
| 6 bar | ~87 psi | Popular "low pressure" espresso |
| 9 bar | ~130 psi | Traditional espresso standard |
| 15-20 bar | ~218-290 psi | Pump ratings on many home machines |
That last row confuses many people. A "20 bar" pump rating is the pump's maximum, not the pressure at the coffee. Most machines regulate it down to around 9 bar with an over-pressure valve.
How espresso machines create and limit pressure
Most home and café machines use one of two pump types.
Vibration pumps
Compact and affordable, a vibration pump uses an electromagnet to push a small piston back and forth very quickly. It's common in entry-level and many mid-range home machines. It can produce high pressure, but its flow drops as pressure rises.
Rotary pumps
A rotary pump uses a spinning vane to move water smoothly. It's quieter, very durable and delivers steadier flow. Many higher-end home machines and nearly all café machines use one, and its pressure is often easy to adjust.
The over-pressure valve (OPV)
Because pumps can produce more pressure than espresso needs, most machines have an OPV. When pressure exceeds its setting, the valve opens and sends extra water back to the tank, capping brewing pressure.
Changing the OPV spring or setting is how people move between 9 bar and 6 bar on many machines. Machines without one, or with a high factory setting, can brew well above 9 bar.
Pressure in other coffee brewers
It helps to see espresso pressure next to other brewing methods.
- Pour-over and drip: no added pressure at all. Gravity pulls water through a medium grind.
- French press: no brewing pressure; you only press the plunger to separate the grounds.
- AeroPress: light hand pressure, well under 1 bar, pushes the coffee through a paper filter.
- Moka pot: steam builds about 1 to 2 bar, enough to push water up through a fine-ish grind.
- Pod and capsule machines: high-pressure pumps, but the capsule design and pre-ground coffee shape the result more than the number.
- Espresso machines: around 9 bar at the coffee, with a fine grind and a tightly packed puck.
Seen this way, espresso is simply the extreme end of a spectrum, not a completely different kind of coffee. It uses the finest grind and the shortest brew, so it needs the most force to get water through in time.
The pattern is clear: the finer the grind and the shorter the brew, the more pressure you need. Pressure and grind always work together. If you're weighing a moka pot against an espresso machine, my moka pot vs espresso comparison explains the difference in practice.
Why 9 bar became the standard
Early espresso inventors wanted coffee brewed quickly, to order. That meant grinding finely, and fine coffee needs pressure to push water through.
Steam-driven machines produced only modest pressure. Spring-lever machines in the mid-twentieth century raised it dramatically and gave birth to crema. Electric pumps later made high pressure easy and consistent.
Over time, around 9 bar settled in as the norm. It was high enough to extract a fine grind well, and practical for machines and pucks. It's a tradition built on experience, not a law of nature, which is why people keep testing alternatives.
My guide to espresso crema explains how pressure creates that famous foam.
The 6 bar claims
The case for 6 bar usually rests on three ideas:
- Less channeling. Lower pressure should be gentler on the puck, so fewer cracks and weak spots form.
- Sweeter light roasts. With less channeling, light roasts should extract more evenly and taste sweeter.
- More consistency. A gentler, more stable puck should mean more repeatable shot times.
Each idea sounds plausible. Many home baristas have installed 6 bar springs in their machines and swear by them. Some cafés run their machines at lower pressure too.
But plausible isn't proven. The only way to know is to change pressure and nothing else, then taste without knowing which cup is which.
What the 6 bar idea gets right
My results don't mean the people who love 6 bar are imagining everything. Several parts of their reasoning hold up.
First, many machines do run too high. Budget machines with no regulation, or with a factory OPV set to 11 or 12 bar, can push hard enough to cause channeling. Lowering them toward 9 bar, or even below, can genuinely help.
Second, gentle starts matter. Pre-infusion and slow pressure ramps clearly improve evenness for many coffees. Some people who credit 6 bar may actually be tasting the benefit of a softer ramp-up.
Third, 6 bar doesn't seem to hurt traditional shots. If it makes your machine quieter, gentler on the puck or simply gives you confidence, there's no harm in keeping it for normal recipes.
Where the idea goes too far is the promise of dramatic improvements in sweetness and consistency. In controlled blind tasting, those didn't show up.
How I tested
To isolate pressure, everything else had to stay the same: dose, yield, grind, temperature and puck preparation. Only the pump pressure changed between paired shots.
Equipment
- Machine: a dual-boiler, rotary-pump espresso machine with an easily adjustable pump pressure, so I could switch between 6 and 9 bar quickly.
- Grinder: a high-precision flat-burr single-dose grinder, so the grind was consistent from shot to shot.
- Recipe: a precision 20 g basket loaded with exactly 20 g of coffee (about 0.7 ounces), with identical distribution and tamping every time.
- Measurement: a scale and timer for every shot, plus a refractometer to measure total dissolved solids (TDS) and calculate extraction.
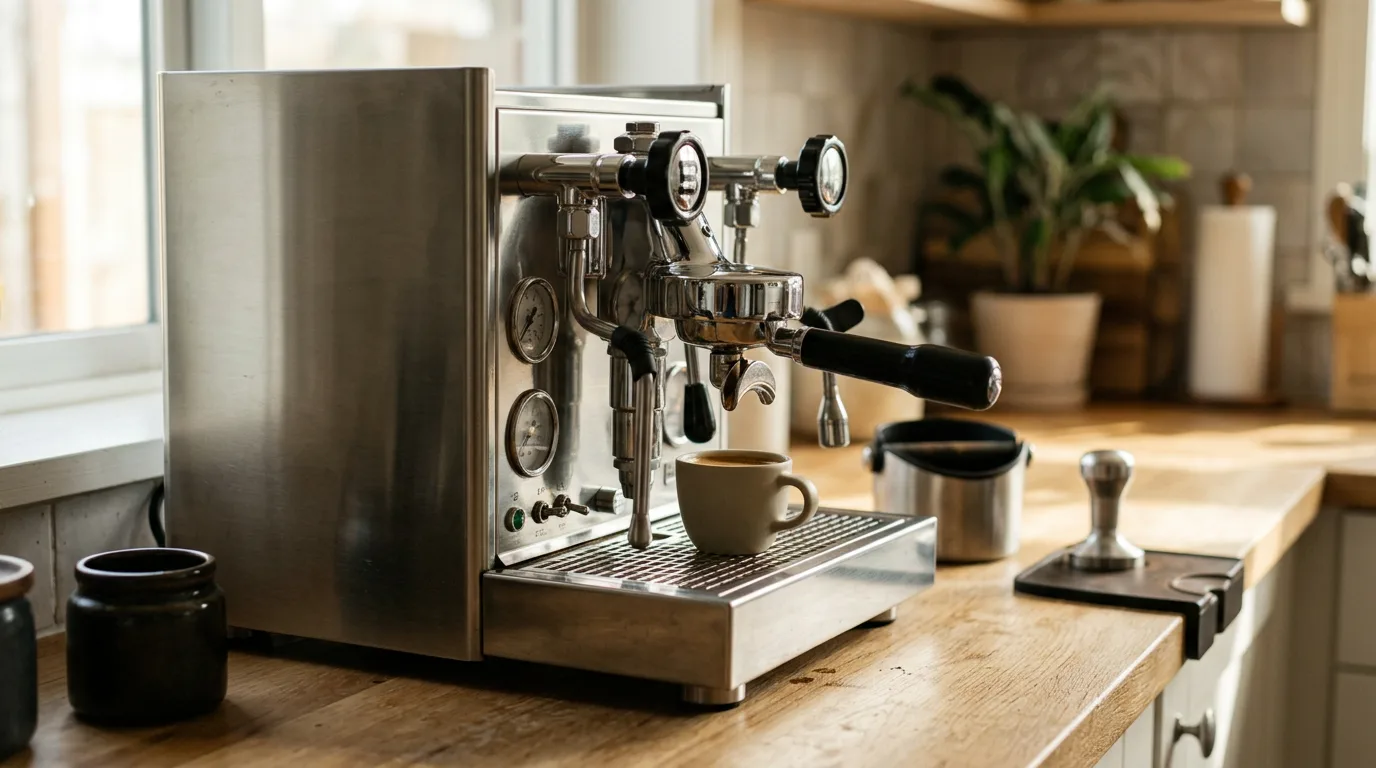
The coffees
I chose four coffees that respond very differently to extraction:
- Natural Ethiopian, light roastFruit-forward and very soluble, known for being a bit unpredictable.
- Washed Colombian, light roastDense, clean and structured, with lively acidity.
- Washed Ethiopian, light roastFloral and high-grown, tested with a deliberately coarser, faster recipe.
- Dark roast commercial blendIncluded to see how a low-density, heavily roasted coffee responds.
Blind tasting controls
Because expectations can easily sway taste, every tasting was blind. A friend with years of coffee experience tasted alongside me, and a third person prepared and served the cups.
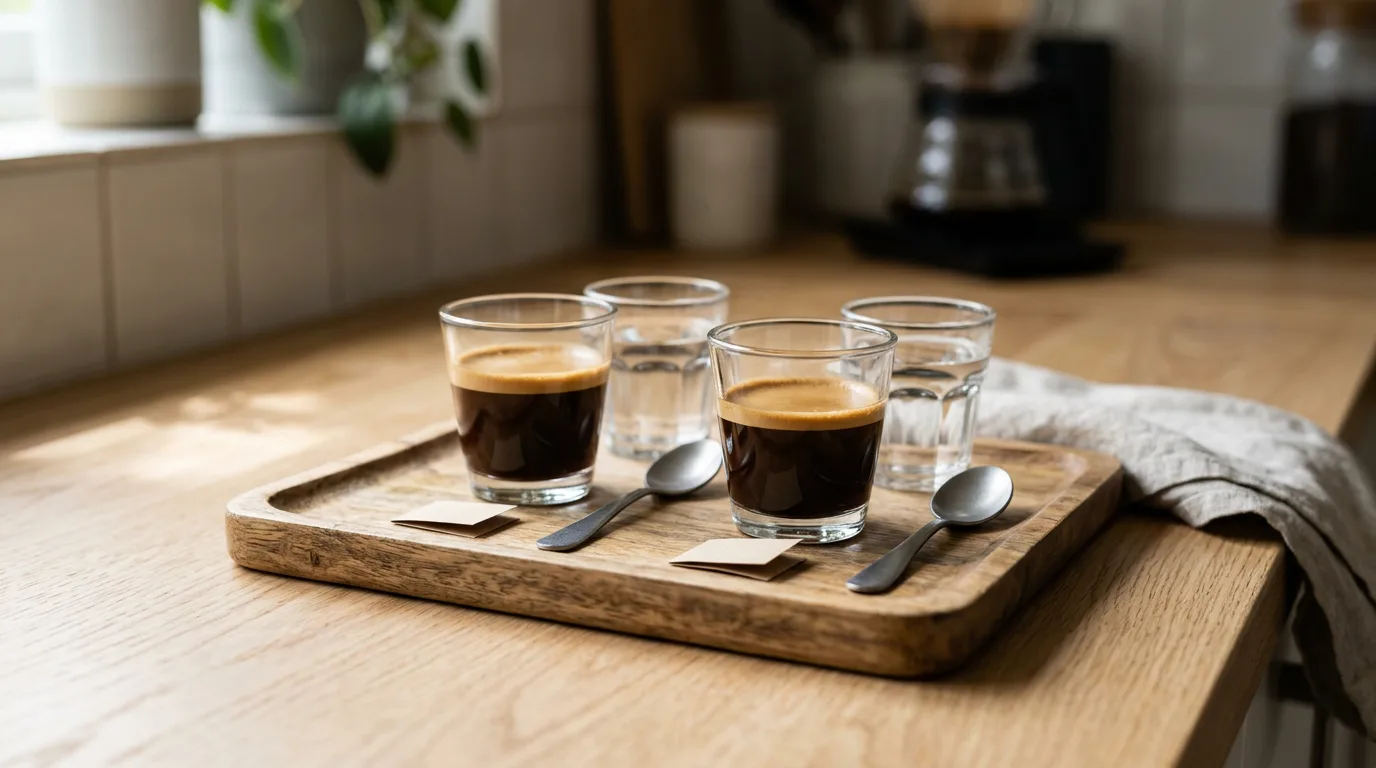
- Random order. Sometimes 9 bar was pulled first, sometimes 6 bar, so freshness and temperature didn't favor one side.
- Equal temperature. Our palates notice temperature far more than subtle chemistry, so we let both cups cool to the same temperature before tasting.
- Equal handling. Stirring one cup to cool it adds oxygen and changes taste, so both cups were treated exactly the same.
- Independent scoring. We each rated acidity, sweetness, texture and finish, then picked a favorite before comparing notes.
- Measured extraction. Every shot was weighed, timed and measured with the refractometer.
Our tip: If you test anything at home, from pressure to a new basket, taste blind and at equal temperature. You'll be amazed how many "obvious" differences disappear.
Round 1: natural Ethiopian, traditional light roast recipe
I dialed in for 20 g in and about 50 g out, targeting roughly 27 seconds at 9 bar, then pulled pairs at both pressures with the same grind.
Over five paired comparisons, the 6 bar shots ran slightly faster on average. Extraction and TDS stayed largely comparable.
The tasting result was essentially random. In two of the five rounds, my friend and I chose opposite cups. Across all five, there was no link between pressure and preference.
Natural-processed coffees are dried inside the whole cherry, which makes them very soluble and prone to small shot-to-shot swings. Those swings were bigger than any effect of pressure.
Round 2: washed Colombian, traditional light roast recipe
Same recipe, dialed in finely for a traditional 27 to 30 second shot.
Unlike the natural Ethiopian, the washed Colombian pulled very consistently at both pressures. Shot times, yields and TDS were nearly identical.
On the palate, the two were virtually indistinguishable. Neither of us could reliably pick which was which, and our preferences split evenly.
This was the clearest result of the whole test: with a well-dialed, fine-ground traditional shot, 6 and 9 bar produced the same espresso.
Round 3: washed Ethiopian, fast and coarse recipe
For this round, I deliberately ground coarser for a fast shot, around 21 to 23 seconds, the kind of recipe often recommended for bright, floral light roasts.
Shot times were very consistent at both pressures, and refractometer readings were essentially identical. On paper, there was no difference.
In the cup, the result was striking and unanimous. After the first three tastings, we could both identify the 9 bar and 6 bar shots by taste and mouthfeel alone.
Across all five pairs, both of us independently chose the 9 bar shot every time. The 6 bar shots had a noticeably rougher texture and a harsher, less pleasant finish.
That's the opposite of what the 6 bar theory predicts. With a coarse, fast recipe, the higher pressure produced the better shot.
Round 4: dark roast commercial blend
I included a heavily roasted commercial blend to see how a very different coffee would behave.
It didn't go well, for reasons that had nothing to do with pressure. The blend was so bitter and harsh at both settings that it was hard to taste carefully at all, and we couldn't make a meaningful comparison.
That's a lesson in itself: no pressure setting rescues a coffee you don't enjoy. Bean quality matters far more.
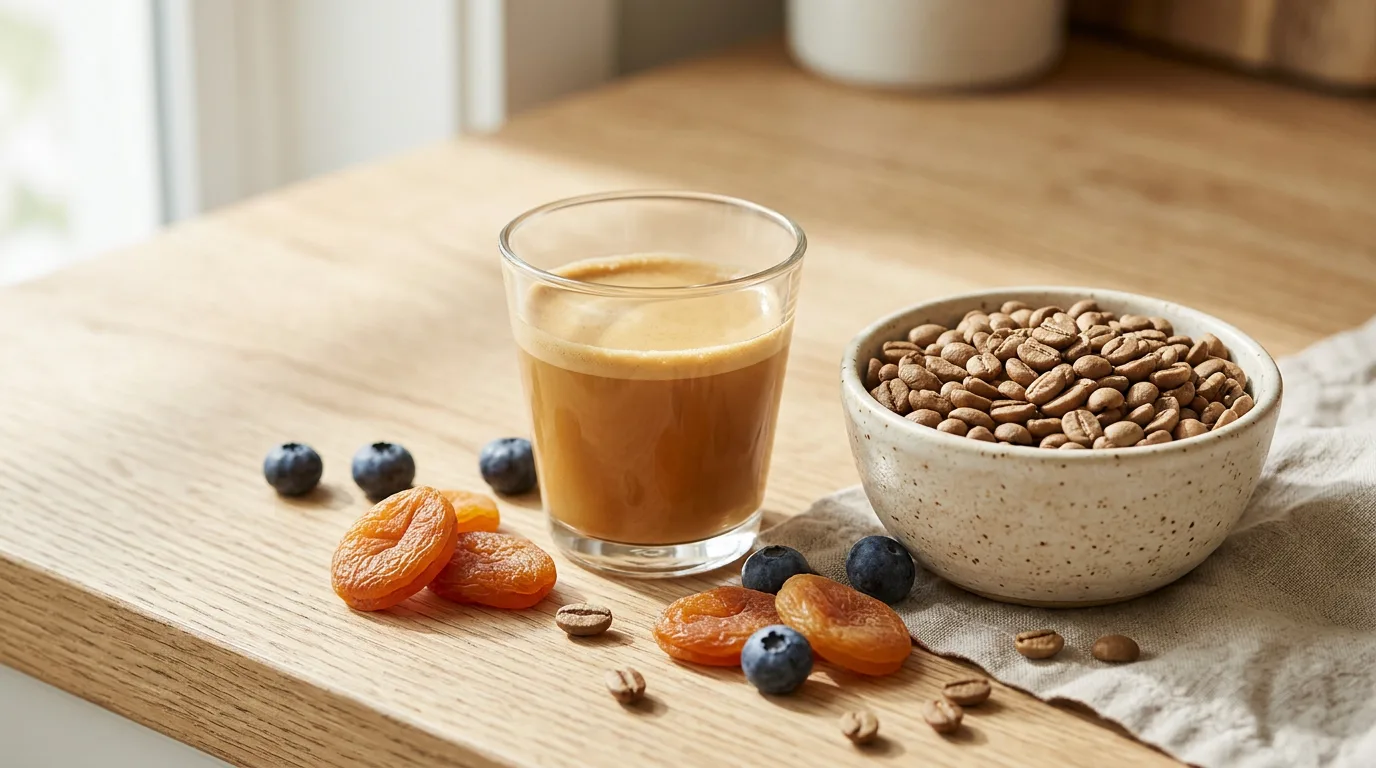
Does pressure change crema?
Crema forms when pressurized water dissolves carbon dioxide from the coffee and then releases it as tiny bubbles when the espresso leaves the basket. More pressure can dissolve a little more gas, so in theory higher pressure could mean more crema.
In practice, the difference between 6 and 9 bar was small in my tests. Fresh beans and darker roasts produced far more crema than any pressure change. The 6 bar shots sometimes looked slightly thinner on top, but the difference faded within a minute.
Crema also isn't a reliable measure of quality. Plenty of thick, beautiful crema sits on top of bitter shots, and some excellent light-roast espresso has very little. Judge by taste, not foam.
Results at a glance
| Round | Recipe | Shot times | Blind preference |
|---|---|---|---|
| Natural Ethiopian | Fine, ~27 sec | 6 bar slightly faster | Random |
| Washed Colombian | Fine, 27-30 sec | Nearly identical | No difference |
| Washed Ethiopian | Coarser, 21-23 sec | Nearly identical | 9 bar, 5 out of 5 |
| Dark blend | Traditional | n/a | Too harsh to judge |
How often 9 bar was preferred in blind pairs
So in my testing, 6 bar never beat 9 bar. With traditional fine-ground recipes, they tied. With a coarse, fast recipe, 9 bar won clearly.
What TDS and extraction yield tell you
A refractometer measures total dissolved solids (TDS): the percentage of the espresso that's dissolved coffee. Combined with dose and yield, it lets you calculate extraction yield, the share of the coffee's mass that ended up in the cup.
These numbers are useful for spotting big differences, such as a shot that's clearly under-extracted. In my test, they confirmed that the paired shots extracted very similar amounts.
But round three shows their limit. Identical TDS and extraction yield can hide uneven extraction: some coffee over-extracted, some under-extracted, averaging out to the same number. Your tongue picks that up even when the instrument doesn't.
That's why I treat refractometer readings as a guide and taste as the final judge. My guide to coffee extraction explains these measurements in more depth.
The physics: pressure vs flow and puck resistance
Why would pressure make no difference in two rounds, then a clear difference in the third? The answer lies in what actually controls the flow of water through the coffee.
Pressure is the force pushing water. Flow is how much water actually passes through per second. The link between them is the resistance of the coffee puck.
Think of it like a garden hose with a nozzle. Turn the tap up, and if the nozzle is nearly closed, very little extra water comes out. The nozzle, not the tap, sets the flow.
Why fine grinds hide pressure differences
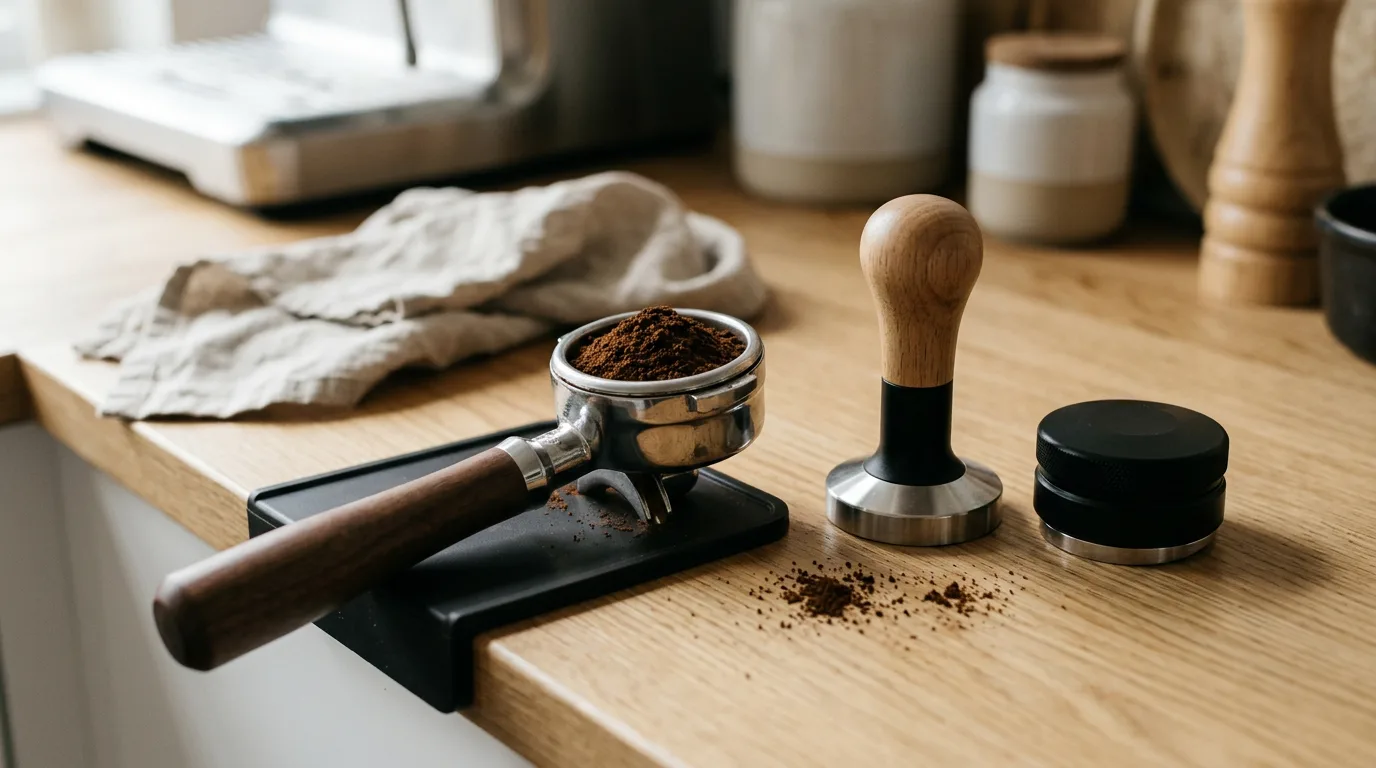
In the first two rounds, the coffee was ground finely enough to create very high resistance in the puck.
The puck acted like a narrow bottleneck. It only let a small amount of water through each second, and that was true whether the pump pushed at 6 bar or 9 bar.
With the puck limiting the flow, the extra pressure at 9 bar mostly didn't translate into more water moving through the coffee. Contact time, flow and extraction ended up nearly the same, and so did the taste.
That's why a traditional, well-dialed shot is so insensitive to the exact pressure number. The grind does most of the work.
Why coarser grinds reveal a difference
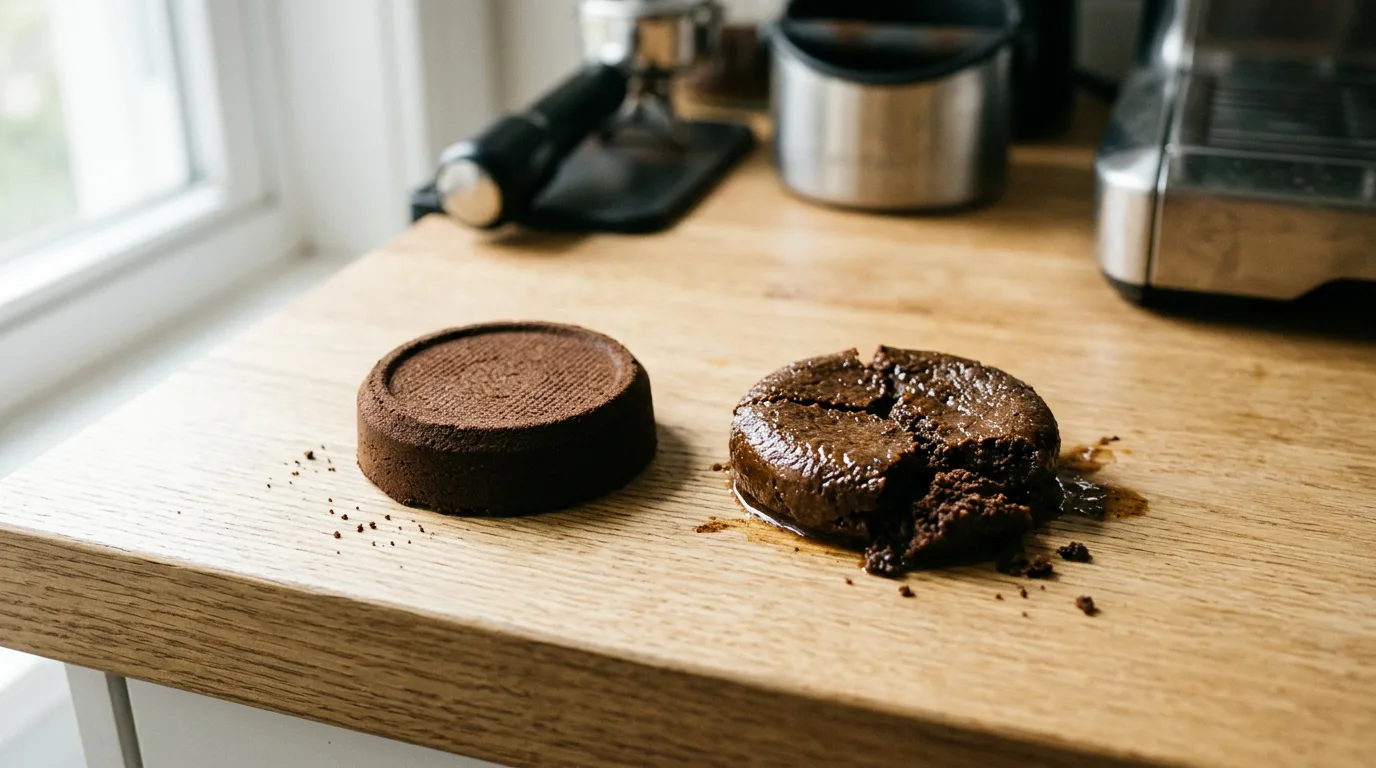
In round three, the grind was much coarser. A coarser bed has less resistance and is closer to losing its structure during the shot.
When a puck sits on that edge, pressure starts to matter:
- At 9 bar, the pump holds steady pressure against the puck. As the coffee extracts and the puck weakens, water flows faster, but the pressure keeps the bed compressed and the flow relatively even.
- At 6 bar, the gentler pressure may not keep a coarse, fragile puck as tightly packed. Water can find uneven paths, leading to less even extraction and the rougher texture we tasted.
The refractometer couldn't see this, because overall extraction was similar. But our tongues could: uneven extraction often tastes harsh even when the average numbers look fine.
The details of why are still debated among coffee scientists. What's clear is that at the coarse end, pressure stops being a "red herring."
Why your pressure gauge can mislead you
The number on your gauge isn't simply something the machine "applies" to the coffee. It's the result of the pump pushing water against whatever resistance the puck provides.
Machines differ in how much water their pump can deliver when nothing is in the way, often called water debit or flow rate. A commercial rotary pump might deliver a fairly fast flow with an empty group, for example.
If the puck is very resistant, pressure rises to the maximum the machine allows and flow is limited by the coffee. If the puck is weak, pressure may never reach the set maximum because water escapes too easily.
On flow-profiling machines, where a valve controls how much water enters the group, you can see this clearly: open the valve partially and pressure only rises as high as the puck's resistance allows.
In other words, maximum pump pressure is largely a byproduct of flow meeting resistance. Grind and puck prep decide much of what the gauge shows.
How to measure your real brew pressure
If you're curious what your machine really does, a portafilter pressure gauge is the simplest tool. It's a portafilter with a blind basket and a gauge attached.
- Warm up the machineLet it reach normal brewing temperature.
- Lock in the gaugeInsert the gauge portafilter as you would a normal one.
- Run the pump brieflyStart a shot for a few seconds and read the maximum pressure.
- Compare with the built-in gaugeBuilt-in gauges often read the pump side, not the group, so numbers can differ.
- Adjust only if neededIf it reads far above 9 bar, an OPV adjustment may help; follow your manual.
Remember that this measures maximum pressure with no flow. During a real shot, pressure depends on the puck, as explained above.
Spring lever machines are a different story
It's important not to apply these results to spring lever machines. They work in a fundamentally different way.
- Pump machines (rotary or vibration) hold a roughly constant pressure throughout the shot.
- Spring lever machines start with a peak pressure when the spring is released, then pressure falls continuously as the spring extends.
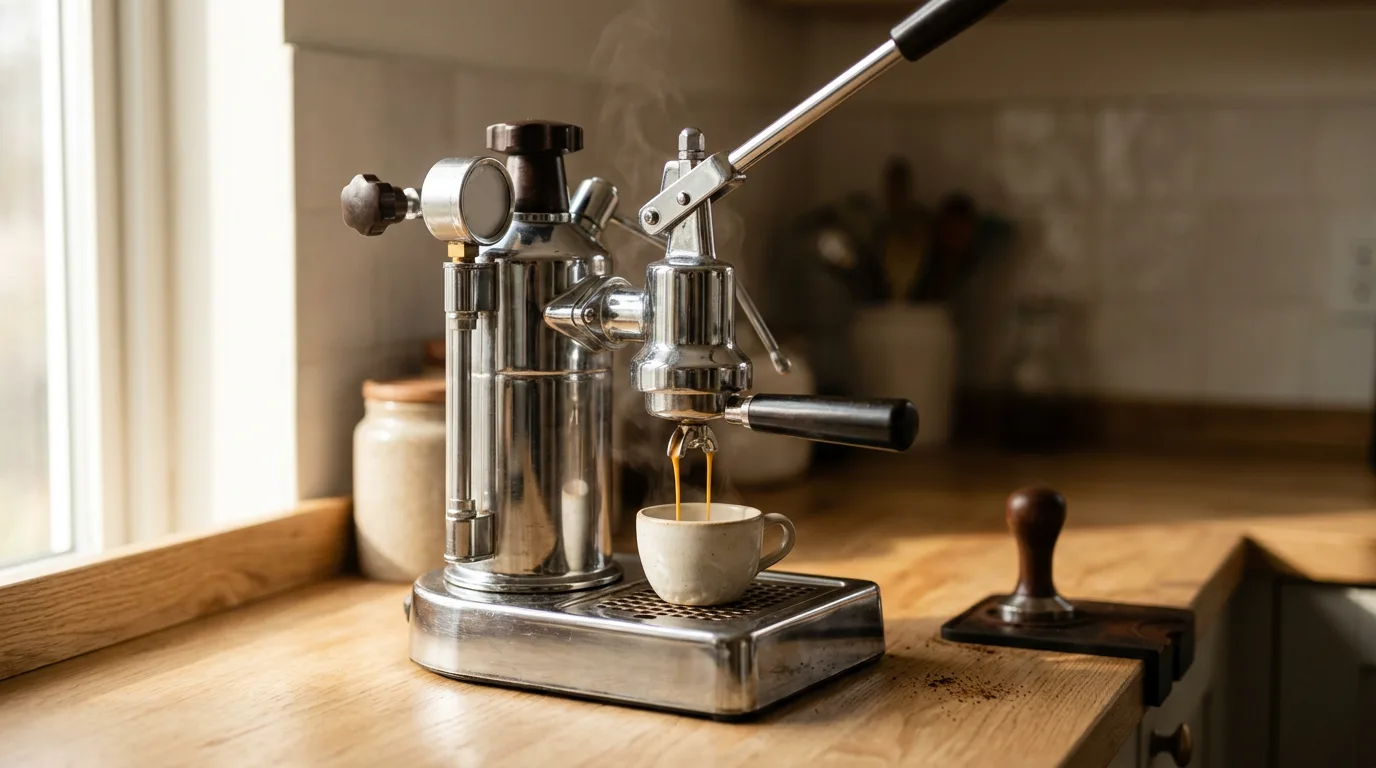
On a lever, pressure declines through every shot regardless of where it starts. That naturally gentle finish is part of why lever espresso has its own character, and it means "6 bar vs 9 bar" doesn't translate directly.
Pressure and flow profiling
Some modern machines let you change pressure or flow during the shot. Common profiles include:
- Pre-infusion: a low-pressure soak before full pressure, to wet the puck evenly.
- Declining pressure: high pressure early, then a gentle taper, imitating a lever machine.
- Flow control: setting how fast water enters, and letting pressure follow.
These tools can be useful, especially for light roasts and unusual recipes. But my tests suggest that the steady-state pressure number, 6 or 9, is less important than how evenly the puck is wetted and how the flow behaves.
If your machine offers pre-infusion, it's often a bigger improvement than changing the maximum pressure.
Should you change your machine's pressure?
Many machines can be adjusted through an over-pressure valve (OPV), and some home baristas fit a softer spring to lower the maximum to around 6 bar.
Based on my testing, I wouldn't bother if your goal is better flavor with traditional recipes. You're unlikely to taste a difference.
There are a couple of exceptions. Some budget machines run far above 9 bar at the puck, sometimes 12 or more. Bringing those down toward 9 can reduce harshness and channeling. And if you already lowered your pressure and love your shots, there's no reason to change it back.
Our tip: Before adjusting pressure, check whether your machine has a warranty restriction on internal changes. Often a better grinder or better puck prep gives a bigger, safer improvement.
What about cafés?
Café machines usually run at around 9 bar with powerful rotary pumps, often with pre-infusion built in. Some specialty cafés lower their pressure, especially for light-roast espresso, and many experiment with profiles.
In a busy café, consistency across hundreds of shots matters most. Baristas focus on grind adjustment through the day, dose accuracy, distribution and tamping, because those drift with humidity, bean age and grinder temperature.
That's a useful model for home too. The best cafés I know rarely talk about pressure, but they talk about grind and puck prep constantly.
Practical takeaways for home baristas
1. Don't obsess over small pressure differences
If your machine reads 9.7 bar instead of exactly 9, there's no need to worry. In the range of roughly 6 to 9 bar, it rarely changes taste with a normal recipe.
2. Keep modifications you enjoy
If you've fitted a 6 bar spring or your café runs lower pressure and you like the coffee, keep it. It's unlikely to be hurting your shots with traditional recipes. Just be careful with very coarse, fast shots.
3. Focus on what really changes taste
- Grind size and distribution: they control puck resistance and flow. My guide to coffee grind size explains how to dial in.
- Puck preparation: even distribution and level tamping prevent channeling.
- Brew ratio and contact time: adjusting dose and yield, such as 1:2 to 1:2.5, changes strength and extraction.
- Water temperature: roughly 199 to 203°F for light roasts and cooler for dark roasts.
4. Be skeptical of untested claims
When someone describes a dramatic flavor change from a pressure tweak, ask how they tested it. Was it blind? Were dose, yield, grind and temperature identical? Without that, expectation often does the tasting.
A light roast starting recipe that works at 9 bar
If you're pulling light roasts on a standard 9 bar machine, here's a starting point that worked well in my kitchen:
- Dose: 18 to 20 g.
- Yield: about 2 to 2.5 times the dose, for example 40 to 50 g.
- Time: roughly 25 to 30 seconds, adjusted by taste.
- Temperature: 199 to 203°F (93 to 95°C).
- Pre-infusion: a few seconds at low pressure if your machine offers it.
- Puck prep: careful distribution with a needle tool and a level tamp.
If it tastes sour, grind finer or extend the yield. If it tastes harsh and drying, check for channeling first, then grind a touch coarser. Leave the pressure alone.
Run your own blind test at home
If your machine lets you change pressure, you can repeat a simple version of this test.
- Pick one coffeeUse a fresh bag you know well.
- Fix the recipeSame dose, yield, grind and temperature for every shot.
- Pull pairsOne shot at each pressure, alternating which goes first.
- Mark the cups secretlyAsk someone to label the bottoms or shuffle them for you.
- Cool them equallyTaste both at the same temperature, with the same handling.
- Pick a favoriteWrite it down before revealing which is which. Repeat at least five times.
If your preference matches the same pressure every time, you've found a real difference. If it's random, the pressure isn't what's shaping your coffee.
What this means when buying a machine
Don't choose an espresso machine based on its pump rating. A "15 bar" or "20 bar" label says nothing useful about brewing quality.
Look instead at temperature stability, whether the brewing pressure is regulated to a sensible level, pre-infusion options and, if you're curious about light roasts, flow control. And budget properly for a grinder.
My guides to espresso machine types and super-automatic vs semi-automatic machines explain what those features mean in practice.
Pressure glossary
What I changed in my own routine
Before running these tests, I'd been tempted to lower my machine's pressure. A lot of what I'd read made it sound like an easy upgrade.
After weeks of blind tastings, I left the machine at 9 bar. Instead, I spent my effort on the things that clearly made a difference: a needle tool for distribution, a consistent tamp, careful notes on dose and yield, and matching temperature to each coffee.
I also stopped worrying when the gauge drifted a little between shots. It turned out to be a reflection of the puck, not a sign that the machine was misbehaving.
I now keep a short log for each new bag: dose, yield, time, temperature and one line on taste. When a shot goes wrong, the log almost always points to grind, prep or bean age, never to pressure. That habit has done more for my espresso than any hardware change I have made in years.
My shots got better, and more importantly, they got more consistent. That's the most useful thing this whole experiment taught me.
Who should actually care about pressure?
For most home baristas, pressure is a setting to check once and then forget. But a few groups have good reasons to pay attention.
Owners of unregulated budget machines
If your machine brews far above 9 bar, shots can channel easily and taste harsh. Checking with a gauge and lowering pressure toward 9 bar, where possible, is worthwhile.
Light roast experimenters
If you pull turbo shots, allongés or other coarse, fast recipes, pressure clearly matters. In my tests, sticking with 9 bar gave smoother, sweeter results for those styles.
Lever and profiling enthusiasts
If you use a spring lever or a flow-profiling machine, pressure is part of your recipe. Experiment, but taste blind when comparing profiles.
Everyone else
If you pull traditional shots on a regulated machine, your time is better spent on grind, puck prep, ratio and fresh beans. Pressure is already doing its job.
Common mistakes
- Trusting the pump rating. A "20 bar" label isn't the pressure at the coffee.
- Changing pressure to fix a grind problem. Sour or bitter shots are usually about grind, ratio or puck prep.
- Comparing shots at different temperatures. Cooler cups taste sweeter; let both cool equally.
- Changing several variables at once. You can't learn what made the difference.
- Using very coarse grinds at low pressure. In my tests, that was the one combination that tasted worse.
Myths
"6 bar always makes light roasts sweeter"
In my blind tests, it never did. With fine grinds there was no difference; with a coarse, fast recipe, 9 bar tasted better.
"Higher pump pressure means better espresso"
Pump ratings of 15 or 20 bar are maximums, not brewing pressure. More isn't better.
"Lower pressure always means more consistent shots"
In my tests, consistency depended on the coffee and recipe more than the pressure.
"The gauge shows what the coffee feels"
The gauge reflects pump output meeting puck resistance. Grind and puck prep shape it as much as the machine does.
The verdict
For traditional espresso with a properly fine grind, 6 bar and 9 bar taste the same. The puck limits flow, so extra pressure doesn't change much.
Pressure starts to matter with coarser, faster shots, where the puck is fragile. In my blind tests, 9 bar clearly won there.
The bigger lesson is about how we judge coffee changes in general. A tweak that sounds logical and feels exciting can still make no real difference once you remove expectation from the tasting. Blind comparison is the most powerful tool a home barista has, and it costs nothing.
It also works the other way. Some changes that sound boring, like more careful distribution or a slightly longer ratio, turn out to make a clear difference every time. Those are the ones worth building into your routine.
So don't lose sleep over your gauge. Spend your energy on fresh beans, a good grinder, careful puck preparation, the right ratio and the right temperature. That's where better espresso really comes from.
Frequently asked questions
Is 6 bar or 9 bar better for espresso?
For traditional fine-ground shots, they taste the same in blind tests. With coarse, fast shots, 9 bar tasted better in my testing.
What does 9 bar mean?
About nine times atmospheric pressure, roughly 130 psi, the traditional espresso brewing pressure.
Is a 15 or 20 bar machine better than 9 bar?
No. Those numbers are pump maximums. Most machines regulate brewing pressure to around 9 bar.
Should I lower my machine's pressure to 6 bar?
Usually not worth it for flavor. It may help machines that run far above 9 bar at the puck.
Does lower pressure reduce channeling?
Not reliably in my tests. Grind and puck preparation matter far more.
Do spring lever machines follow the same rules?
No. Their pressure declines throughout the shot, so results from pump machines don't apply directly.
What matters more than pressure?
Grind size, distribution and tamping, brew ratio, temperature and bean quality.
Is pre-infusion worth using?
Often yes. A gentle pre-infusion can improve evenness more than changing maximum pressure.

- Michael Reynolds, blind side-by-side tastings at 6 and 9 bar
- Espresso, Wikipedia
- Espresso machine, Wikipedia
- Bar (unit), Wikipedia
- Darcy's law (flow through porous media), Wikipedia
Related guides
Coffee grind size explained Espresso crema explained Espresso machine types explainedWritten by Michael Reynolds. Last updated November 20, 2026.