Espresso Crema Explained: What It Is, What It Tells You and Whether It Matters
That golden-brown foam on top of an espresso looks like a badge of quality. Sometimes it is, sometimes it isn't. Here's what crema actually is, what its color and thickness reveal about your shot, and how to read it like a barista.
We choose products independently. We may earn a commission through links on this page; your price stays the same. Affiliate policy
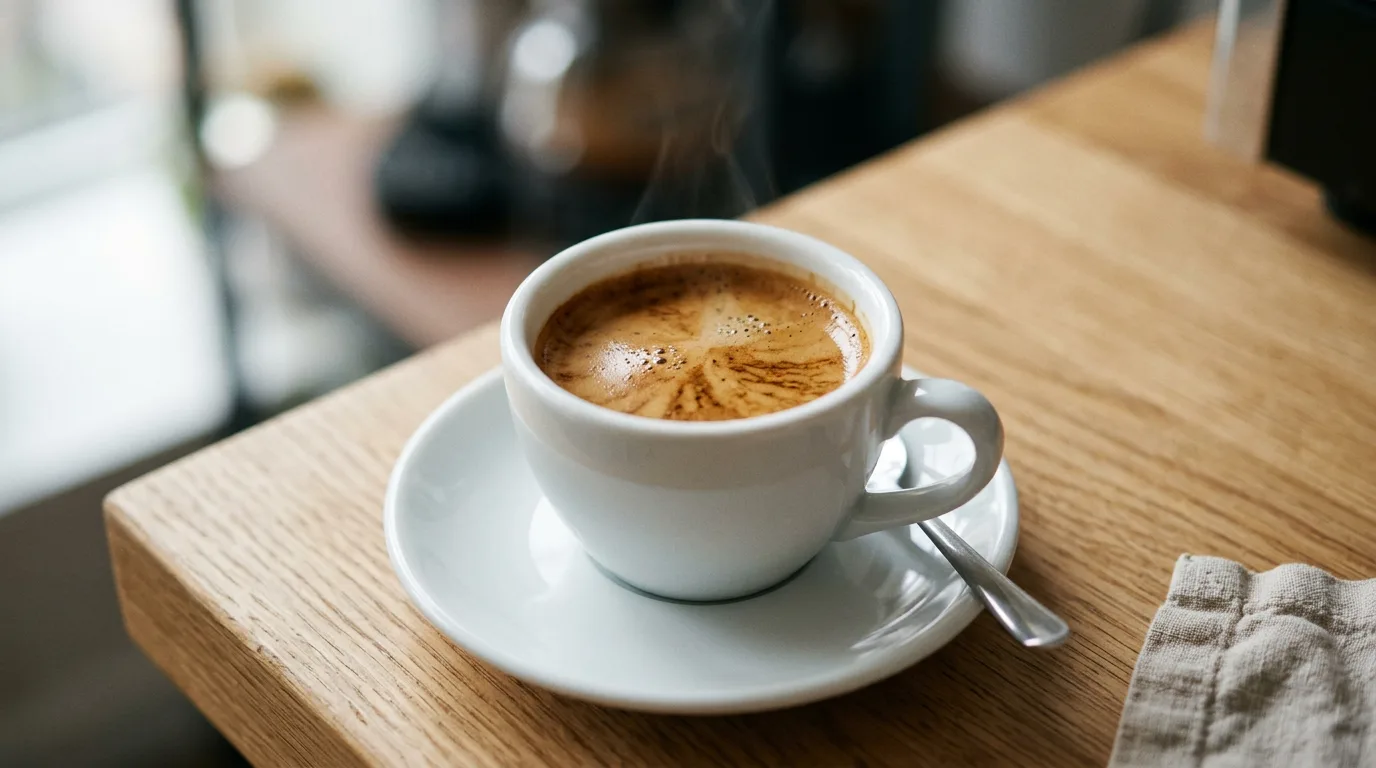
Crema is a foam of tiny carbon dioxide bubbles wrapped in coffee oils and dissolved solids. It forms because espresso is brewed under about 9 bars of pressure, which forces gas from fresh coffee into the liquid. Good crema is a sign of fresh beans and a well-made shot, but it isn't proof of great flavor. Taste always beats looks.
Why I wrote this
Crema is the first thing anyone notices about an espresso. In machine reviews, readers ask me about it more than anything else. "Does this machine make good crema?" comes up in almost every comment section.
The trouble is that crema is easy to misread. I've pulled thick, gorgeous crema from stale robusta blends that tasted like ash. I've also pulled thin, pale crema from a superb light roast that tasted like fruit and honey.
So I wanted to explain what crema really is, what it can and can't tell you, and how to use it as a quick diagnostic tool without being fooled by it.
What you'll learn
- The science of crema, in plain language.
- Why some beans and machines make more of it than others.
- How to read crema color and texture to troubleshoot your shot.
- Whether to stir it, skim it or just drink it.
What crema actually is
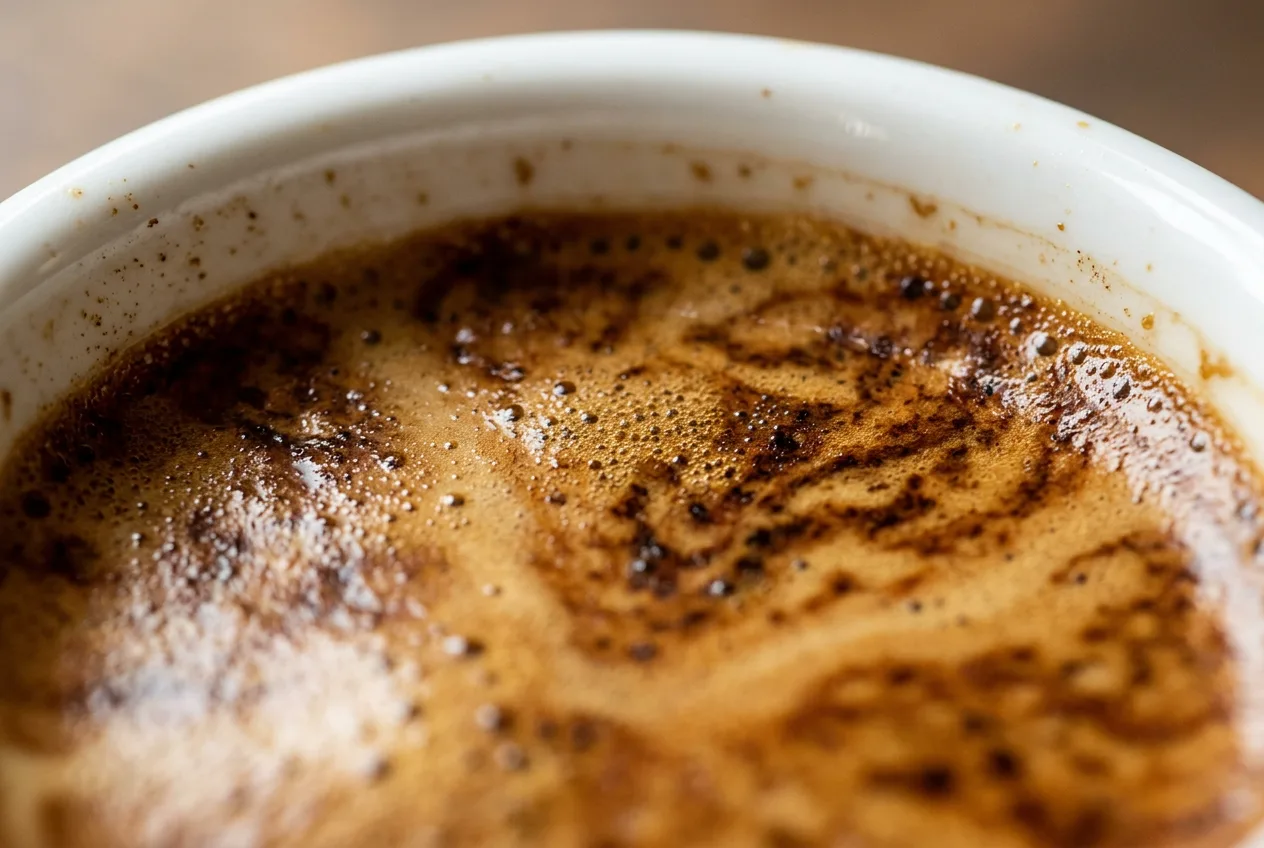
Crema is the reddish-brown foam that sits on top of a freshly pulled espresso. "Crema" is simply Italian for cream.
It isn't cream, though, and it isn't a separate ingredient. It's coffee in a different form: a foam made of three main things.
| Component | Where it comes from | What it does |
|---|---|---|
| Carbon dioxide bubbles | Gas trapped in the beans during roasting | Creates the foam itself |
| Coffee oils | Natural lipids in the bean | Coat the bubbles and add texture and aroma |
| Dissolved solids and melanoidins | Browning compounds formed in roasting | Stabilize the foam and give it color |
| Fine coffee particles | Tiny fragments from grinding | Create darker flecks and stripes |
Think of it like the head on a beer. It's made from the same drink underneath, just whipped into bubbles by gas and held together by natural compounds.
How much of the cup is crema varies a lot. On a very fresh robusta blend, the foam can fill a large share of the glass at first. On an older light roast, it may be a thin skin. Most well-made shots of fresh arabica sit somewhere in between, with a layer a few millimeters thick that covers the whole surface.
The color usually ranges from golden to a deep reddish brown. That color comes mostly from the same browning compounds that give roasted coffee its color, so darker roasts naturally make darker crema.
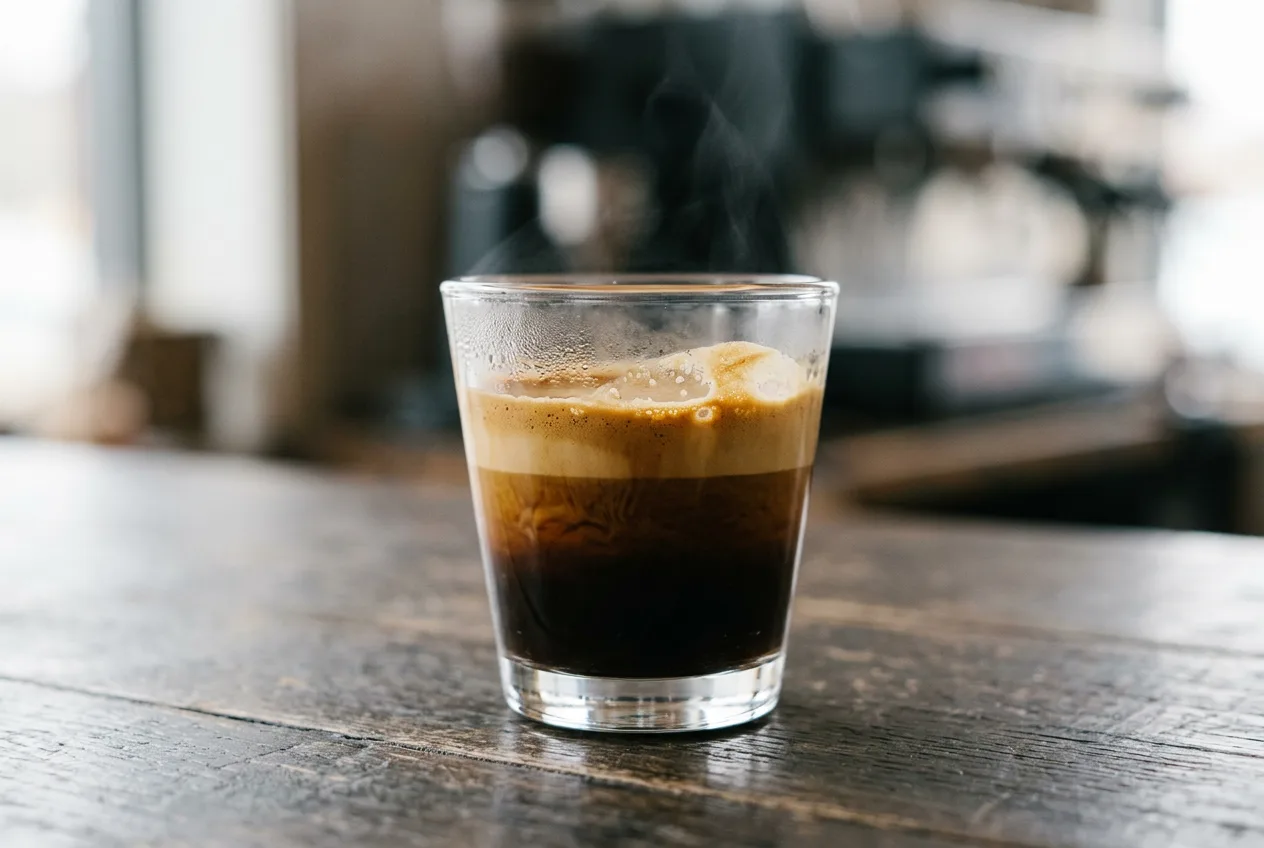
Our tip: Pull a shot into a clear glass once. Watching the crema separate and settle on top of the dark liquid shows you exactly what it is better than any diagram.
How crema forms, step by step
Crema exists because of pressure. Ordinary drip coffee doesn't have it, and neither does a French press. The difference is what happens inside an espresso machine.
Roasting leaves a lot of carbon dioxide trapped inside coffee beans. Under high pressure, water can hold far more dissolved gas than it can at normal air pressure. It's the same principle that keeps the fizz in a sealed bottle of soda.
- Pressure builds in the puckThe machine pushes hot water through finely ground coffee at around 9 bars, about nine times normal air pressure.
- Gas dissolves into the liquidCO2 from the grounds dissolves into the pressurized water, along with oils and coffee solids.
- Pressure drops at the exitAs the espresso leaves the basket and spouts, it returns to normal pressure. The liquid can no longer hold all that gas.
- Bubbles formThe gas comes out as millions of tiny bubbles, just like opening a soda.
- Oils and solids trap themCoffee oils, proteins and browning compounds coat each bubble, so the foam holds together for a while instead of popping at once.
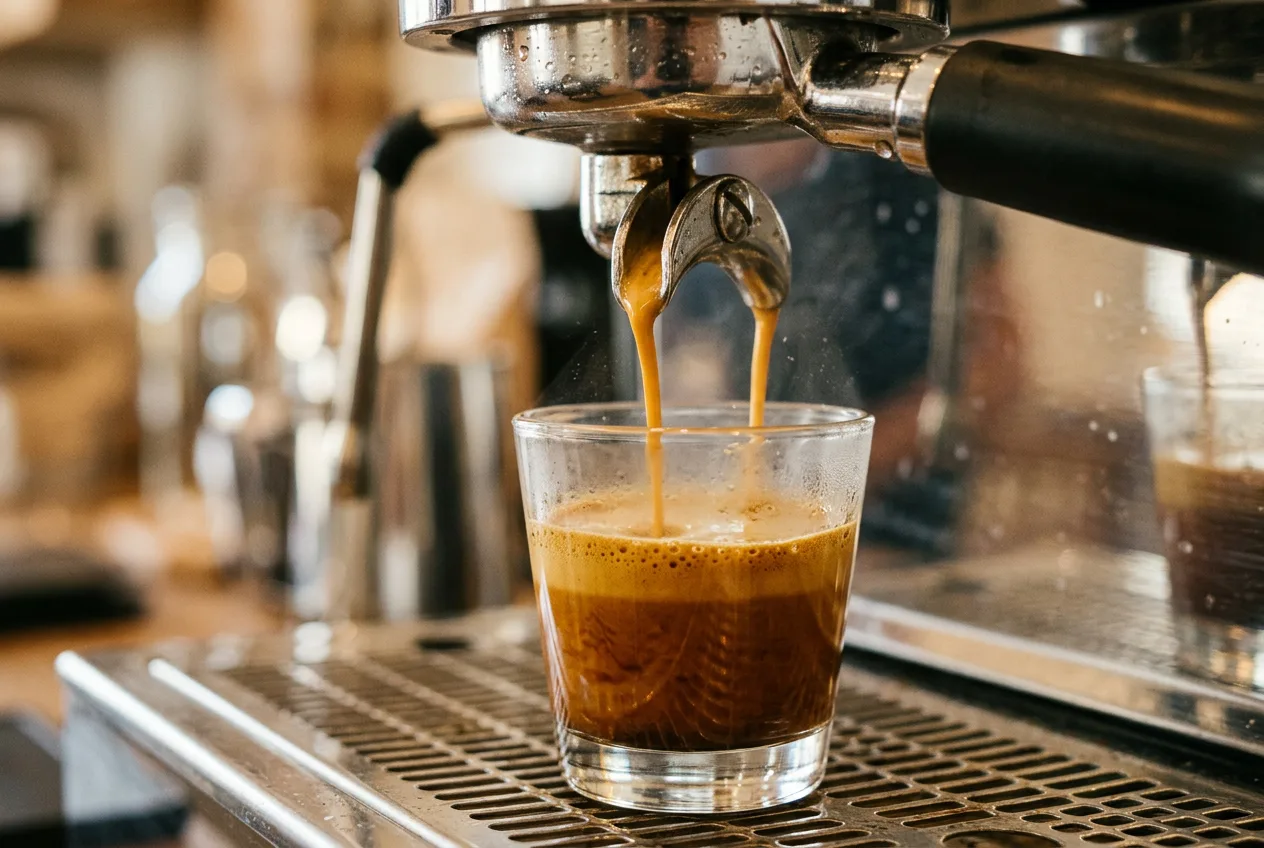
Because the foam is lighter than the liquid, it rises to the top of the cup. In the first seconds after a shot, the whole glass can look foamy. Over the next half minute it separates into dark espresso below and a distinct crema layer on top.
Why crema fades
Crema isn't permanent. The bubbles slowly merge and pop, and the gas escapes. Within a minute or two you'll see it thin out and break apart, and after several minutes there's usually only a pale ring left.
That's one reason baristas serve espresso immediately. A shot that's been sitting is easy to spot from its tired, patchy crema.
A short history of crema
Early espresso machines in the first half of the 20th century used steam pressure. They only reached around 1.5 bars, enough to brew quickly but not enough for real crema. The coffee was strong, often harsh and fairly flat on top.
That changed with piston lever machines. Achille Gaggia, a Milanese café owner, developed a spring lever design that pushed water through the coffee at much higher pressure. His machines reached cafés after the Second World War, around 1948.
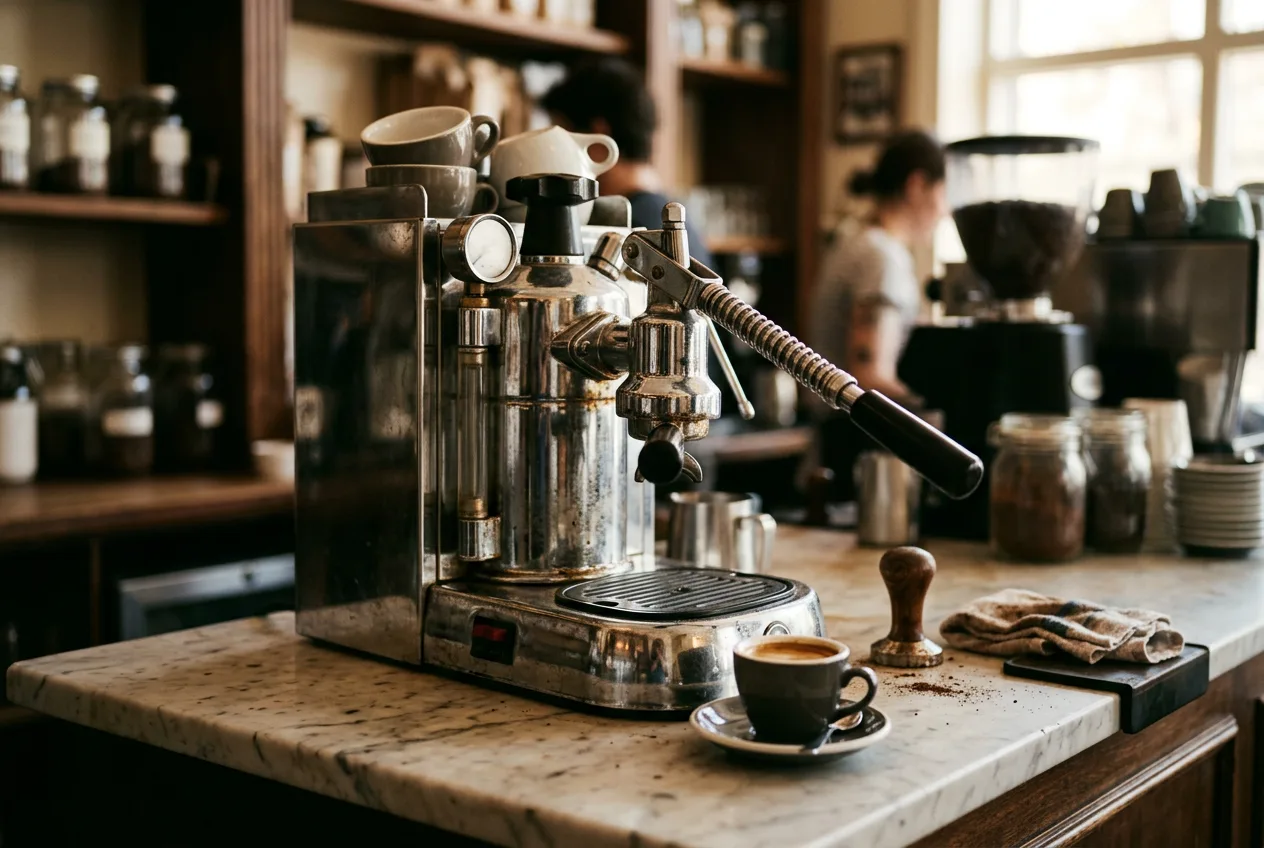
The new machines produced a layer of foam that customers had never seen. At first, some were suspicious of the "scum" on their coffee. Gaggia is said to have marketed it as "caffè crema naturale" to present it as a natural mark of quality.
It worked. Crema became the defining look of espresso, and later pump machines kept the same high-pressure principle. Seventy-odd years on, people still judge an espresso by its crema before they taste it.
What affects crema
Several things decide how much crema you get, how dark it is and how long it lasts. In rough order of importance:
| Factor | Effect on crema |
|---|---|
| Bean freshness | The biggest factor. Fresh beans have lots of CO2; stale beans have little |
| Robusta content | Robusta makes thicker, longer-lasting crema |
| Roast level | Darker roasts make darker crema that fades faster as beans age |
| Grind and flow | A good flow rate builds dense crema; gushing shots make thin, pale crema |
| Pressure | Low pressure means little crema; pressurized baskets add foam artificially |
| Pre-ground coffee | Loses CO2 quickly, so crema is weak |
Freshness and CO2: the biggest factor
Since crema is made from CO2, the amount of gas left in your beans matters most. That's why freshness and crema are so closely linked.
Typical crema by days since roasting
A general pattern for whole beans stored well. Roast level and storage shift the timing.
Too fresh
Beans just a few days off the roaster are packed with gas. The shot foams wildly, the crema is huge, pale and bubbly, and the coffee often tastes sour and thin. Beans for espresso usually need a rest of about a week first. I explained why in coffee freshness, resting and degassing.
Too old
Beans that are many weeks past roasting have lost most of their CO2. The crema is thin, pale and disappears quickly. Ground coffee loses its gas within hours to days, which is why pre-ground espresso rarely makes good crema.
Our tip: If your crema suddenly gets thin with a bag you've been using for weeks, it's probably not your machine. The beans are running out of gas. Try a fresh bag before changing your settings.
Beans and roast
Robusta: the crema booster
Robusta beans produce noticeably thicker, more persistent crema than arabica. That's one reason traditional Italian espresso blends often include 10% to 30% robusta. It gives a dense, long-lasting cap on the cup and more body in the mouth.
The trade-off is flavor. Robusta brings more bitterness and earthy, woody notes, and roughly double the caffeine. A 100% arabica espresso usually has a lighter, thinner crema, but often a sweeter, more complex taste. I compared the two in arabica vs robusta.
Roast level
Roast changes crema in a few ways:
- Light roasts tend to make lighter, golden crema. It can be thinner, especially if the shot runs fast.
- Medium roasts usually give the classic hazelnut-brown crema with good thickness.
- Dark roasts start with plenty of crema, often darker and redder. But their more porous structure lets gas escape faster, so the crema fades sooner as the bag ages.
More on the stages of roasting in coffee roast levels explained.
Grind, dose and pressure
Even with perfect beans, how you pull the shot changes the crema.
- Grind too coarse: water gushes through, the shot runs in 10 to 15 seconds, and the crema is thin, pale and quick to vanish.
- Grind about right: a steady, syrupy flow over 25 to 30 seconds builds a dense, even layer.
- Grind too fine: the shot drips slowly and the crema turns very dark, sometimes with a big dark spot in the middle.
- Low dose: less coffee means less gas and less resistance, so less crema.
- Uneven puck: channeling creates patchy crema with holes and pale streaks.
Machine pressure matters too. Most home pump machines advertise 15 or 20 bars, but what reaches the coffee is usually closer to the classic 9 bars, which is what you want. Very low pressure, from a weak machine or a stalled pump, produces little crema at all.
Reading crema: what the color tells you
Crema is most useful as a quick visual check. Before I even taste a shot, its color and texture give me a decent guess about how it went.
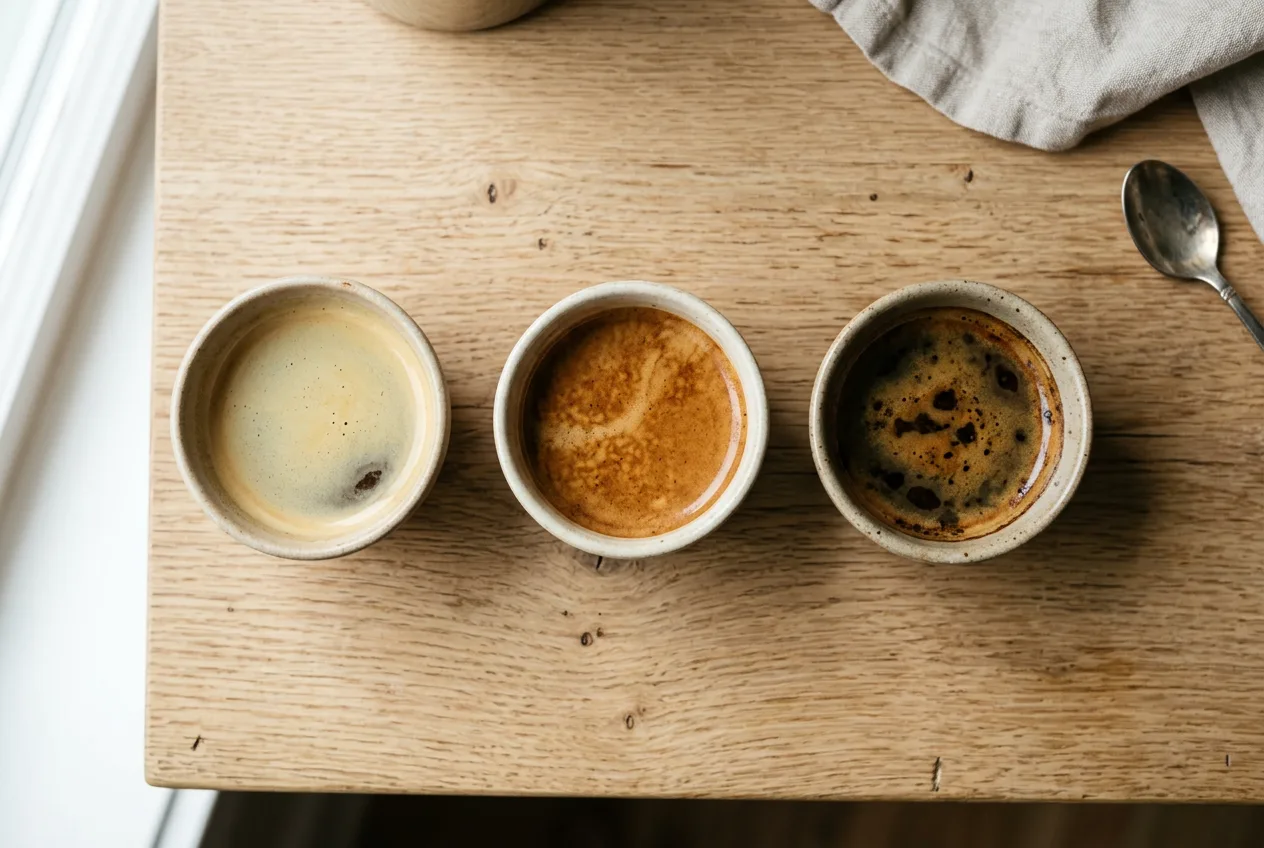
| Crema looks | Likely cause | Likely taste |
|---|---|---|
| Pale yellow, thin, big bubbles | Under-extracted, grind too coarse or beans stale | Sour, thin, weak |
| Very foamy, pale, overflowing | Beans too fresh | Sour, gassy, sharp |
| Hazelnut to reddish-brown, fine and even | Well extracted, fresh beans | Sweet, balanced |
| Dark brown with a dark center spot | Over-extracted, grind too fine | Bitter, harsh |
| Very dark, thin, fades fast | Very dark roast or water too hot | Bitter, roasty, ashy |
| Patchy with holes or pale streaks | Channeling, uneven puck | Sour and bitter at once |
Use this as a starting point, not a verdict. A pale crema from a light roast can be perfectly fine, and a dark crema from a dark roast is normal. Compare shots of the same coffee, not shots of different coffees.
If you want to dig into the taste side of these problems, see why coffee tastes bitter or sour.
Tiger stripes and leopard spots
Look closely at a good shot as it pours and you'll often see dark reddish-brown stripes running through the lighter crema. Baristas call this "tiger striping." Once it settles in the cup, you may see a mottled pattern of darker flecks, sometimes called "leopard spots."
These patterns come from tiny coffee particles, called fines, and pockets of more concentrated coffee mixing into the foam. They're traditionally seen as a sign of a rich, well-extracted shot, and they usually do appear when the grind and flow are in a good range.
But they're not a guarantee. Robusta blends and darker roasts show striping more easily, and some excellent light-roast shots show very little. Enjoy the stripes, but don't chase them.
Does more crema mean better espresso?
Not necessarily. This is the most common crema myth I come across.
Crema tells you that there was gas in the coffee and pressure in the machine. It says a lot about freshness and a bit about extraction. But it says very little about flavor.
- Lots of crema, poor taste: robusta-heavy blends, pressurized baskets and over-fresh beans can all produce a big, impressive crema on an average or bad-tasting shot.
- Little crema, great taste: a light-roasted single origin, a few weeks old, can make a modest crema and still taste sweet and complex.
- No crema, still espresso: decaf and older beans can make perfectly drinkable shots with only a thin layer.
My rule: crema is a useful warning light, not a score. If it's suddenly very different from usual, something changed. But the cup is judged by taste.
Our tip: When comparing espresso machines, I always taste with the same beans and similar shot times. Crema differences between machines are often due to basket design, not better coffee.
What crema tastes like on its own
Here's a simple experiment I recommend to everyone. Pull a shot, then take a small spoon and scoop a little crema off the top. Taste it on its own.
Most people are surprised. Crema on its own tends to taste bitter, dry and a bit ashy. It has a strong aroma, but it isn't the sweet, rich part of the shot.
Then taste the espresso underneath. It's usually sweeter, rounder and more acidic. The crema and the liquid are really two different experiences.
That's because the foam carries a lot of the more volatile and bitter compounds, along with the gas. The bubbles also feel drier on the tongue than the liquid does.
Should you stir, skim or just sip?
There are three schools of thought, and none of them is wrong.
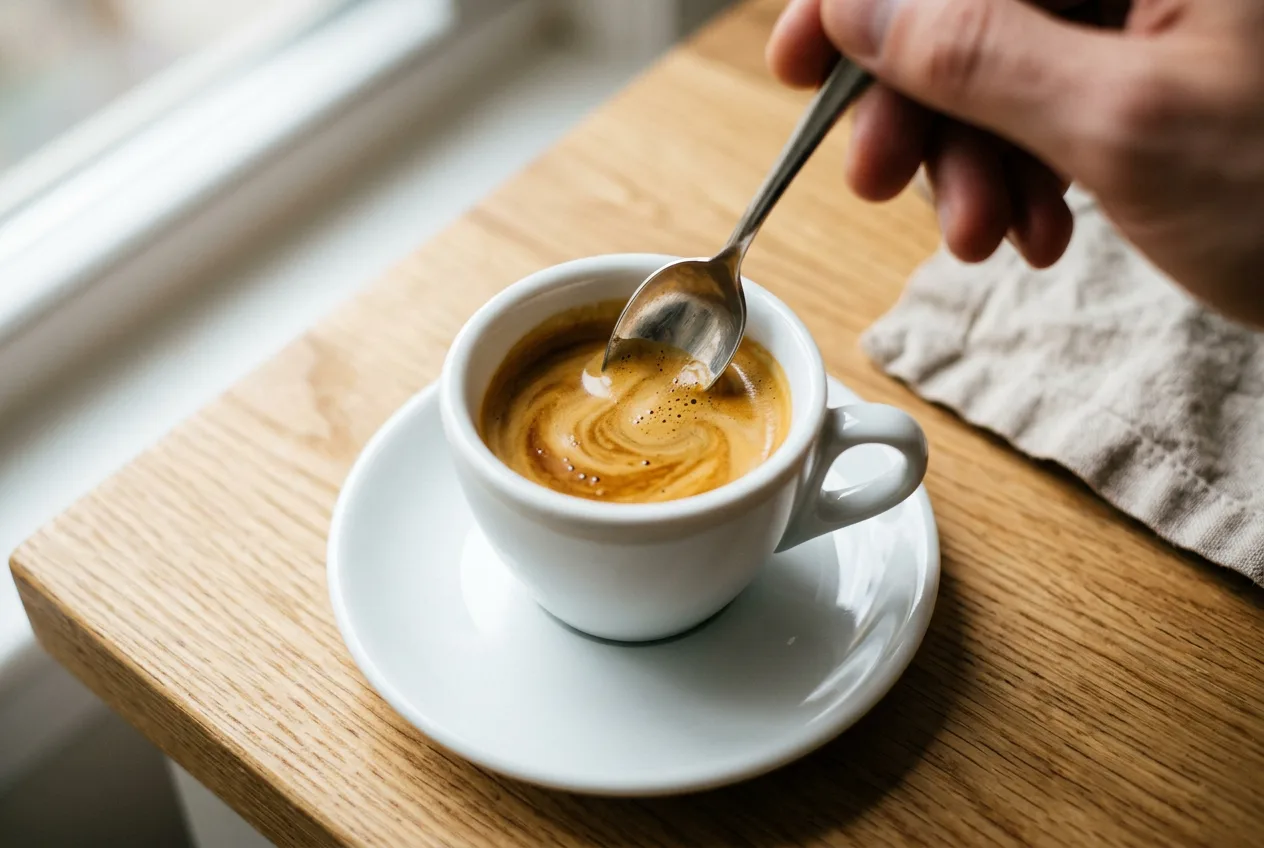
1. Stir it in
This is what most Italians do, often with a little sugar. A quick stir mixes the crema into the liquid, so every sip has the same balance of bitterness, sweetness and texture. It's my everyday choice.
2. Skim it off
Some coffee professionals have argued for scooping off the crema before drinking. With it gone, the shot often tastes sweeter and less bitter. It's worth trying once, especially with a robusta-heavy blend, though most people find the texture a bit lacking afterwards.
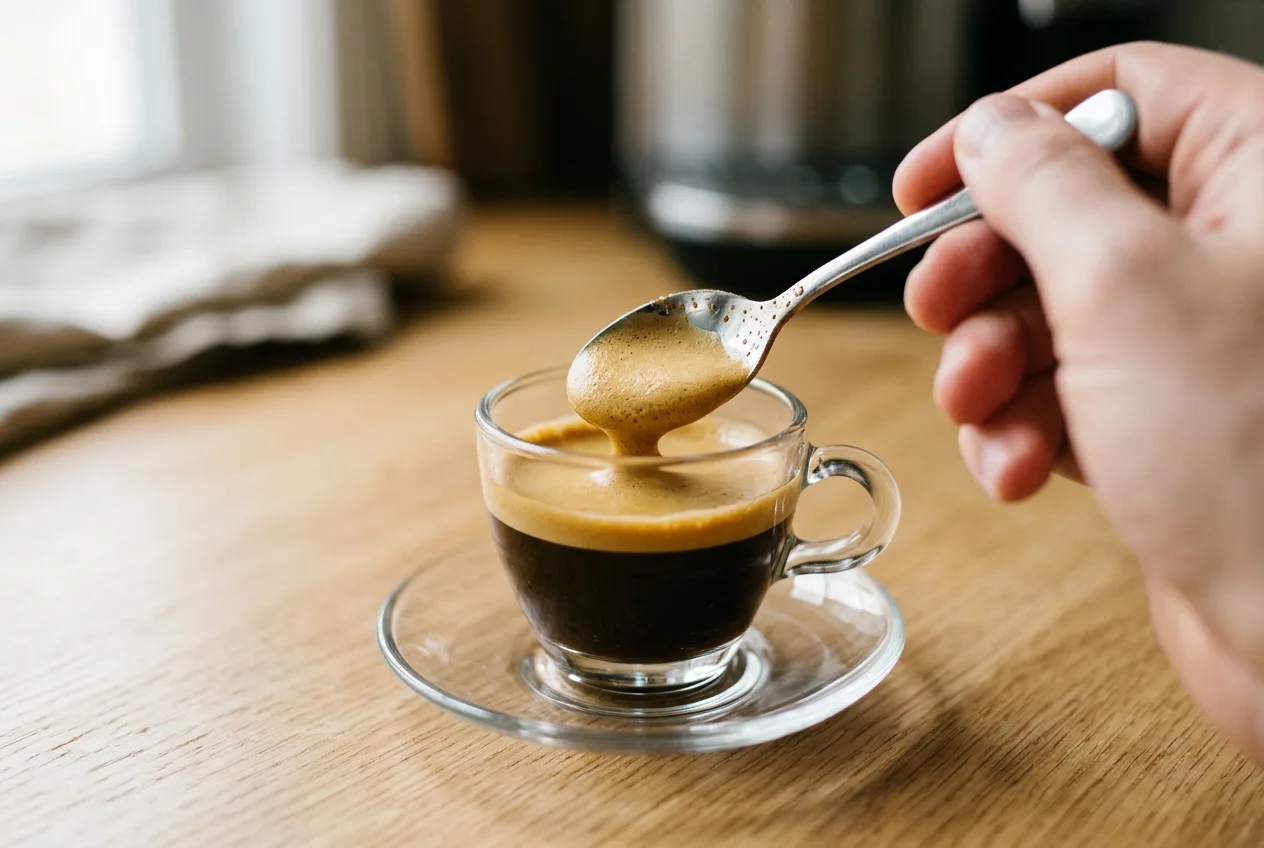
3. Sip it as it is
Drinking without stirring gives you a changing experience: aroma and bitterness from the crema first, then sweetness and body from the coffee underneath. Some people love that progression.
Our tip: Try all three with the same shot by pulling a double and splitting it into two small cups. It's the fastest way to find your own preference.
Pressurized baskets and pods: "fake" crema?
Many entry-level espresso machines come with pressurized, or dual-wall, filter baskets. Instead of many tiny holes, the bottom has a second wall with just one small hole.
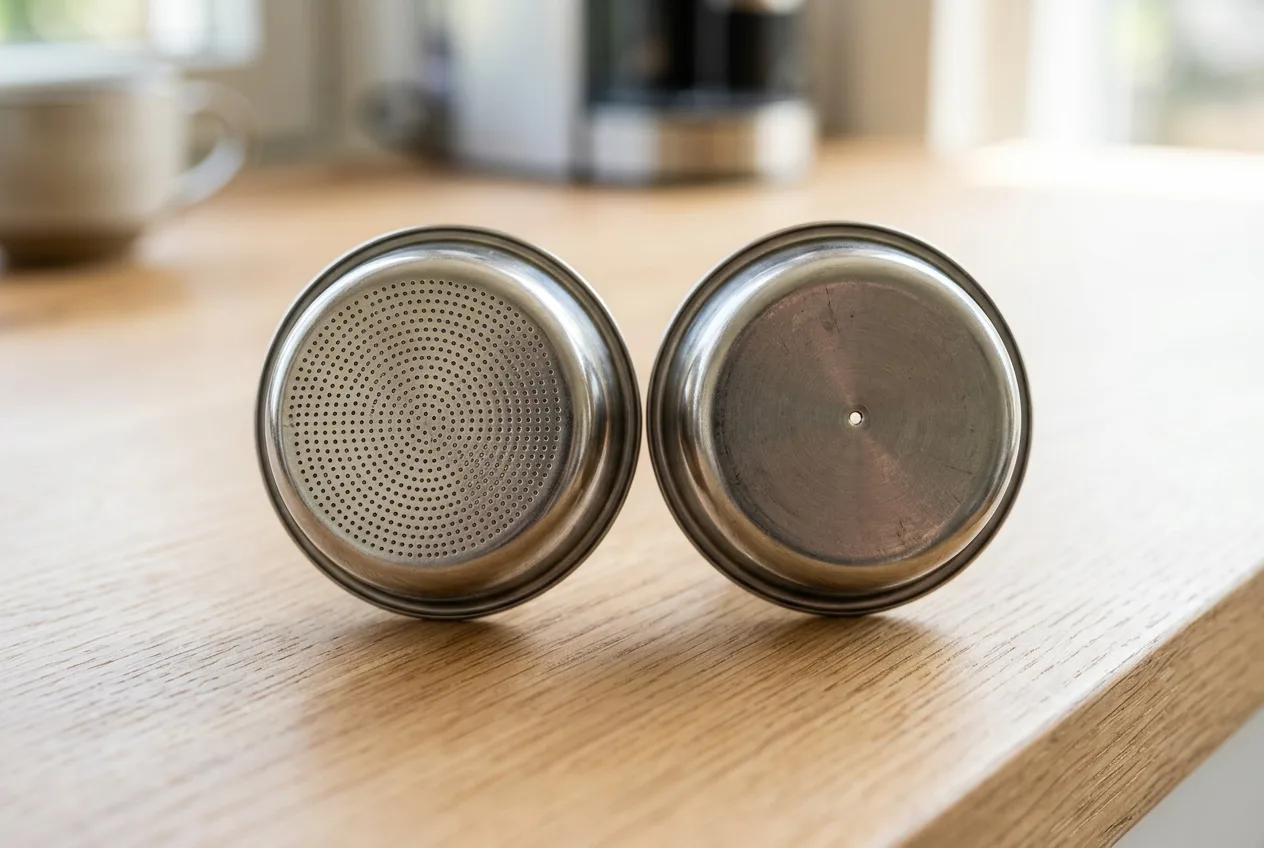
That single hole creates resistance on its own. The coffee squirts through it at speed and gets whipped with air, so you get a foamy crema even with pre-ground or stale coffee and an imperfect grind.
It's not really "fake," since it's still coffee foam, but it's created mechanically rather than by fresh beans and a good extraction. It looks right, it tends to be lighter and more bubbly, and it tells you almost nothing about how well the shot was made.
Pressurized vs standard baskets
| Feature | Pressurized basket | Standard basket |
|---|---|---|
| Works with pre-ground coffee | Yes | Poorly |
| Forgiving of grind and tamp | Very | Not very |
| Crema | Always foamy, often bubbly | Reflects beans and extraction |
| Flavor ceiling | Limited | Much higher |
| Best for | Beginners without a good grinder | Fresh beans and a burr grinder |
Capsule machines work in a similar way. The capsule and the machine's pressure create plenty of crema from coffee that was ground and sealed weeks or months earlier. The foam is nitrogen-flushed packaging and pressure doing their job, not a sign of a fresh bean.
If your machine came with both basket types, try switching to the standard one once you have a burr grinder and fresh beans. The crema may look less dramatic, but the coffee usually tastes better.
What about moka pot "crema"?
Stovetop moka pots make strong, espresso-like coffee, and sometimes there's a thin light foam on top. People often call it crema, but it's not quite the same thing.
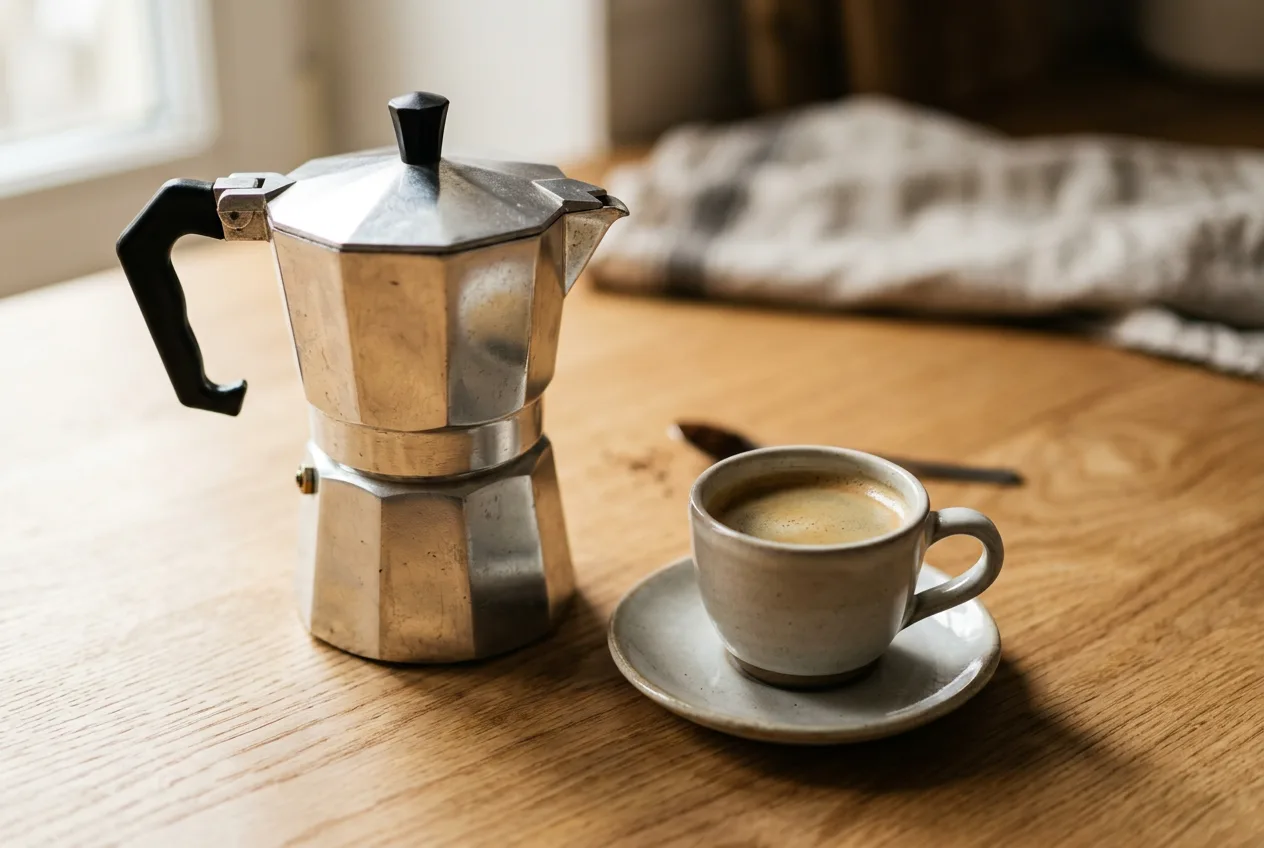
A moka pot only reaches about 1 to 1.5 bars of pressure. That's enough to push water up through the coffee but not enough to dissolve much CO2 into it. The foam you see is usually thin and short-lived.
There are tricks to make more foam, like whipping a spoonful of the first coffee with sugar, as people do for Cuban-style coffee. That makes a lovely sweet foam, but it's a different thing from true espresso crema.
Crema in milk drinks
In a cappuccino or flat white, crema plays a practical role. It forms the brown canvas that latte art is poured onto. A good layer of crema makes it easier to get crisp, high-contrast patterns.
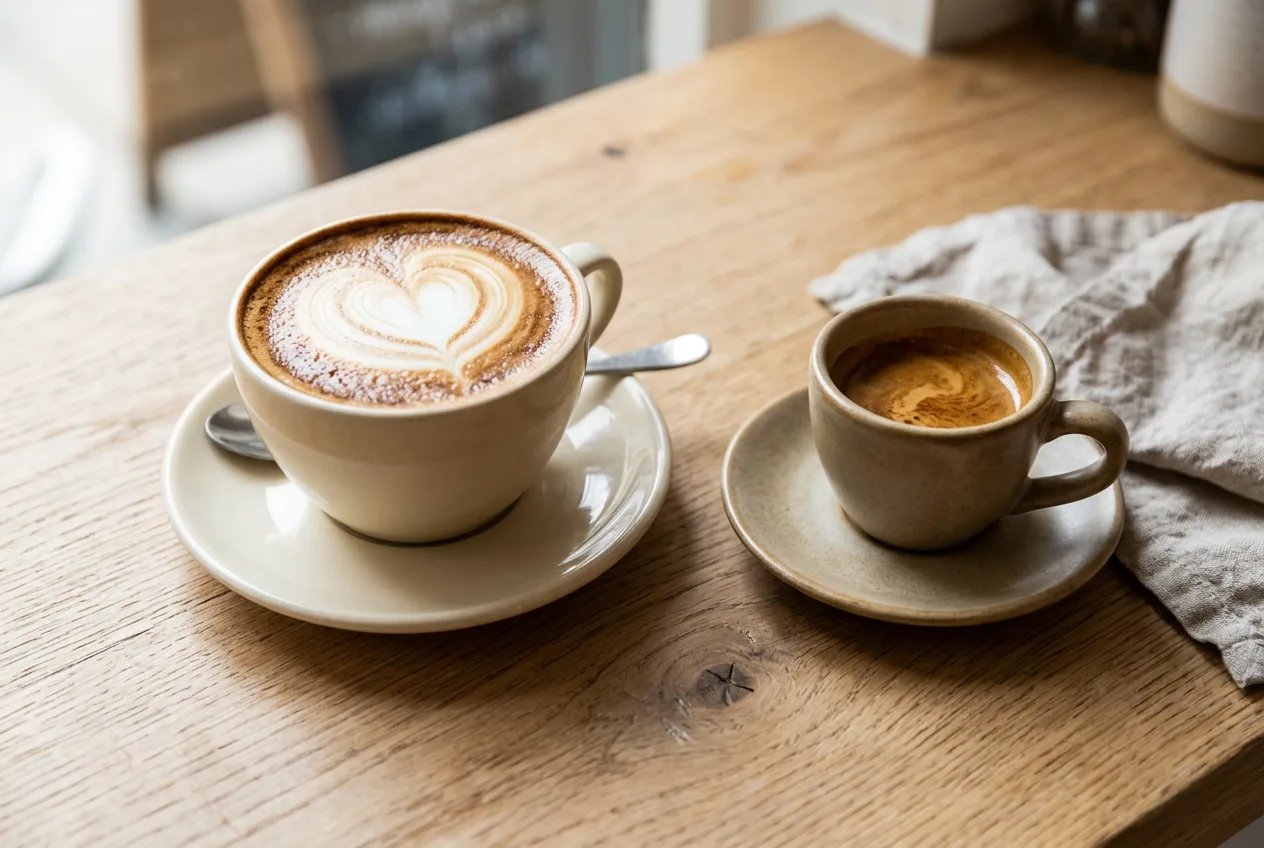
Don't confuse crema with microfoam. Crema is coffee foam that comes from the shot. Microfoam is steamed milk with very fine bubbles. When you pour latte art, the white microfoam sits on and mixes with the brown crema to create the design.
If your crema is very thin or has already broken up, latte art tends to look muddy. That's one more reason to pour milk drinks right after pulling the shot.
Watching crema form during a shot
The best way to learn crema is to watch it build. Next time you pull a shot, keep your eyes on the spouts and the cup from start to finish.
- 0 to 7 seconds: nothing, then first dropsWater fills the basket and soaks the puck. On many machines this is a gentle pre-infusion. Then the first dark drops appear.
- 7 to 15 seconds: dark, thick flowThe stream is dark brown and syrupy, like warm honey. This early espresso carries lots of oils and solids and starts building the crema base.
- 15 to 25 seconds: tiger stripesThe stream turns a rich reddish-brown and often shows darker stripes. The crema in the cup rises and thickens.
- 25 to 30 seconds: lighteningThe color gets paler and the stream thins out. This is about when most shots should end.
- After 30 seconds: blondingThe stream turns pale yellow and watery. Letting it run adds bitterness and thins the crema's color.
Timings vary with the machine and the recipe, but the color sequence is nearly always the same. Learning it lets you stop a shot at the right moment by eye.
Crema on short and long shots
The length of the shot changes the crema you see on top.
| Shot | Typical ratio | Crema |
|---|---|---|
| Ristretto | About 1:1 to 1:1.5 | Dark, dense, a large share of the cup |
| Normale | About 1:2 | Classic hazelnut layer with striping |
| Lungo | About 1:3 or more | Paler, thinner, fades faster |
| Americano | Shot plus hot water | Broken up if water goes on top; kept if the shot goes on the water |
A ristretto stops before the pale tail, so its crema is darker and richer. A lungo keeps running into the blond phase, which dilutes and lightens the foam. Neither is wrong. They're just different drinks.
How baristas use crema in a café
In a busy café, baristas don't have time to taste every shot. Crema is one of their quickest quality checks.
- Color at the start of service: after dialing in each morning, they learn what "right" looks like for that day's coffee and watch for changes.
- Sudden pale crema: often means the grinder has drifted coarser as it warms up, or the hopper is running low.
- Sudden dark crema: often means the grind has drifted finer or a basket is over-dosed.
- Patchy crema: points to poor distribution or a worn tamper, and a shot that should be dumped.
The key point is that they compare crema against the same coffee earlier in the day. That's exactly how you should use it at home: as a "something changed" signal.
A simple crema test at home
If you want to compare beans, grind settings or machines, this quick test gives you something more objective than a glance.
- Use a clear, straight-sided glassA small shot glass with measurement lines is ideal.
- Pull the shot directly into itKeep the dose, output and time the same as usual.
- Wait 30 secondsLet the foam separate. Note the height of the crema layer compared with the liquid.
- Wait 2 minutesCheck again. Good crema from fresh beans will still cover the surface. Weak crema will have holes or have shrunk to a thin ring.
Write down the results alongside the bean, roast date and grind setting. Over a few bags you'll see clear patterns, especially how fast crema drops off as beans age.
What I see across different machines
Testing many machines side by side with the same beans has taught me how much the equipment shapes crema.
- Entry-level machines with pressurized baskets make the most "impressive" crema with the least effort. It's often light and bubbly and looks the same whatever the beans.
- Single-boiler machines with standard baskets show the truth. Crema varies with freshness and grind, which makes them great teachers.
- Dual-boiler and heat-exchanger machines give the most consistent crema shot after shot, thanks to stable temperature.
- Lever machines often produce a dense, velvety crema, as pressure tapers off gently during the shot.
- Capsule machines make plenty of foam reliably, but it's more about the capsule than the coffee's freshness.
If you're choosing a machine, don't pick it by crema photos in ads. Ask whether it has standard baskets and steady temperature. Those matter far more for taste.
Crema and aroma
Crema may not taste as good as the liquid underneath, but it does an important job for aroma. The foam traps volatile aromatic compounds, and as the bubbles pop, they release those aromas right under your nose.
That's part of why the first sniff of a fresh espresso is so intense. It's also why a shot that has sat for a few minutes smells flat. The crema has collapsed, and much of the aroma has drifted away with it.
So even if you prefer to skim or stir, take a moment to smell the shot first. A lot of what we call "flavor" is really smell, and the crema delivers most of it in those first seconds.
A beginner's crema checklist
If you've just bought your first espresso machine and the crema looks wrong, check these in order before changing anything else:
- Is there a roast date on the bag, and is it between one and five weeks ago?
- Are you grinding fresh, right before each shot?
- Is the machine fully warmed up? Most need 15 to 30 minutes.
- Are you using the right basket? Pressurized for pre-ground, standard for fresh-ground.
- Is the shot running roughly 25 to 30 seconds? If not, adjust the grind.
- Is the cup warm? A cold cup shocks the crema and thins it.
Nine out of ten crema complaints I hear are solved somewhere on that list.
A note on crema photos
Online, espresso photos are often taken seconds after the shot finishes, under flattering light, sometimes with beans chosen just for the look. Don't compare your everyday cup to those.
Your crema will look different with different coffees, cups and lighting. What matters is whether your shots are consistent with each other and whether you enjoy drinking them.
Why crema matters less than it used to
For most of espresso's history, crema was the main way to judge a cup. Beans were often darker, blends often included robusta, and the goal was a thick, long-lasting cap with a bittersweet, chocolatey taste.
Specialty coffee changed the priorities. Many modern roasters roast lighter and use 100% arabica to bring out fruit, florals and sweetness. Those coffees tend to make thinner, paler crema, yet they can taste far more interesting.
Better tools changed things too. Home baristas now have scales, timers and good grinders, so they judge shots by ratio, time and taste rather than by looks alone.
None of that makes crema irrelevant. It's still the quickest visual clue you have, and a well-formed layer is still a pleasure to see. It just isn't the final word anymore.
If you love a classic Italian-style espresso, chase that thick, dark crema and enjoy it. If you prefer bright, modern espresso, don't worry when the foam is lighter. Both are valid, and both start with fresh beans and a well-paced shot.
Troubleshooting crema problems
If your crema doesn't look the way you'd expect, work through this table. Change one thing at a time and pull another shot.
| Problem | Most likely cause | What to try |
|---|---|---|
| Almost no crema | Stale or pre-ground beans | Use whole beans roasted within the last month and grind just before brewing |
| Thin, pale, fades in seconds | Grind too coarse, shot too fast | Grind finer until the shot takes about 25 to 30 seconds |
| Huge, bubbly, overflowing | Beans roasted only days ago | Rest the beans for 7 to 14 days |
| Very dark with a black spot | Grind too fine, over-extracted | Grind a little coarser or stop the shot sooner |
| Patchy with holes | Channeling | Break up clumps, distribute evenly, tamp level |
| Good crema, bad taste | Robusta, pressurized basket or poor beans | Try 100% arabica and a standard basket |
| Crema varies shot to shot | Inconsistent dose or tamp | Weigh each dose and tamp the same way every time |
How to get better crema at home
Better crema mostly comes from doing the basics well. These are the steps that make the biggest difference in my testing.
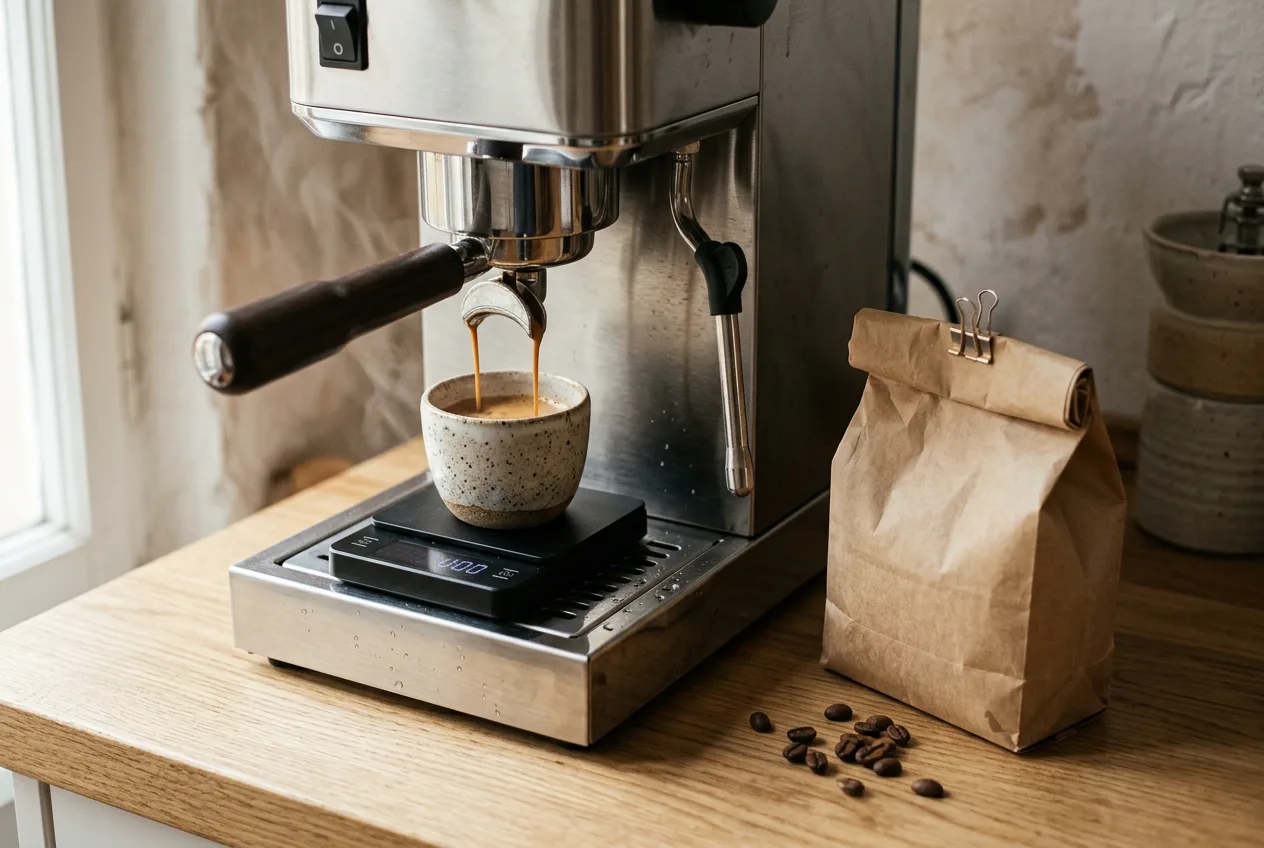
- Buy fresh, whole beansLook for a roast date and use beans between about one and five weeks after roasting.
- Grind right before brewingGround coffee loses its CO2 quickly. Grinding fresh is the single biggest crema upgrade after buying fresh beans.
- Use a burr grinderA consistent grind gives an even flow and a smooth, even crema. Blade grinders make it patchy. See burr vs blade grinder.
- Dial in the shot timeAim for roughly a 1:2 ratio, for example 18 g of coffee to 36 g of espresso, in about 25 to 30 seconds.
- Preheat everythingRun a blank shot to heat the group head, portafilter and cup. Cold metal and cold cups make crema thin and short-lived.
- Consider a little robustaIf thick crema really matters to you, a blend with 10% to 20% robusta will deliver it.
Our tip: Store beans in an airtight, opaque container away from heat. Keeping CO2 in the beans for longer keeps your crema better for the whole bag. See how to store coffee beans.
Crema with decaf and other special cases
A few situations behave differently from the usual rules.
Decaf
Decaf beans go through extra processing before roasting, which changes their structure. Decaf often produces thinner, paler crema that fades faster, even when it's fresh. That's normal, and it doesn't mean your shot failed. I explain the processes in how decaf coffee is made.
Very light roasts
Light roasts are denser and harder to extract. Their crema is often lighter in color and thinner, and they may need a finer grind or a longer shot to build a good layer.
Single origins vs blends
Espresso blends are often designed partly for crema, with beans chosen to give body and a stable foam. Single origins are chosen for flavor. Don't be surprised if a fruity single origin makes less crema than a classic espresso blend.
Iced espresso
Pouring a shot over ice breaks most of the crema immediately. If you want some foam on an iced drink, shake the espresso with ice in a sealed jar or shaker instead. That creates a light, frothy layer of its own.
Crema myths, quickly
- "No crema means it isn't espresso." Not true. Stale beans or decaf can make real espresso with little crema.
- "Crema is where the caffeine is." There's no meaningful difference. Caffeine is spread through the whole shot.
- "Thicker crema means stronger coffee." Thickness is mostly about gas and bean type, not strength.
- "Good crema should hold sugar on top." An old café test, but robusta blends pass it easily and great light roasts often don't.
- "Crema means the machine is expensive." Even cheap machines with pressurized baskets make plenty of crema.
The verdict
Crema is a foam of CO2, oils and coffee solids created by espresso's high pressure. It's beautiful, and it's a useful clue. Fresh beans and a well-paced shot usually give a fine, hazelnut-brown layer with a little striping.
But crema isn't the goal. Robusta, pressurized baskets and over-fresh beans can all make impressive crema on mediocre coffee. Light roasts and decaf can make excellent espresso with very little.
Use crema as a quick check on freshness and extraction, then let your taste make the final call. Stir it, skim it or sip it as you like.
Frequently asked questions
What is crema on espresso?
Crema is the reddish-brown foam on top of an espresso. It's made of carbon dioxide bubbles from the coffee, coated in coffee oils and dissolved solids, and it forms because espresso is brewed under high pressure.
Why does my espresso have no crema?
The most common cause is stale or pre-ground coffee that has lost its CO2. A grind that's too coarse, a low dose or a machine that isn't building enough pressure can also leave you with little crema.
Does more crema mean better espresso?
No. Crema mainly reflects freshness, bean type and pressure. Robusta blends and pressurized baskets make lots of crema even when the coffee tastes average, while some excellent light roasts make very little.
Should I stir the crema into my espresso?
It's up to you. Stirring gives a more balanced cup, skimming makes it sweeter and less bitter, and sipping it as is gives bitterness first and sweetness later.
Why does robusta make more crema?
Robusta beans produce a denser, more stable foam than arabica, which is why many Italian espresso blends include some robusta. The trade-off is more bitterness and caffeine.
How long does crema last?
It starts thinning within a minute or two and is usually mostly gone after several minutes. That's why espresso is best served immediately.
Is crema from a pressurized basket real?
It's real coffee foam, but it's created mechanically by forcing coffee through a small hole. It looks good even with stale coffee, so it says little about shot quality.
Can a moka pot make crema?
Not true crema. A moka pot only reaches about 1 to 1.5 bars, so any foam is thin and short-lived compared with espresso machine crema.

- Michael Reynolds, notes from espresso machine and grinder testing
- Crema (coffee), Wikipedia
- Espresso machine history, Wikipedia
Related guides
Why coffee tastes bitter or sour Coffee freshness, resting and degassing Arabica vs robusta Coffee roast levels explained Burr vs blade grinderWritten by Michael Reynolds. Last updated November 19, 2026.