Breville Barista Pro review: three-second heat-up, a shot timer and strong steam in a compact all-in-one machine
The Breville BES878BSS Barista Pro Espresso Machine heats up in about three seconds, shows your grind time and shot clock on a clear LCD, and steams milk through a powerful four-hole tip. It is quick, tidy and great with milk, but it drops the analog pressure gauge, and the group head still needs a warm-up flush before the first shot.
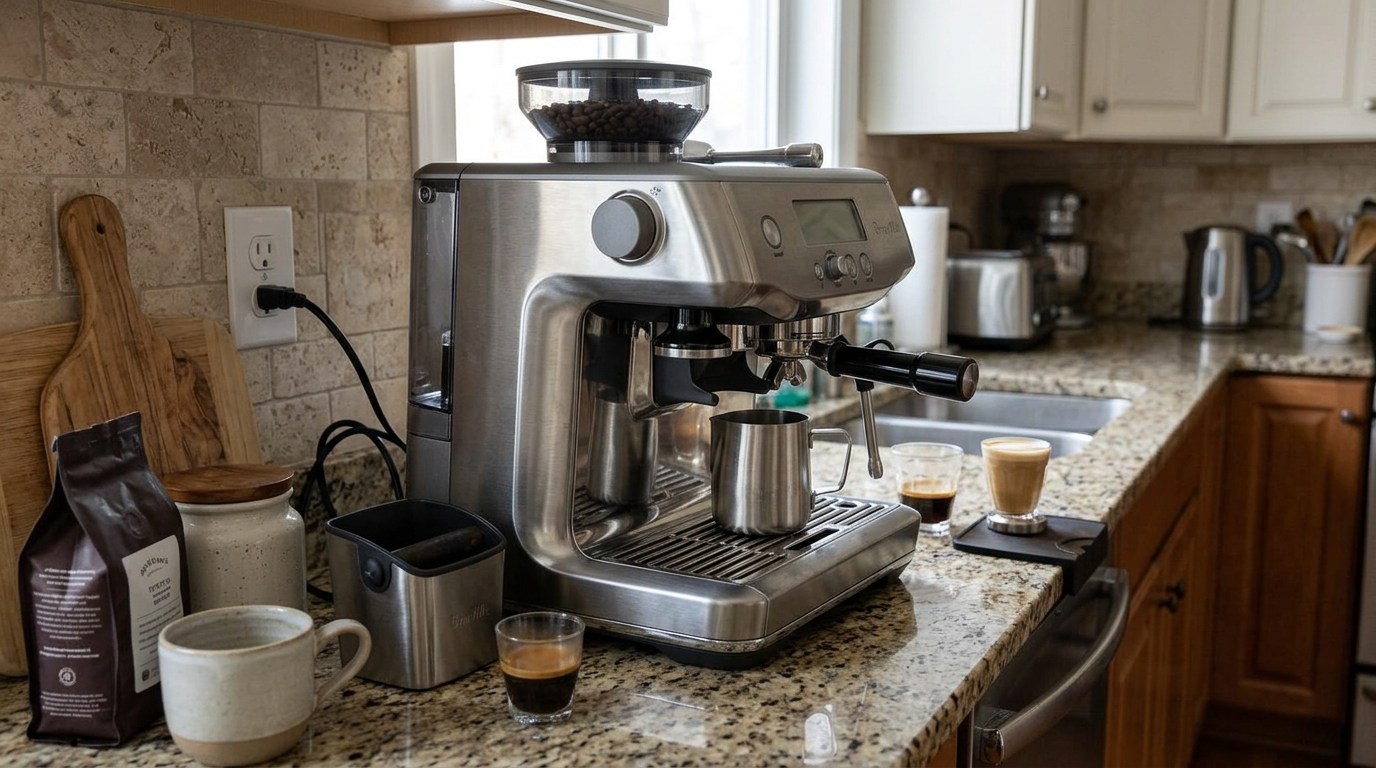

Michael Reynolds
Hands-on review
Hands-on testing, research, specs
4 weeks
22 minutes
Jargon helpNew to espresso? Tap any dotted term to see what it means.
In this review
Yes, if you want hands-on espresso without waiting around. The Breville Barista Pro goes from off to brewing in seconds, makes switching from shot to steam almost instant, and its four-hole steam tip whips up latte-art milk faster than older thermocoil machines. The LCD makes dialing in easier, and the higher temperature settings handle light roasts well. You lose the pressure gauge, pre-infusion is capped at 10 seconds, and the portafilter still needs a hot-water flush to be properly warm.
Breville Barista Pro at a glance
Breville Barista Pro pros and cons
- Ready in seconds, with near-instant steam
- Strong four-hole steam for fast, silky microfoam
- LCD with shot timer makes dialing in easy
- No analog pressure gauge
- Pre-infusion is capped at 10 seconds
- Portafilter needs a blank flush to warm up
Who should buy the Breville Barista Pro?
- Latte and flat white drinkers who steam every day
- Busy mornings when you can not wait for a boiler
- Home baristas who like light-roast coffee
- People who want push-button drinks
- Anyone who learns best from a pressure gauge
- Those who want very long manual pre-infusion
First impressions of the Breville Barista Pro
The first thing I noticed about the Breville Barista Pro was what I did not have to do.
I did not wait.
I pressed the power button, and a few seconds later the screen said it was ready.
On most espresso machines, that first coffee of the morning starts with a few minutes of standing around.
Here, the waiting moves somewhere else, and I'll explain where later.
The machine looks like a close cousin of the classic all-in-one Breville, with a grinder on top and a steam wand on the right.
The big visual difference is in the middle.
Instead of a round pressure gauge, there is a backlit LCD that shows your grind time, your grind setting, the selected shot and a running shot clock.
The body is brushed stainless steel and, unusually, it is magnetic.
That turned out to be handy for sticking small tools to the side of the machine.
My first cappuccino was better than my first shot on most machines, mainly because the steam is so strong.
The espresso took a day of tweaking, and after that it was consistently sweet and syrupy.
By the end of the first week, I had stopped thinking about the machine at all, which is the best compliment I can give an espresso maker.
By the end of the first week, I had stopped thinking about the machine at all, which is the best compliment I can give an espresso maker.
The Barista Pro keeps a fairly small footprint for a machine with a grinder.
What the Breville Barista Pro actually is
The Barista Pro is a semi-automatic espresso machine with a built-in grinder.
You grind into a 54 mm portafilter, tamp the coffee yourself and press a button to brew.
For milk, you use a manual steam wand.
The heart of the machine is Breville's ThermoJet✕ThermoJetBreville's compact flat heating block. It has very little metal to warm up, so it reaches brewing temperature in about three seconds and switches to steam almost instantly. heating system.
It is a compressed, pancake-shaped heating block with very little thermal mass, so it heats water almost immediately.
Brew temperature is controlled by PID✕PID controlA digital thermostat that measures temperature constantly and makes tiny corrections, so the water stays steady during the shot., and you can choose from five temperature settings on the screen.
The grinder uses hardened steel conical burrs✕Conical burrsA cone-shaped burr turning inside a ring. The gap between them sets how fine the coffee is ground. from Breville's Baratza line, with 30 grind settings.
What is in the box
You get the 54 mm portafilter, single and dual wall baskets in one and two cup sizes, a tamper, the Razor trimming tool, a 16-ounce milk jug, a dosing funnel, a cleaning kit and a water filter with holder.
The clear dosing funnel clips onto the portafilter and is more useful than it looks.
Our tip: Clip the dosing funnel on before you grind, so you can stir and level the grounds without spilling a single gram.
Breville Barista Pro design and setup
The Barista Pro measures about 14 inches wide, 13 inches deep and 16 inches tall.
That is a little wider than the older Barista Express, but it still fits under standard wall cabinets.
A tank that warns you
The 67-ounce tank sits at the back and has a level sensor.
When the water gets low, the machine tells you before it starts a shot, instead of running the pump dry halfway through.
That sounds small, but it saved me at least two ruined shots in four weeks.
The tank also holds an ion-exchange water filter that reduces scale in the narrow heater channels.
A magnetic body
The stainless panels are magnetic, so tool holders and small accessories stick right to the side.
I kept a stirring tool and a small brush there, which freed up counter space.
The hot water spout
The dedicated hot water outlet pours a smooth, steady stream.
It does not spit and sputter like older models, which makes americanos and tea much less messy.
Setup
Setup took about 15 minutes.
I soaked and installed the water filter, filled the tank and hopper, and ran water through the group head and steam wand to flush the lines.
Then I set the grind to the middle of the range and started dialing in.
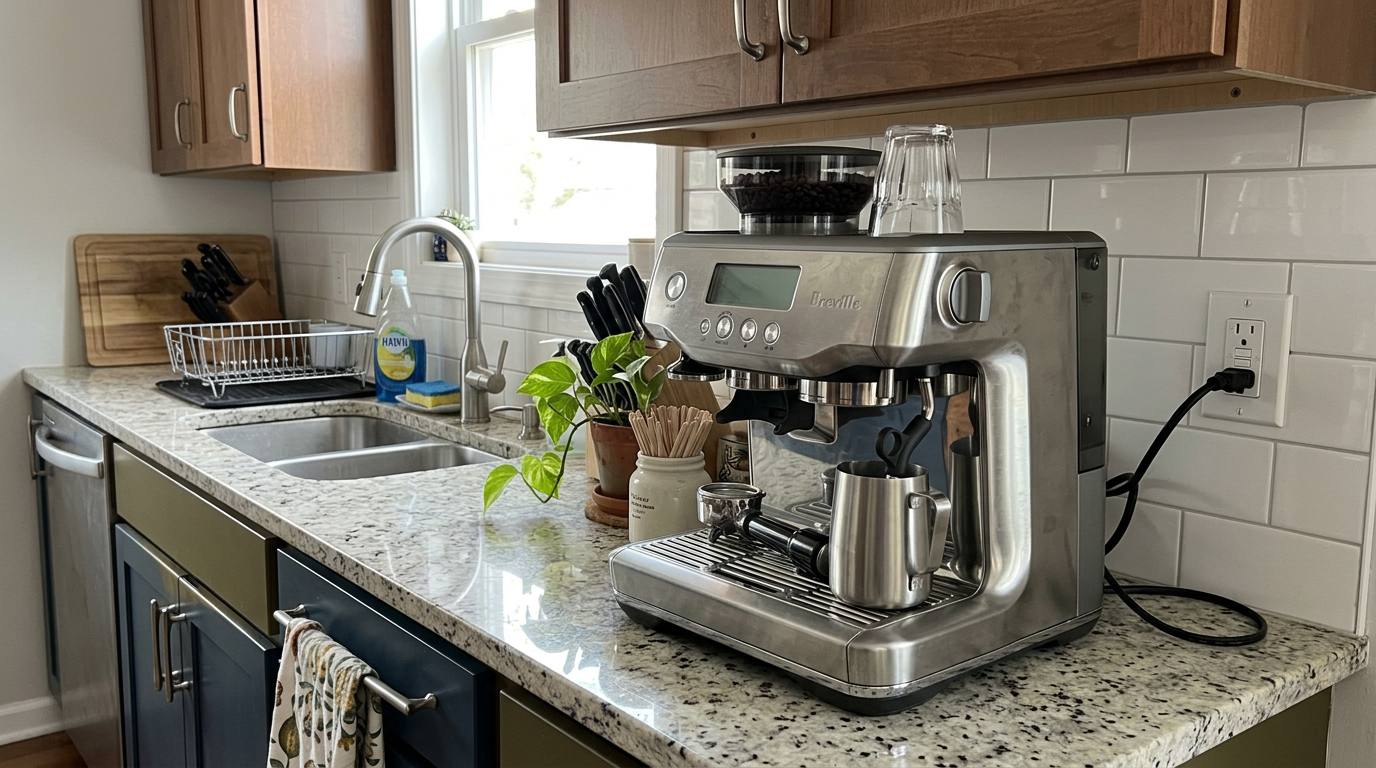
The LCD sits where older models put the pressure gauge.
Heat-up speed and the hidden warm-up
The ThermoJet is genuinely fast.
From power on, it is ready to brew in about three seconds.
After a shot, you turn the steam knob and dry steam arrives almost immediately.
After steaming, the machine purges a small amount of water and is ready to brew again within seconds.
My rough timings, from pressing the button to the action starting.
Why you still flush
There is a catch.
The heater is hot in seconds, but the metal group head and the heavy portafilter are not heated directly.
They start cold, and cold metal steals heat from the first shot.
So every morning I locked in the empty portafilter and ran one or two blank shots of hot water.
That warmed the group, the basket and my cup in about 20 seconds.
It also meant less water down the drain than older machines, which purge more after steaming and fill the drip tray faster.
The built-in grinder
The grinder is one of the biggest upgrades over Breville's older all-in-ones.
It uses Baratza-designed conical burrs, which produced a more even grind and less clumping than I expected from an integrated grinder.
The adjustment collar is effectively stepless.
The screen translates its position into numbers from 1 to 30, but you can stop between numbers for fine tuning.
Starting point
I started at 15 and worked finer.
With a fresh medium roast, I ended up around 10 to 12.
Light roasts needed a few numbers finer, and dark roasts a few numbers coarser.
Lower numbers are finer. Bars show how fine the setting is.
Dosing by time
Grinding is timed, and you set the time in tenths of a second on the screen.
My target was 16 grams in the double basket.
Even with a fixed time, consecutive grinds varied by about 0.2 to 0.4 grams.
That is normal for timed grinding, and a scale makes it a non-issue.
Breaking up clumps
I used the dosing funnel with a thin-needle stirring tool to break up any clumps before tamping.
This WDT✕WDT (stirring)Stirring the ground coffee with thin needles to break up clumps and even out the density before tamping. It helps prevent channeling. step took ten seconds and made shots noticeably more consistent.
Our tip: Always change the grind while the grinder is running, so beans don't jam between the burrs.
The LCD, menus and temperature control
The LCD is the Barista Pro's brain, and it makes the machine easier to learn.
On the main screen, you see the grind setting, the grind time, the selected shot size and a shot timer.
During extraction, the timer starts when full pump pressure kicks in.
That timer replaced my phone stopwatch on day one.
Temperature
In the menu, you can choose from five temperature settings, from Low to High.
Changing it takes a couple of button presses, with no power-cycling or hidden key combinations.
I used High for light roasts and Medium-Low for dark roasts, and it made a clear difference.
| Setting | Best for | What it does |
|---|---|---|
| High | Light and medium-light roasts | Extracts dense beans fully, less sourness |
| Medium-High | Medium roasts | Sweet, balanced default |
| Medium | Most blends | Safe middle ground |
| Medium-Low | Medium-dark roasts | Tames bitterness |
| Low | Very dark roasts | Softer, chocolate-forward cup |
Programming your shot
You can program the one-cup and two-cup buttons.
In program mode, you press and hold the button for low-pressure pre-infusion, release it to start full pressure, and press again to stop.
The machine then remembers both the pre-infusion and the total volume.
The missing gauge
The Barista Pro has no analog pressure gauge.
You lose the instant visual feedback of a needle climbing into the espresso zone.
In practice, the shot clock and a scale gave me everything I needed, but beginners who like to see pressure may miss it.
Our tip: Set your temperature to match the roast before you touch the grind, because temperature changes taste as much as a grind step.
Breville Barista Pro espresso performance
For my baseline espresso, I used 16 grams of coffee in the double basket and aimed for 32 grams out.
That is a 2:1 brew ratio✕Brew ratioThe weight of dry coffee compared with the weight of espresso in the cup. 16 g in and 32 g out is 2:1., the classic starting point.
Puck prep
My routine was funnel on, grind, stir, tap once on the counter, then tamp firmly and level.
I also preheated the portafilter under the group head first, so the metal didn't pull heat from the shot.
Pre-infusion
Holding the brew button starts low-pressure pre-infusion✕Pre-infusionA gentle soak at low pressure before full pressure. It lets the puck swell evenly so water doesn't punch through weak spots..
The firmware caps it at 10 seconds, after which full pressure starts automatically.
A full 10-second soak saturates the puck well, but it also lowers resistance, so the end of the shot runs faster.
I compensated by going about half a number finer when I used the full 10 seconds.
How it tasted
Once dialed in, my medium-roast shots ran in about 28 to 30 seconds and poured like syrup.
The crema✕CremaThe golden-brown foam on top of an espresso, formed when pressure pushes gases and oils out of fresh coffee. was thick and hazelnut-colored, even with all-arabica beans.
The cup tasted sweet and rounded, with chocolate and caramel and a gentle acidity.
Back-to-back shots were consistent, because the ThermoJet holds its temperature tightly across the shot.
| What you taste or see | Likely cause | First change |
|---|---|---|
| Sour, thin, fast | Under-extraction | Go finer or raise temperature |
| Bitter, dry finish | Over-extraction | Go coarser or lower temperature |
| Spurts or uneven flow | Channeling | Stir the grounds, tamp level |
| First shot weaker than the rest | Cold group head | Run two blank shots first |
| Fast tail after long pre-infusion | Puck too saturated | Go half a step finer |
Dialing in light and dark roasts
The temperature control is where the Barista Pro beats older all-in-ones.
I tested a dark-roast blend and a light-roast single origin side by side.
Dark roast
On the default temperature, the dark roast tasted harsh, with burnt, bitter chocolate.
Dropping to Medium-Low and keeping a 2:1 ratio, or even a tighter 1.75:1, turned it into toasted nuts and dark caramel.
Light roast
On the default setting, the light roast was sharp and sour.
With the temperature on High and the grind several numbers finer, it opened up completely.
I tasted sweet citrus, orange peel and bright stone fruit, with a thick crema I did not expect from a light roast.
| Roast | Temperature | Grind | Ratio | Result |
|---|---|---|---|---|
| Dark | Medium-Low or Low | Coarser (14 to 16) | 1.75:1 to 2:1 | Nutty, sweet, no harshness |
| Medium | Medium-High | Middle (10 to 12) | 2:1 | Chocolate and caramel |
| Light | High | Finer (7 to 9) | 2:1 to 2.3:1 | Citrus, stone fruit, bright |
My taste scores, where 10 is very sour.
Our tip: Light roasts need heat: switch to High before you blame the grinder.
My four-week shot log
I logged every espresso I made on the Barista Pro, with the dose, yield, time and a quick taste note.
That log shows how quickly the machine becomes predictable once you understand its quirks.
Week one
The first few days were about learning the warm-up.
My first shot of the morning was regularly two to four seconds faster than the second, and it tasted thinner.
Once I added two blank shots to the routine, that gap disappeared.
Week two
With the warm-up sorted, I focused on the grinder.
The dose wandered between about 15.8 and 16.2 grams on the same timer setting.
Weighing every dose and adding or removing a pinch by hand kept my ratio steady.
Weeks three and four
By the third week, most shots landed between 27 and 31 seconds without any adjustment.
When I opened a fresh bag from the same roaster, I went half a number coarser and was back on target within two shots.
Share of shots inside my 26 to 32 second window, by week.
The ThermoJet itself was rock steady.
Once the group was warm, shot temperature never seemed to drift, even when I made four drinks back to back for guests.
That is the kind of consistency you normally expect from a much bigger machine.
Our tip: Keep a simple notebook of grind, dose, yield and time for each new bag, and you'll dial in the next bag in two shots.
Steam wand and milk drinks
The steam wand is where the Barista Pro really pulls ahead.
It has a four-hole tip, and the ThermoJet delivers strong, dry steam within a few seconds of turning the knob.
Building the vortex
I filled the jug with cold whole milk to just below the spout.
After a quick purge, I put the tip slightly below the surface and off-center, then opened the steam fully.
The milk started spinning almost immediately, which is the single most important thing for silky foam.
I let the tip sit near the surface until the jug felt body-warm, then lowered it slightly to keep texturing without big bubbles.
I closed the steam at around 140 to 150°F.
The result
The milk came out glossy and smooth, like wet paint, with very fine microfoam✕MicrofoamMilk foam with bubbles too small to see. It is glossy and silky, and it blends into the coffee instead of sitting on top..
A 6-ounce latte jug took about 30 seconds, noticeably quicker than on machines with gentler steam.
Seconds to steam about 6 oz of cold milk, from my tests.
A better base for milk drinks
For lattes and flat whites, I pulled a slightly shorter shot.
16 grams in and about 28 grams out, a 1.75:1 ratio, gave a denser base with thicker crema.
That made the white milk stand out better when I poured latte art.
Auto purge
When you turn the steam knob off, the machine purges the line automatically and cools the heater back to brew temperature.
It uses much less water than older designs, so the drip tray fills up more slowly.
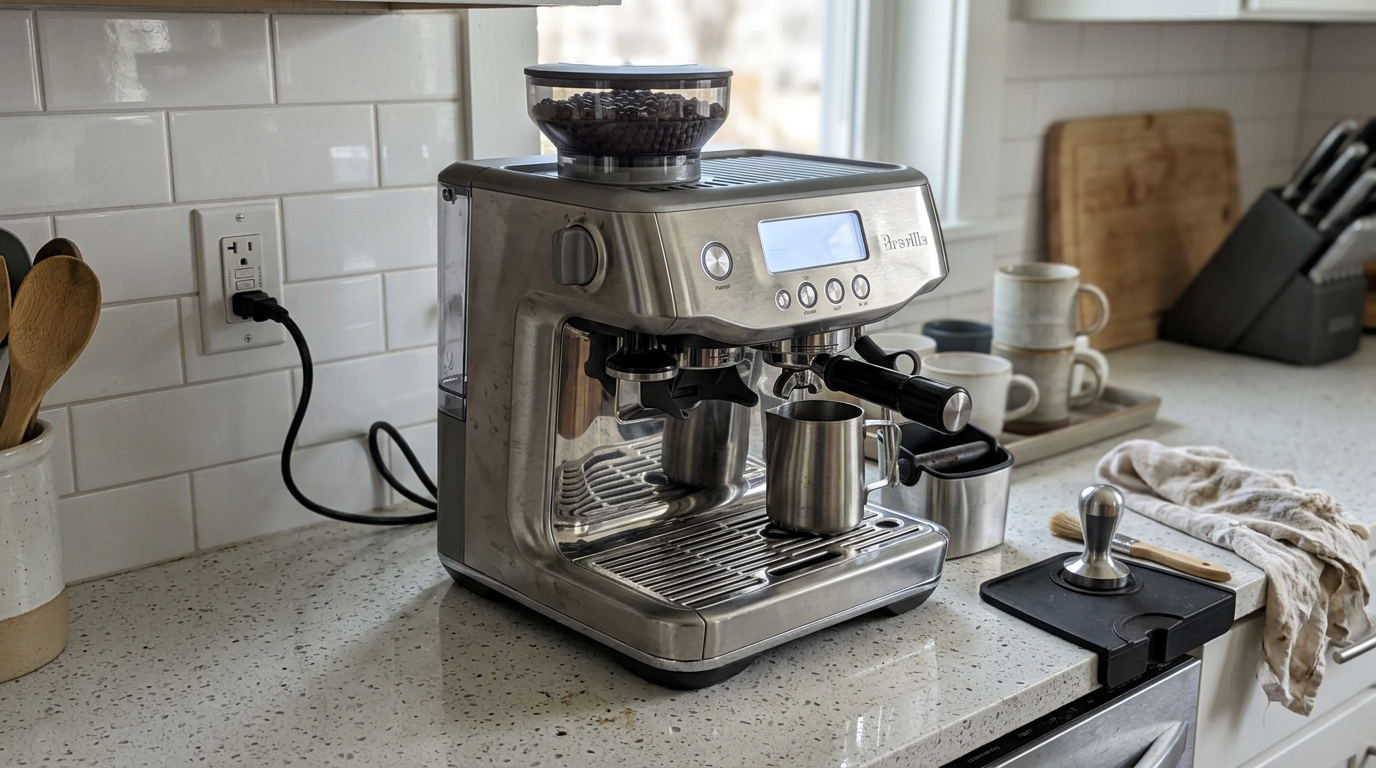
The four-hole steam tip builds a whirlpool in seconds.
Latte art on the Barista Pro
The Barista Pro is one of the easiest all-in-one machines I've used for learning latte art.
That is mostly down to the steam.
The four-hole tip gets the milk spinning almost instantly, so you don't have to hunt for the right angle for long.
The downside of strong steam is speed.
Small jugs heat quickly, and it is easy to overshoot the temperature if you're not paying attention.
What worked for me
I used a 12-ounce jug for single drinks and filled it to just below the spout.
I stretched the milk for only the first five or six seconds, until the jug felt barely warm.
Then I sank the tip slightly and let the whirlpool do the rest.
Swirling the jug before pouring kept the foam glossy and fluid.
| Problem | Likely cause | Fix |
|---|---|---|
| Big bubbles on top | Tip too high for too long | Stretch for fewer seconds |
| Flat milk, no foam | Tip too deep from the start | Start right at the surface |
| Milk too hot to pour well | Steamed past 150°F | Stop when the jug is too hot to hold |
| Foam separates from milk | Waited too long to pour | Swirl and pour straight away |
By the end of the second week, I was pouring hearts and simple tulips most mornings.
The machine was never the limiting factor.
Our tip: Use a smaller jug while you learn, because strong steam heats a big jug unevenly at the bottom.
Hot water, americanos and tea
The hot water outlet is a small but real improvement.
It delivers a smooth, laminar stream rather than sputtering bursts of steam and water.
I made americanos by pouring hot water first and pulling the shot on top, which keeps more crema.
The water is hot enough for green and herbal tea.
It also works well for warming cups before a shot.
| Drink | How I made it | Ratio |
|---|---|---|
| Espresso | Double shot | 16 g in, 32 g out |
| Milk-drink base | Shorter double shot | 16 g in, 28 g out |
| Americano | Hot water first, then espresso | 1 part espresso, 3 to 4 parts water |
| Flat white | Short shot, thin silky milk | About 5 oz milk |
| Cappuccino | Short shot, taller foam | Equal milk and foam |
Our tip: Use the hot water spout to warm your cup while the portafilter flushes, so both are ready at once.
Accessories that made the biggest difference
The Barista Pro works well out of the box, but a few small accessories made my shots more consistent.
I ranked them by how much they helped.
| Rank | Accessory | Why it helped |
|---|---|---|
| 1 | Scale with 0.1 g resolution | Exact dose and yield every time |
| 2 | Bottomless 54 mm portafilter | Shows channeling and uneven flow |
| 3 | Needle stirring tool | Breaks up clumps before tamping |
| 4 | 53.3 mm precision tamper | No loose coffee left at the edge |
| 5 | Precision baskets and a stand | Cleaner flow, steadier grinding |
The scale matters most by far.
Timed grinding drifts a little, and only a scale tells you what actually went into the basket.
A bottomless portafilter is the best diagnostic tool, because you can watch the shot form under the basket.
The stock tamper is slightly undersized for the basket, so a precision tamper that fills the basket edge to edge leaves no loose coffee around the rim.
Our tip: If you buy only one accessory, buy a scale that reads to 0.1 gram.
Cleaning and maintaining the Breville Barista Pro
Daily care is simple if you build a few habits.
I purged the steam wand before and after each use and wiped it straight away with a damp cloth.
After each shot, I knocked out the puck, rinsed the basket and flushed the group head.
Backflushing and descaling
The machine prompts you to clean when it's time.
You put the rubber disc and a cleaning tablet in the basket, lock it in and run the backflush✕BackflushBlocking the basket so water and cleaner are forced back through the group valve, dissolving coffee oil. cycle from the menu.
Descaling is also guided on screen.
How often you need it depends on your water hardness and whether you keep the filter fresh.
| When | Task | Why it matters |
|---|---|---|
| After milk drinks | Purge and wipe the steam wand | Stops milk drying in the four holes |
| After each shot | Knock out, rinse, flush the group | Keeps oils from building up |
| Daily | Empty the drip tray | Avoids smells and overflow |
| Weekly | Brush the gasket and burr chamber | Removes stuck grounds |
| When prompted | Backflush cycle | Clears oil from the valve |
| Every 2 to 3 months | Replace the water filter | Protects the ThermoJet from scale |
My estimate of hands-on cleaning time per day.
Warranty
In the US, Breville covers the Barista Pro with a two-year limited warranty.
What daily use is really like
My routine took about three to four minutes for a flat white.
Power on, two blank shots, grind into the funnel, stir, tamp, brew, steam, pour and wipe.
Because the machine heats so fast, I switched it off between drinks instead of leaving it idling.
That also keeps standby energy use down.
Water use
One 67-ounce tank lasted two people about two days.
The water sensor meant I was never caught out mid-shot.
Rough maths from a 67 oz tank, allowing for blank shots and purging.
Noise
The grinder is short and fairly loud.
The pump is a steady hum, and the steam wand hisses strongly for half a minute.
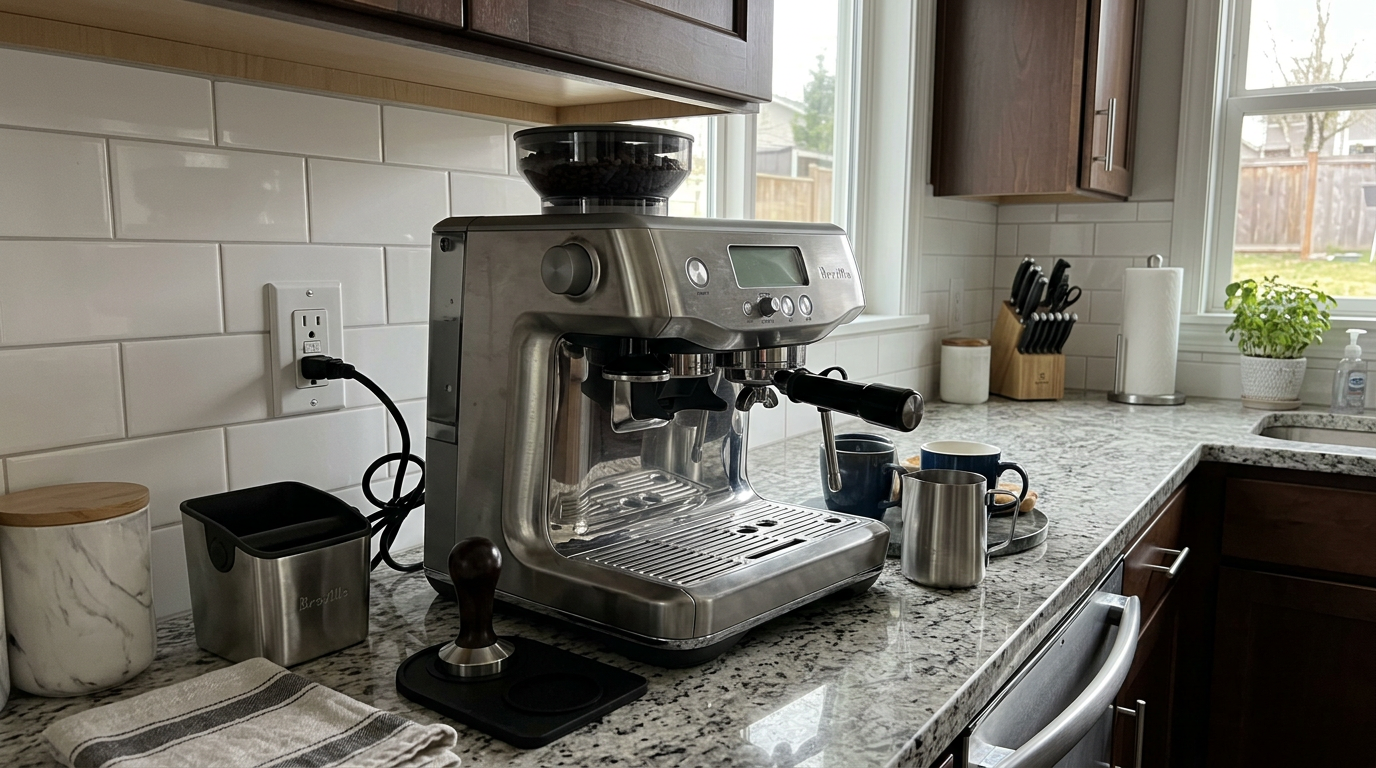
Switching it off between coffees costs nothing, because it heats in seconds.
Our tip: Turn the machine off between coffees, because it reheats in about three seconds.
Beans, water and milk
The Barista Pro grinder is good enough that your beans make a clear difference in the cup.
Freshly roasted whole beans, used within a few weeks of the roast date, gave the thickest crema and the most even flow.
Older supermarket beans ran fast and tasted flat, even at the finest settings.
Roast choice
Medium roasts are the easiest to dial in at the default temperature.
Light roasts shine on this machine once you raise the temperature to High.
Very dark, oily beans grind easily but leave oil on the burrs, so clean the burr chamber more often if you use them.
Water
Use filtered water or fresh tap water with the filter installed.
Avoid pure distilled water, because coffee needs some minerals to extract well and taste full.
If your tap water is very hard, the filter matters even more, because scale builds up quickly inside the thin ThermoJet channels.
Milk
Cold whole milk gave the sweetest, most stable foam.
Barista-style oat milk also worked well, though it needed a few extra seconds of stretching.
| Milk | Foam | Best for |
|---|---|---|
| Whole | Glossy, sweet, stable | Latte art, flat whites |
| Semi-skimmed | Lighter and thinner | Everyday lattes |
| Barista oat | Good, slightly looser | Dairy-free lattes |
| Skim | Tall and stiff, fades fast | Dry cappuccinos |
Our tip: Keep milk in the fridge until the second you steam it, because cold milk gives you more time to texture.
Common mistakes to avoid
The Barista Pro is easy to live with, but a few habits will hold it back.
| Mistake | What happens | Better habit |
|---|---|---|
| Skipping the blank shot | First espresso tastes sour and thin | Flush the group and portafilter first |
| Trusting grind time alone | Dose drifts by a few tenths of a gram | Check on a scale |
| Using the default temperature for every roast | Light roasts sour, dark roasts bitter | Match temperature to roast |
| Not stirring the grounds | Clumps cause channeling | Use the funnel and a stirring tool |
| Leaving milk on the wand | Four tiny holes clog fast | Purge and wipe straight away |
| Changing several things at once | You can't tell what helped | Change one thing per shot |
Change one setting at a time and taste after each change.
What I would change
An optional pressure readout on the screen would help beginners.
A longer pre-infusion limit would give advanced users more room to experiment.
And a heated group head would remove the need for blank shots on cold mornings.
The trade-offs of the ThermoJet design
The Barista Pro is a deliberate step away from Breville's older thermocoil machines, and that comes with gains and losses.
It is worth understanding both before you buy.
What you gain
Heat-up is close to instant, so the machine can be switched off between coffees.
The switch from brewing to steaming takes seconds instead of a noticeable pause.
The four-hole steam tip produces more steam, more quickly, which makes microfoam easier.
Purging after steaming uses far less water, so the drip tray needs emptying less often.
The water sensor stops a shot from starting when the tank is too low.
The grinder is more consistent, and the stepless collar lets you fine-tune between numbers.
Changing the brew temperature takes two button presses on the screen.
What you give up
There is no analog pressure gauge, so you can't see pressure build during the shot.
The group head is not actively heated, so it relies on hot-water flushes to warm up.
Older thermocoil machines slowly warm their group head through conduction if you leave them on for 20 to 30 minutes.
Pre-infusion is capped at 10 seconds by the firmware, while older machines let you hold low pressure much longer.
| Area | Gain or loss | How much it mattered to me |
|---|---|---|
| Heat-up speed | Big gain | Changed my whole routine |
| Steam power | Big gain | Faster, easier latte art |
| Drip tray water | Gain | Emptied it less often |
| Pressure gauge | Loss | Shot timer and scale made up for it |
| Passive group head | Loss | Two blank shots fixed it |
| Pre-infusion cap | Small loss | Rarely needed more than 10 seconds |
For latte drinkers and light-roast fans, the gains clearly outweigh the losses.
For someone on a tight budget who wants to watch a pressure needle while learning, an older gauge-equipped machine still makes sense.
Is the Breville Barista Pro worth the money?
The Barista Pro sits one step above the classic all-in-one in Breville's lineup, and the upgrades are practical.
You get faster heat-up, a better grinder, a screen with a shot clock, a water sensor and much stronger steam.
For anyone who makes milk drinks most days, the steam alone justifies the step up.
Ask yourself three questions.
Do you make lattes or flat whites most mornings? Do you hate waiting for a machine to heat? And are you happy to grind and tamp by hand?
If yes, the Barista Pro is easy to recommend.
In Europe, the same machine is sold as the Sage Barista Pro.
It also helps to think about what you would otherwise spend on café coffee.
If you buy a flat white or latte most weekdays, a machine like this replaces a habit you already pay for, and the drinks are as good as many cafés once you've practiced.
Check what's included where you buy, because finishes and bundles vary, and some include extra baskets or cleaning supplies.
The brushed stainless version I tested hides fingerprints well, and there are black and colored finishes if you prefer.
Whatever finish you choose, budget for a small scale, because it does more for consistency than any other accessory.
It also helps to think about what you would otherwise spend on café coffee.
If you buy a flat white or latte most weekdays, a machine like this replaces a habit you already pay for, and the drinks are as good as many cafés once you've practiced.
Check what's included where you buy, because finishes and bundles vary, and some include extra baskets or cleaning supplies.
The brushed stainless version I tested hides fingerprints well, and there are black and colored finishes if you prefer.
Whatever finish you choose, budget for a small scale, because it does more for consistency than any other accessory.
How it compares with other espresso setups
The most useful comparison is with the setups you are likely choosing between.
The Breville Barista Pro stands out for speed and steam power.
| Feature | Barista Pro | Classic thermocoil all-in-one | Fully automatic machine |
|---|---|---|---|
| Heat-up | About 3 seconds | About 1 minute | 1 to 2 minutes |
| Brew to steam | Near instant | Short wait | Automatic |
| Feedback | LCD with shot timer | Analog pressure gauge | None |
| Steam tip | Four holes, strong | One hole, gentler | Automatic frother |
| Pre-infusion | Up to 10 seconds | Longer manual hold | Fixed |
| Water sensor | Yes | No | Yes |
| Control | Full manual | Full manual | Limited |
A classic thermocoil machine gives you a pressure gauge and longer pre-infusion, but slower steam.
A fully automatic machine is easier, but you lose control over the shot and the milk.
The Barista Pro is the best balance of speed and control in this group.
| You mostly drink | Is it a fit? | Why |
|---|---|---|
| Lattes and flat whites | Excellent | Strong steam, fast switch-over |
| Espresso | Very good | Precise temperature, good grinder |
| Light-roast espresso | Very good | High temperature setting |
| Americanos and tea | Good | Smooth hot water spout |
| One-touch drinks | Poor | Everything is manual |
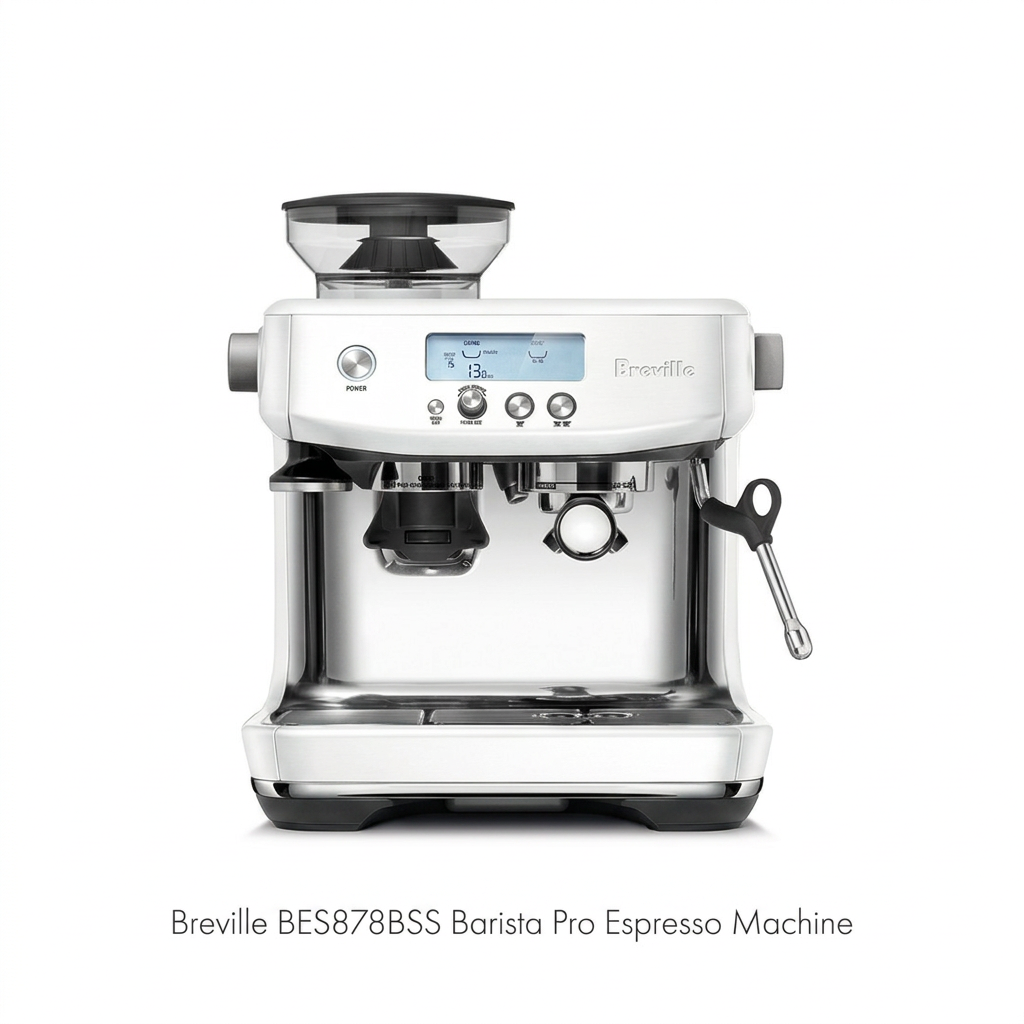
The LCD replaces the analog gauge of older all-in-ones.
Other Breville machines I tested
If you want a pressure gauge and a simpler panel, see my Breville Barista Express review.
For a touchscreen and hands-free milk, read the Breville Barista Touch review.
If tamping by hand puts you off, the Barista Touch Impress adds assisted tamping.
Which one is right for you: is the Breville Barista Pro your match?
4 quick questionsBreville Barista Pro specifications
From manufacturer data and my own testing.
How I tested and scored the Breville Barista Pro
For four weeks, I used the Breville Barista Pro as my everyday espresso machine for espresso, americanos, flat whites, lattes and cappuccinos.
I mapped the grind range with light, medium and dark roasts, tested every temperature setting and logged dose, yield and time with a 0.1-gram scale.
I timed heat-up, steam and switch-over, steamed whole, skim and oat milk, and followed the daily and prompted cleaning routines.
I then checked my notes against Breville's specifications and owner documentation.
- Espresso (8.7): body, crema, flavor and consistency across roasts.
- Milk drinks (8.6): steam power, microfoam texture and speed.
- Ease of use (8.2): heat-up, screen, grinder adjustment and workflow.
- Cleaning (8.4): daily wiping, purge water, backflushing and prompts.
The overall score of 8.5 is an editorial rating that reflects those four areas.
Breville Barista Pro FAQ
Is the Breville Barista Pro worth it?
Yes, if you want hands-on espresso with fast heat-up and strong steam. It is especially good for people who make milk drinks most days.
How fast does the Barista Pro heat up?
The ThermoJet heater is ready in about three seconds. Run a blank shot or two to warm the group head and portafilter before your first espresso.
Does the Barista Pro have a pressure gauge?
No. It uses an LCD that shows grind time, shot size and a shot timer instead of an analog gauge.
How many grind settings does it have?
30 numbered settings on a stepless collar, so you can also stop between numbers.
What dose should I use?
I used 16 grams in the double basket and aimed for 32 grams of espresso, or about 28 grams for milk drinks.
Can I change the brew temperature?
Yes. There are five temperature settings in the menu. Use High for light roasts and Medium-Low for dark roasts.
How long is pre-infusion?
You can hold the button for up to 10 seconds of low-pressure pre-infusion, after which full pressure starts automatically.
Is the steam wand good for latte art?
Yes. The four-hole tip builds a whirlpool quickly and makes silky microfoam in about 30 seconds.
Does it warn you when the water is low?
Yes. The tank has a level sensor that stops you from starting a shot with too little water.
How do I clean the Barista Pro?
Purge and wipe the steam wand after every use, rinse the basket after each shot, and run the backflush and descale cycles when the machine prompts you.
Is the Sage Barista Pro the same machine?
Yes. The Sage Barista Pro sold in Europe is the same machine.
Kitchen & coffee tester
Michael spent six years as a line cook in restaurants in Chicago and New York, and he has tested kitchen appliances for HouseholdMe since 2018, from air fryers to coffee makers. He holds an SCA certificate in barista skills and used the Breville Barista Pro as his everyday coffee machine for four weeks for this review, working from testing notes he compiled together with the HouseholdMe team.
- Four weeks of hands-on testing of the Breville BES878BSS Barista Pro
- Breville product specifications and owner documentation
- General espresso brewing, milk steaming and maintenance guidance