Mr. Coffee 4-Cup Steam Espresso System review: bold, Cuban-style coffee and real foam from a tiny machine
The Mr. Coffee 4-Cup Steam Espresso System is a tiny steam espresso maker with a glass carafe, a measuring scoop that doubles as a tamper and a frothing arm. It brews bold, Cuban-style coffee for two or four shots and makes thick cappuccino foam, but it is not a pump espresso machine.

Michael Reynolds
Hands-on review
Hands-on testing, research, specs
3 weeks
20 minutes
Jargon helpNew to espresso? Tap any dotted term to see what it means.
In this review
Yes, if you want bold, sweetened-coffee-friendly espresso drinks from the smallest, simplest machine possible. The Mr. Coffee 4-Cup brews strong, Cuban-style coffee into a glass carafe and its frothing arm makes thick foam for cappuccinos. It is not a pump machine, so expect very little crema and a coffee that can turn bitter if you let the full brew run. The biggest everyday hassle is the pressure-release routine before you can open the water cap for the next drink.
Mr. Coffee 4-Cup at a glance
Mr. Coffee 4-Cup pros and cons
- Tiny footprint and very light
- Bold coffee for two or four shots
- Frothing arm makes thick foam
- Not true espresso, little crema
- Pressure must be released before refilling
- Coffee turns bitter if over-brewed
Who should buy the Mr. Coffee 4-Cup?
- Fans of strong, sweet Cuban-style coffee
- Small kitchens and dorm-style setups
- Occasional cappuccino drinkers
- Espresso purists who want crema
- Latte art fans
- Anyone making many drinks in a row
First impressions of the Mr. Coffee 4-Cup
There's something reassuring about a coffee machine with almost no parts.
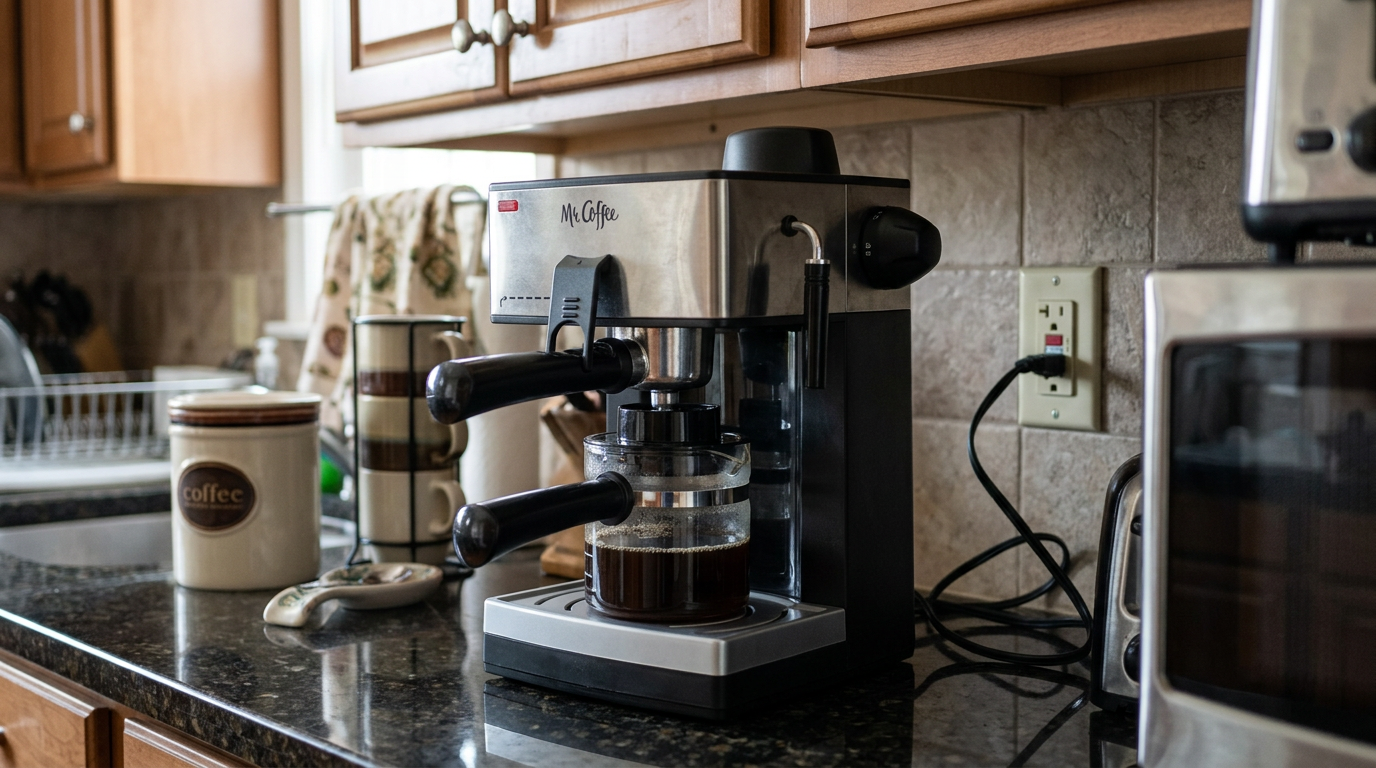
The Mr. Coffee 4-Cup Steam Espresso System is a small black and stainless machine with a screw cap on top, a single knob, a portafilter at the front, a frothing arm on the side and a glass carafe underneath.
It weighs only a few pounds, and it's about 8 inches wide.
On my counter it looked smaller than the canister of coffee next to it.
I used it every day for three weeks for strong coffee, cappuccinos, lattes and a lot of sweet, Cuban-style shots.
Within the first morning, two things were clear.
The coffee is bold, and the foam is surprisingly good for such a tiny machine.
Within the first week, a third thing was clear.
The routine around the water cap and pressure release is the part you'll think about most.
The Mr. Coffee 4-Cup is smaller than a coffee canister, and the glass carafe shows exactly how much you brewed.
Our tip: Brew one full carafe of plain water before your first coffee to rinse out any factory taste.
What the Mr. Coffee 4-Cup actually is
The Mr. Coffee 4-Cup is a steam espresso maker✕Steam espresso makerA machine that heats water in a sealed chamber until steam pressure builds, then uses that pressure to push hot water through the coffee. It makes strong coffee, but at much lower pressure than a pump espresso machine..
It heats water in a sealed reservoir, and steam pressure pushes that water through the coffee and into the carafe.
There's no pump, so the pressure at the coffee is only a few bar.
Real espresso is extracted at around 9 bar by a pump.
That's why this machine makes a strong, concentrated coffee closer to a moka pot than to café espresso.
Approximate pressure at the coffee. Lower pressure means less crema and a less syrupy body.
I don't see that as a flaw, as long as you know it going in.
Under milk and sugar, the strong, roasty character works well.
Mr. Coffee itself pitches the machine for dark, rich coffee that's great for Cuban coffee, and that's exactly where I found it shone.
Design, parts and what’s in the box
The machine is mostly black plastic with a stainless front panel.
It feels light rather than solid, but nothing rattled or flexed during the test.
In the box you get the machine, the glass carafe, the portafilter and filter basket, and a measuring scoop that doubles as a basic tamper.
The carafe is also your water measuring cup.
That's a smart, simple design, and it means there's nothing extra to lose.
| Item | What it is | My verdict |
|---|---|---|
| Glass carafe | Measuring marks for shots | Brews and measures in one |
| Portafilter and basket | Removable, for ground coffee | Tricky to lock at first |
| Scoop with tamper | Measures and packs coffee | Fine for this machine |
| Frothing arm | With removable frothing aid | Makes thick foam |
| Drip tray | Removable | Easy to rinse |
Our tip: Rest the portafilter in a bowl or on a folded towel, because its shape makes it tip over on a flat counter.
Water and the measuring marks
There's no separate water tank.
For every brew, you fill the glass carafe to the line you want, pour that water into the reservoir and screw the cap back on.
My notes record the measurements I used throughout the test.
| Brew | Water | What I used it for |
|---|---|---|
| Two shots | About 4 fl oz | One cappuccino or two small Cuban coffees |
| Four shots | About 8 fl oz | Two lattes or coffee for guests |
Measuring every time is a small chore, but it has an upside.
The machine only brews what you put in, so you always get the strength you planned.
I used cold, filtered water for every brew.
It tasted cleaner, and it should keep scale down in the heating chamber.
Our tip: Use the carafe markings every time rather than guessing, because the water amount sets the strength of the whole brew.
The pressure-release routine (read this first)
This is the part of the Mr. Coffee that matters most, and the one my notes flag as its biggest inconvenience.
Because the machine builds steam pressure in a sealed reservoir, you can't simply open the cap to refill it after brewing.
You have to release the pressure first.
It takes a couple of minutes, and you'll do it every time you want a second brew.
It's not difficult, but it's the reason this machine is better for one session than for a stream of drinks.
Never try to open the cap while the machine is hot and under pressure.
That's the one rule with this machine that really matters for safety.
Making a coffee, step by step
Here's the routine that gave me the best results after a few days.
1. With the machine off and cool, fill the carafe to the two- or four-shot line and pour the water into the reservoir.
2. Screw the cap on firmly.
3. Fill the filter basket with finely ground espresso coffee and level it with the scoop.
4. Press it down gently with the tamper end of the scoop.
5. Wipe the rim and lock the portafilter into the machine.
6. Put the carafe on the drip tray under the spout.
7. Turn the knob to brew.
After a couple of minutes of heating, dark coffee starts to flow into the carafe in a steady trickle.
The flow speeds up towards the end and turns to sputtering steam when the water runs out.
Those are my rough times across three weeks of mornings.
Brewing is quick enough for one or two drinks, and the full process fits easily into breakfast.
Locking the portafilter
My notes from the first days say the portafilter✕PortafilterThe handle with a filter basket that holds the ground coffee and locks under the machine. can be difficult to lock into position at first.
That matched my experience.
It needs to go in at the right angle and then twist firmly until it stops.
If grounds sit on the rim or the basket is overfilled, it won't seal properly.
After a few days, I could lock it in one smooth move.
The trick was to line it up with the marking, push it up firmly and turn with steady pressure, holding the machine with my other hand.
Grind, dosing and tamping
My notes are clear that this machine needs fine espresso grounds.
Coarser drip coffee gave a pale, weak brew that tasted watery under milk.
A fine espresso grind gave the strong, dark coffee this machine is known for.
I got the best results with a full, level basket pressed down gently.
Hard tamping didn't make the coffee stronger, only slower and more bitter.
| What I tried | Result | Verdict |
|---|---|---|
| Drip-grind coffee | Weak and watery | Too coarse |
| Fine espresso grind, gentle press | Bold, dark, balanced | Best result |
| Fine grind, hard press | Slow, bitter | Too much |
| Overfilled basket | Portafilter won’t lock | Use a level scoop |
Dark and medium-dark roasts suit this machine best, and Cuban-style espresso roasts were a natural match.
Our guide to coffee roast levels explains why darker roasts taste bolder and less acidic.
Our tip: Press the grounds gently with the scoop’s tamper end, because hard tamping on a steam machine only makes the coffee slower and more bitter.
Mr. Coffee 4-Cup coffee performance
The coffee is strong, dark and concentrated.
Under milk, it gives cappuccinos and lattes a bold coffee flavor that doesn't get lost.
On its own, it's intense, with a roasty edge.
My notes describe a slightly acidic and bitter aftertaste, especially when the brew runs too long or there's a lot of coffee compared with milk.
I found exactly that.
The first half of the brew tasted sweeter and fuller, while the last part, as the flow turned to steam, added bitterness.
My scores out of 10 after three weeks. Crema is very low because steam pressure is too low to create much.
There's very little crema✕CremaThe golden foam on top of a real espresso. It forms under high pump pressure, so low-pressure steam machines produce very little of it., just a thin, pale layer that fades quickly.
That's normal for any steam espresso maker.
The fix my notes suggest worked well for me.
Stop the brew a little earlier, then add more milk.
That gave me a smoother cup without losing the coffee's character.
Sweetening also helps.
A spoon of sugar whipped into the first drops of coffee, Cuban-style, or a little vanilla syrup in a latte balanced the bitterness nicely.
Frothing arm and milk
The frothing arm is better than I expected on such a small machine.
After brewing, I turned the knob to steam, waited a moment for the steam to build and dipped the arm into a small pitcher of cold milk.
The removable frothing aid✕Frothing aidThe removable tip on the end of the frothing arm. It pulls air into the milk as steam flows, which makes thick foam easy for beginners. on the end pulls in air, so foam builds quickly.
Keep the tip just under the surface, and you'll get thick, airy cappuccino foam in under a minute.
Go too deep and the milk heats without foaming.
Go too shallow and it spits.
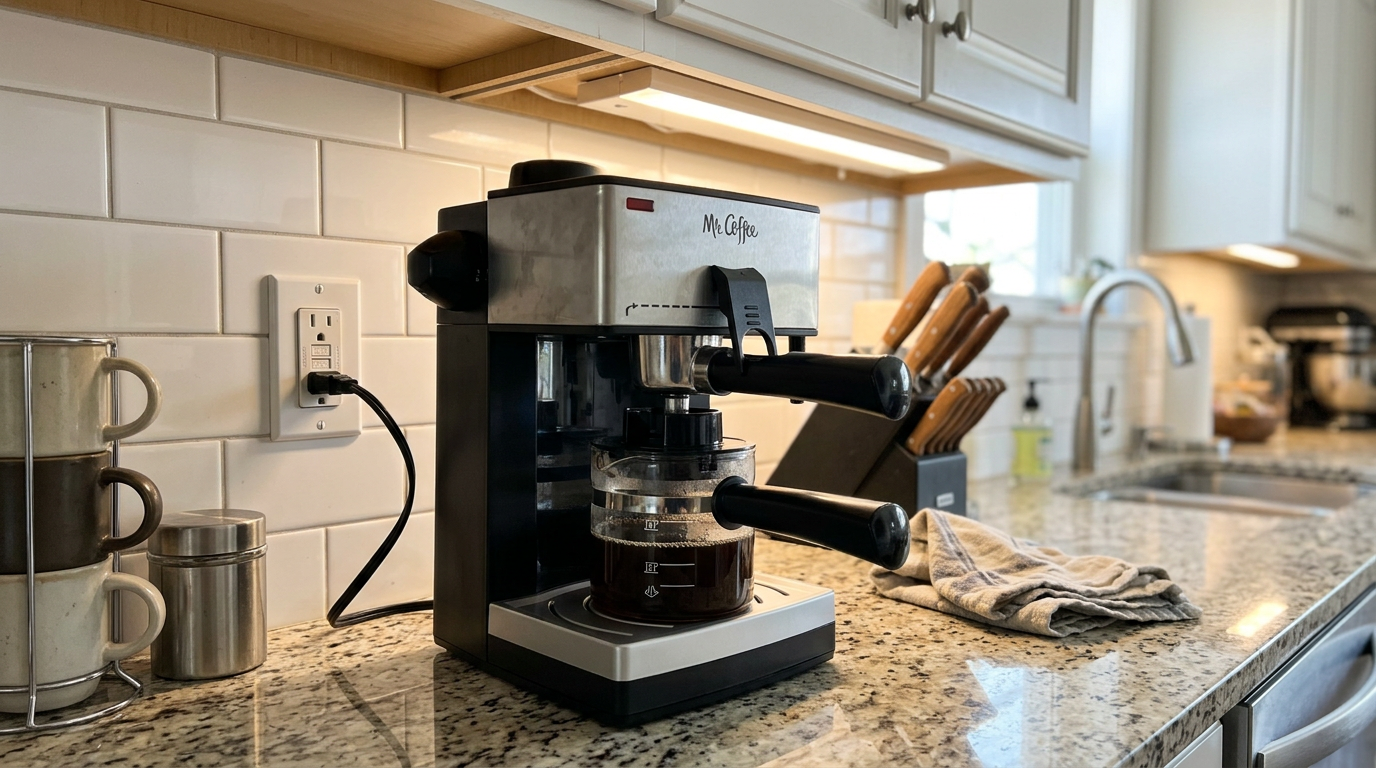
The frothing arm has just enough room for a small pitcher.
My scores out of 10 with whole milk in a small stainless pitcher.
The foam is thick and spoonable rather than silky.
You won't get the glossy microfoam✕MicrofoamFinely textured steamed milk with tiny, invisible bubbles. It looks glossy, pours like paint and is needed for latte art. needed for latte art, but for a classic cappuccino it's very good.
My notes say milk frothing requires practice, and it did take me three or four tries to stop over-foaming.
Whole milk was easiest, 2% made the most foam, and barista-style oat milk worked well too.
Our tip: Fill your milk pitcher no more than a third full, because the foam builds fast and can overflow in seconds.
Drinks I made every day
Over three weeks I made around 65 drinks on the Mr. Coffee.
These were the winners.
| Drink | How I made it | How it turned out |
|---|---|---|
| Cuban coffee (cafecito) | First drops whipped with sugar into a foam, rest of the brew stirred in | The machine’s best drink |
| Cappuccino | Two-shot brew stopped early, equal hot milk, thick foam | Bold and creamy |
| Vanilla latte | Two shots, lots of hot milk, vanilla syrup | Smooth, balanced bitterness |
| Café con leche | Four shots, equal hot milk | Great for sharing |
| Mocha | Coffee over cocoa, hot milk, foam | Rich and sweet |
| Iced coffee | Four shots over ice with milk and sugar | Refreshing in the afternoon |
If you love sweet, strong coffee, this is where the machine really makes sense.
The bold, slightly bitter brew is exactly what you want under sugar or milk.
Cleaning and maintenance
My notes stress that cleaning is necessary after each use, and I agree.
None of it is hard, but it isn't optional either.
After every brew, once the machine was cool and depressurized, I knocked out the grounds and rinsed the basket and portafilter.
After every milk drink, I wiped the frothing arm and ran a short burst of steam into a cup of water to clear it.
Every few days, I removed the frothing aid and rinsed it properly.
| Task | How often | Time |
|---|---|---|
| Rinse portafilter and basket | After every brew | ~1 min |
| Wipe and purge the frothing arm | After every milk drink | ~30 sec |
| Wash the carafe and lid | Daily | ~1 min |
| Empty and rinse the drip tray | Daily | ~30 sec |
| Remove and rinse the frothing aid | Every few days | ~1 min |
| Descale | Every 1–2 months, more with hard water | ~15 min |
For descaling✕DescalingRunning a descaling solution through the machine to dissolve mineral scale left by hard water. It keeps water and steam flowing freely., follow the Mr. Coffee manual.
Scale build-up slows the brew and weakens steam, so if you notice either, it's time.
Our tip: Purge the frothing arm into a cup of water right after you froth, because dried milk clogs the frothing aid quickly.
What daily use is really like
My weekday cappuccino on the Mr. Coffee took about five to six minutes, including the pressure release.
It's a hands-on routine.
You measure the water, fill the basket, watch the brew, switch to steam, froth, then release the pressure and rinse.
My notes list the things that make it more manual than other machines: measuring water every time, watching the extraction and switching between brewing and steaming yourself.
For one or two drinks in the morning, that's fine, and it quickly became second nature.
For a second round, the pressure release and refill add a few minutes.
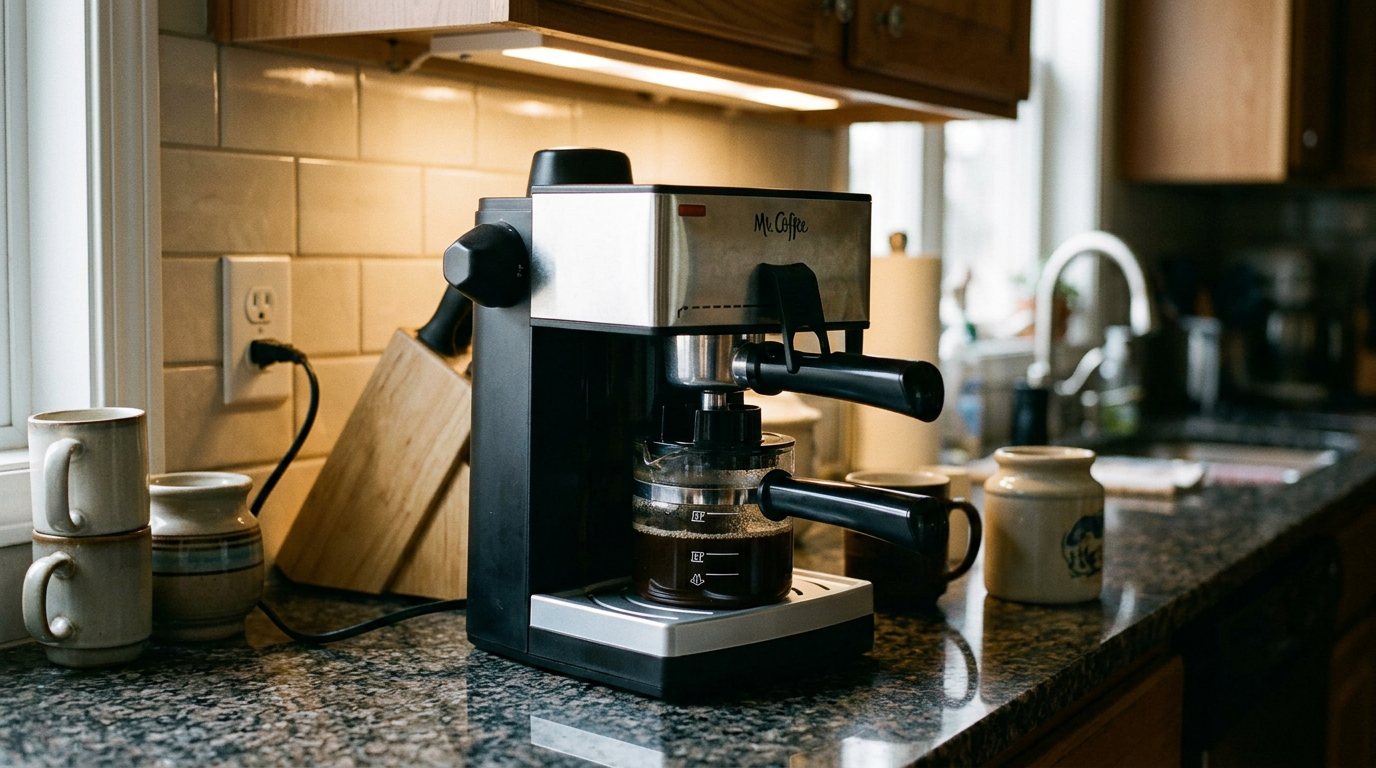
My morning setup: carafe, mugs and a jar of cold milk within reach.
Coffee, water and milk that worked best
Because this machine makes such a bold brew, the coffee you choose changes the result a lot.
Over three weeks, these were the combinations that worked best.
| Ingredient | What worked best | Why |
|---|---|---|
| Coffee | Dark or Cuban-style espresso roast, finely ground | Bold, low acidity, great with sugar |
| Lighter roasts | Medium-dark at most | Light roasts tasted sour and thin |
| Water | Cold, filtered | Cleaner taste, less scale |
| Milk | Cold whole milk | Creamiest, most stable foam |
| Plant milk | Barista-style oat milk | Foams far better than regular almond |
| Sweetener | Sugar whipped into the first drops | Classic Cuban-style espuma |
The sugar trick deserves a little explanation.
For a Cuban-style coffee, I caught the first few spoonfuls of coffee from the carafe and whipped them hard with sugar until they turned pale and foamy.
Then I stirred in the rest of the brew.
The sweet foam rose to the top and smoothed out the coffee's bitter edge.
It became my favorite way to use this machine.
Using it safely every day
A steam machine runs hotter and under more pressure than a drip brewer, so a few habits matter.
My notes flag that it produces very hot coffee and steam, and the glass carafe gets hot too.
None of this is complicated, and after a few days it was automatic.
Read the manual's safety section once before your first brew, especially the part about the cap.
Troubleshooting the problems I ran into
These are the problems I hit over three weeks, and all of them had simple fixes.
| Problem | Likely cause | What fixed it |
|---|---|---|
| Portafilter won’t lock | Wrong angle or grounds on the rim | Wipe the rim, line up, twist firmly |
| Weak, watery coffee | Grind too coarse or too little coffee | Fine espresso grind, full basket |
| Bitter, harsh coffee | Brew ran too long | Stop as the flow starts to sputter |
| Milk spits everywhere | Frothing tip too high | Keep it just under the surface |
| Weak steam | Not heated enough or clogged frothing aid | Wait for steam to build, clean the tip |
| Cap won’t open | Still under pressure | Release steam, wait, never force it |
The last row is the important one.
If the cap feels stuck, that's the machine telling you there's still pressure inside.
Common mistakes to avoid
Opening the cap without releasing pressure is the dangerous mistake, and it's the one to avoid above all.
Using drip-grind coffee is the most common one, because it makes weak, watery drinks.
Letting the brew run to the very end is the mistake that most affects taste.
Leaving the portafilter on a flat counter is the messy one, because it tips over and spills grounds.
And judging the machine on the first cup is the unfair one.
It took me a few mornings to learn the stopping point and frothing depth that worked.
Small kitchens and storage
At roughly 8 inches wide and about a foot tall, the Mr. Coffee is one of the smallest espresso-style machines you can buy.
It weighs only a few pounds, so I happily put it in a cupboard on weekends to free up the counter.
There's no water tank sticking out, no grinder and no bulky drip tray.
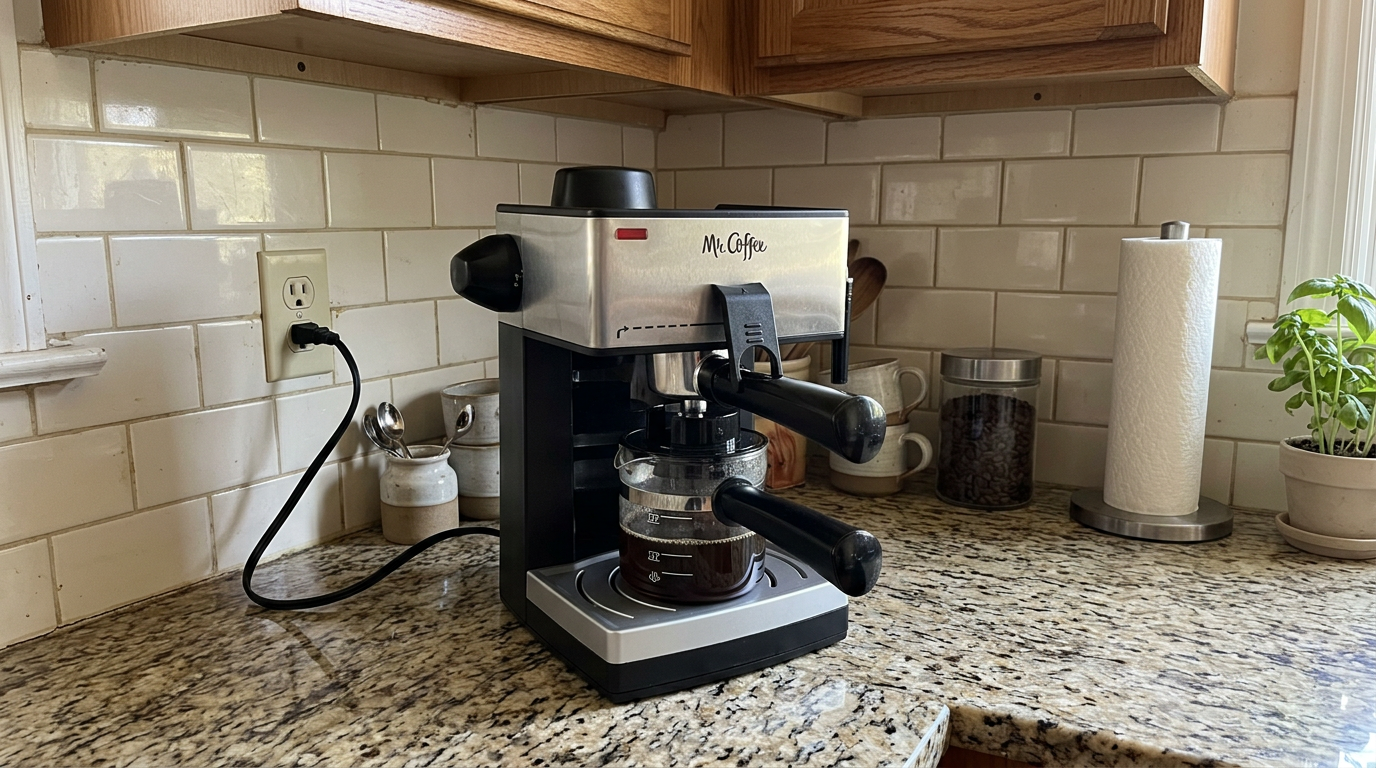
The Mr. Coffee fits into a small gap between a plant and the paper towels.
For a dorm-style setup, a first apartment or a small office kitchenette, the size is a big plus.
Just leave a little room on the frothing side for a pitcher.
Which households it suits, and which it doesn’t
After three weeks, I have a clear sense of who this machine is for.
Fans of strong, sweet coffee will love it, especially anyone who grew up on Cuban coffee or café con leche.
Occasional cappuccino drinkers will find it simple and satisfying.
People with very little counter space will appreciate how easily it tucks away.
It's a harder sell for espresso purists, for latte art fans and for households that want several drinks one after another.
| Household | Fit | Why |
|---|---|---|
| Cuban coffee lover | Excellent | Bold brew made for sugar |
| Occasional cappuccino drinker | Very good | Simple, real foam |
| Couple, one round each morning | Good | Four shots in one brew |
| Family wanting many drinks | Fair | Pressure release between rounds |
| Espresso purist | Poor | Steam pressure, very little crema |
Is the Mr. Coffee 4-Cup good value?
I won't quote numbers, because they change constantly.
What you get is a small, light machine that brews bold coffee for two or four shots, a glass carafe that doubles as a measuring cup, a frothing arm that makes real foam and a scoop that doubles as a tamper.
What you don't get is true espresso, a removable water tank, temperature control or a quick way to make back-to-back drinks.
For bold, milky or sweet coffee drinks on a tiny counter, it makes a lot of sense.
For anyone who wants espresso with crema, it doesn't.
My category scores out of 10, which make up the 6.6 overall rating.
Three weeks in: how it held up
After three weeks of daily use, the Mr. Coffee worked just as it did on the first day.
The frothing arm stayed strong because I purged it after every use, and the portafilter locked more easily the more I used it.
The glass carafe picked up coffee stains that washed off with warm soapy water.
Nothing leaked, and the knob still turned firmly between settings.
My overall impression matches my notes: once you learn the process, operation is relatively straightforward.
What changed most over the three weeks was my routine, not the machine.
By week two I had my water amounts, my grind, my stopping point and my frothing depth figured out, and the drinks got noticeably better.
I also stopped thinking of the pressure release as a chore and started treating it as part of cleaning up.
If your first few cups disappoint, give it a week.
This is a simple machine, but it rewards a little practice more than you might expect.
How it compares with other coffee setups
The most useful comparison is with the kinds of machines you're likely choosing between.
The Mr. Coffee 4-Cup stands out for its tiny size, its glass carafe and its built-in frothing arm.
| Feature | Mr. Coffee 4-Cup | Pump espresso machine | Stovetop moka pot |
|---|---|---|---|
| Pressure | Steam, a few bar | About 9 bar at the coffee | About 1.5 bar |
| Coffee style | Bold, moka-like | True espresso with crema | Bold, moka-like |
| Milk frothing | Built-in frothing arm | Usually a steam wand | None |
| Servings | 2 or 4 shots | 1–2 shots | Depends on size |
| Back-to-back drinks | Slow, needs pressure release | Quick | Slow |
| Learning curve | Low | Moderate | Low |
A pump machine is the step up if you want real espresso and silkier milk, but it's bigger and takes more practice.
A moka pot makes similar coffee but can't froth milk.
The Mr. Coffee sits between them, and for sweet, milky coffee drinks on a budget of space, that's a comfortable place to be.
Which one is right for you: is the Mr. Coffee 4-Cup your match?
4 quick questionsMr. Coffee 4-Cup specifications
From manufacturer data and my own testing.
How I tested and scored the Mr. Coffee 4-Cup
For three weeks, I used the Mr. Coffee 4-Cup every day for Cuban coffee, cappuccinos, lattes, café con leche, mochas and iced coffee, around 65 drinks in total.
I tested dark and medium-dark espresso roasts at different grinds, compared two- and four-shot brews and tried different stopping points.
I frothed whole, 2% and oat milk, timed each drink from a cold start including the pressure release, and logged every portafilter and steam problem.
I followed the daily cleaning routine and checked my notes against the Mr. Coffee manual and product information.
- Coffee (6.0): strength, flavor and consistency with dark and medium-dark espresso roasts, two- and four-shot brews and different stopping points
- Milk drinks (6.8): foam volume, texture and temperature with whole, 2% and oat milk, and how quickly milk heats
- Ease of use (6.4): clarity of the knob and measuring marks, the portafilter lock and the pressure-release routine
- Compact design (8.0): footprint, weight, storage and how easily it shares a small counter
Mr. Coffee 4-Cup FAQ
Is the Mr. Coffee 4-Cup worth it?
Yes, if you want strong, sweet or milky coffee drinks from a tiny, simple machine. It doesn’t make true espresso, but it makes bold coffee and real foam.
Does it make real espresso?
No. It’s a steam espresso maker that works at a few bar, compared with about 9 bar from a pump machine, so the coffee has very little crema.
How do I open the water cap safely?
Switch off and unplug the machine, release the steam through the frothing arm into a cup of water, wait for the hissing to stop, return the knob to off and only then open the cap.
How much water do I use?
About 4 fl oz for two shots and about 8 fl oz for four shots, measured with the glass carafe markings.
Why does my coffee taste bitter?
Usually the brew ran too long. Stop it as the flow starts to sputter, then add more milk or a little sugar.
What grind should I use?
A fine espresso grind. Drip-grind coffee makes weak, watery drinks on this machine.
Can I make Cuban coffee with it?
Yes, and it’s one of its best uses. Whip the first drops of coffee with sugar into a foam, then stir in the rest of the brew.
Kitchen & coffee tester
Michael spent six years as a line cook in restaurants in Chicago and New York, and he has tested kitchen appliances for HouseholdMe since 2018, from air fryers to coffee makers. He holds an SCA certificate in barista skills and used the Mr. Coffee 4-Cup as his everyday coffee machine for three weeks for this review.
- Three weeks of hands-on testing of the Mr. Coffee 4-Cup Steam Espresso System by Michael Reynolds
- Mr. Coffee 4-Cup Steam Espresso System manual and product information
- General coffee brewing, milk frothing and maintenance guidance