brim 19 Bar review: a stainless pump espresso machine with a pressure gauge that teaches you to pull better shots
The brim 19 Bar Espresso Machine is a stainless-steel pump espresso machine with a front pressure gauge, single and double shot buttons, a steam wand and a hot-water function. It makes real espresso with crema once you dial in your grind, and the gauge shows you what is happening in every shot.
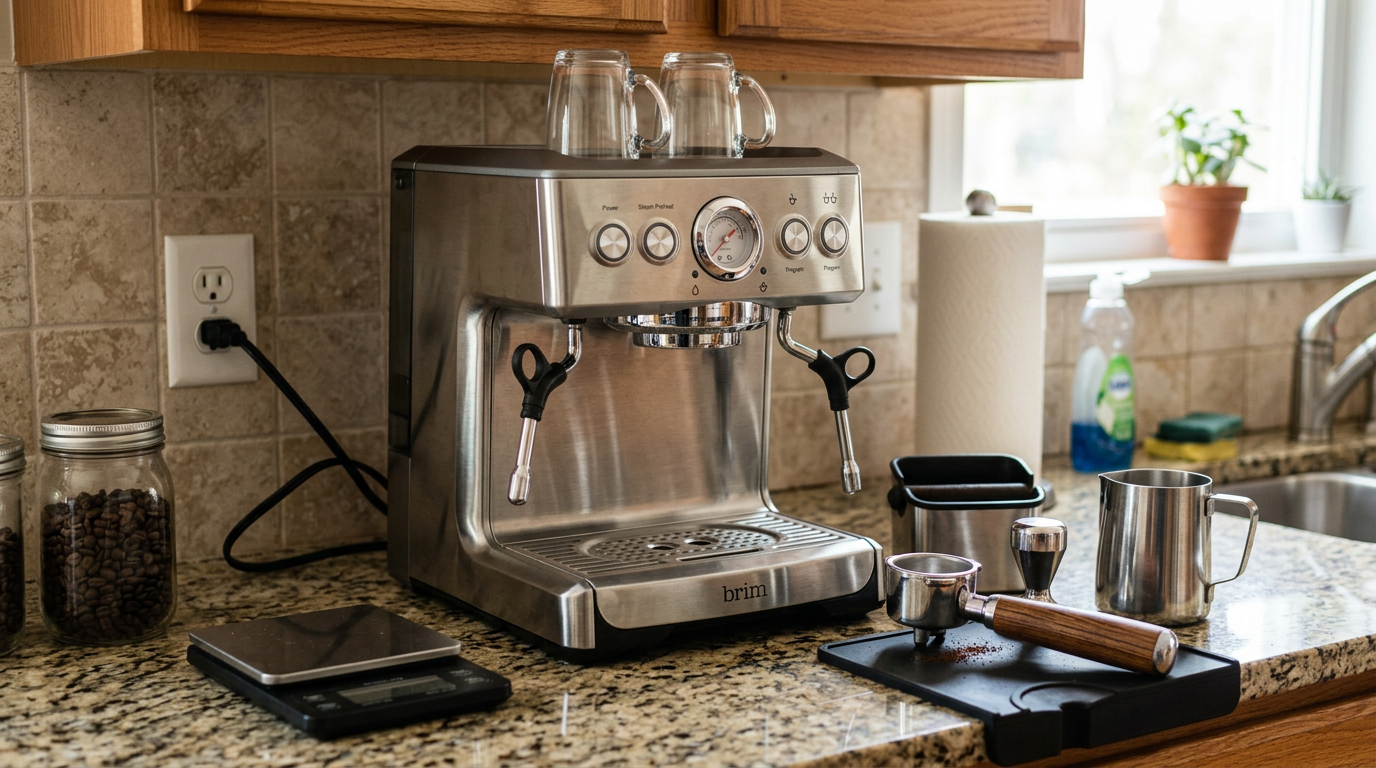

Michael Reynolds
Hands-on review
Hands-on testing, research, specs
3 weeks
21 minutes
Jargon helpNew to espresso? Tap any dotted term to see what it means.
In this review
Yes, if you want real pump espresso and good milk drinks from a machine that looks and feels like proper café gear. The brim 19 Bar brews espresso with genuine crema, its steam wand makes cappuccino and latte milk quickly, and the front pressure gauge is a real learning tool. Ignore the 19-bar headline, because good espresso needs the right grind, dose and tamp, not maximum pressure. Expect a few days of dialing in, a heavier machine than you might think, and a short wait between brewing and steaming.
brim 19 Bar at a glance
brim 19 Bar pros and cons
- Real pump espresso with crema
- Pressure gauge helps you dial in shots
- Strong steam wand plus hot water
- Takes practice to get consistent shots
- 19-bar figure means little for taste
- Short wait between brewing and steaming
Who should buy the brim 19 Bar?
- Beginners ready to learn espresso
- Cappuccino and latte drinkers
- Anyone who likes stainless café styling
- People who want push-button drinks
- Very tight counters
- Big households making many drinks fast
First impressions of the brim 19 Bar
Some espresso machines look like toys.
The brim 19 Bar Espresso Machine looks like it belongs behind a café counter.
It's wrapped in brushed stainless steel, with a round pressure gauge front and center, a row of buttons and a dial above it, a dark-handled portafilter and a steam wand on the side.
It has real heft, too.
At around 17 pounds, it stays put when you lock in the portafilter, which is more than I can say for lighter machines.
I set it up on a granite counter next to my grinder and a small milk pitcher, and for three weeks it was my everyday espresso machine.
My first shot was bad.
My third was decent.
By the end of the first week, I was pulling shots with thick, hazelnut-colored crema and a sweet finish.
That learning curve is the story of this machine, and the gauge is what makes it manageable.
The brim 19 Bar looks like café equipment, and it is heavy enough to stay put when you lock in the portafilter.
Our tip: Run two or three blank shots of plain water before your first coffee to flush and preheat the system.
What the brim 19 Bar is, and what 19 bar really means
The brim is a semi-automatic pump espresso machine.
An electric pump pushes hot water through finely ground, tamped coffee in the portafilter✕PortafilterThe handle with a filter basket that holds the ground coffee and locks into the machine's group head. Water is pushed through it to make espresso., which is how true espresso is made.
That puts it in a different league from steam espresso makers, which work at a few bar and can't produce real crema.
Now for the number on the box.
The 19-bar figure is the maximum rating of the pump, not the pressure your coffee is brewed at.
Good espresso is extracted at roughly 9 bar at the coffee, and almost every home machine runs well below its pump's rated maximum during a shot.
My notes say it plainly: a higher pressure rating does not automatically mean better flavor.
The pump rating is a maximum. What matters for taste is steady pressure around 9 bar at the coffee, plus the right grind and dose.
So why does it matter at all?
A pump with plenty of headroom can deliver steady pressure shot after shot, which helps consistency.
But grind size, dose, tamp and water temperature decide whether the espresso tastes good.
The brim also uses a low-pressure pre-infusion✕Pre-infusionA short, gentle wetting of the coffee at low pressure before full pressure kicks in. It helps the water soak in evenly, so the shot extracts more evenly and is less likely to taste sour or bitter. stage that gently wets the coffee before full pressure kicks in.
That's a genuinely useful feature, because it makes shots more forgiving when your tamp isn't perfect.
brim 19 Bar design and build
The brim is mostly stainless steel on the outside, which gives it a solid, durable feel.
It wiped clean easily, and fingerprints were less of a problem than I expected on the brushed finish.
Everything you touch daily is on the front.
The build felt sturdy throughout the test.
The portafilter locks in with a firm, satisfying twist, and the machine didn't slide on the counter even when I gave it a hard push.
The buttons have a clear click and the indicator lights tell you when it's heating and when it's ready.
My one wish is a little more clearance under the spouts.
Standard espresso cups and small cappuccino mugs fit fine, but tall travel mugs didn't.
| Part | What it is | My verdict |
|---|---|---|
| Portafilter | Stainless with dark handle, locks firmly | Feels like café gear |
| Pressure gauge | Front-mounted, analog needle | Best learning tool on the machine |
| Steam wand | Side-mounted, for milk and hot water | Strong and easy to aim |
| Water tank | Removable, with a tilt-back lid | Easy to fill two ways |
| Drip tray | Removable with grate | Empty it daily |
The water tank and filling it
The water tank is removable, and that matters more than it sounds.
You can lift it out and fill it at the sink, or flip back the small lid on top and pour water straight in.
I used both, depending on how awake I was.
The tank holds plenty of water for a few days of drinks for one or two people.
I used cold, filtered water throughout the test.
It tasted cleaner, and it should slow down scale inside the heating system.
Our tip: Always check the tank is fully seated after filling, because a loose tank is the most common cause of leaks and weak pressure.
Heating up: the thermocoil and warm-up time
Inside, the brim heats water with a 1250-watt thermocoil✕ThermocoilA heating element where water runs through a coiled metal tube that is heated directly. It heats up quickly and doesn't need a big boiler to warm up. rather than a big boiler.
In daily use, that means short waits.
After switching it on, the indicator lights flash while it heats, and the machine was ready to brew in well under a minute on most mornings.
I still let it run a blank shot of hot water through the portafilter first, to warm the metal.
A cold portafilter steals heat from the coffee and makes the first shot taste thin.
These are rough times from my test mornings.
The one pause you'll notice is between brewing and steaming.
Steam needs a higher temperature than brewing, so the machine needs a short moment to heat up after you turn the dial.
It's not long, but it's there, and it adds up when you're making several drinks.
The pressure gauge: your best teacher
The gauge is the reason I'd recommend the brim to someone who wants to learn espresso.
Instead of guessing why a shot tasted bad, you can watch what's happening while it pours.
If the needle barely moves, water is rushing through the coffee too easily.
If it shoots up and the coffee drips out slowly, the coffee is too fine or packed too hard.
In my testing, the gauge's reading depended heavily on the dose and grind.
A light, coarse dose kept the needle low, and a full, well-tamped basket of finer coffee brought it into the espresso range.
| What the gauge shows | What it usually means | What to change |
|---|---|---|
| Needle stays low, fast pour | Grind too coarse or dose too light | Grind finer or add more coffee |
| Needle in the espresso range, steady pour | Balanced extraction | Leave it, this is the goal |
| Needle high, slow drips | Grind too fine or tamp too hard | Grind coarser or tamp lighter |
| Needle jumps around | Uneven tamp or channeling | Distribute and tamp evenly |
The uneven pour in that last row is called channeling✕ChannelingWhen water finds a weak spot in the coffee puck and rushes through it instead of flowing evenly. It makes espresso taste sour and bitter at the same time..
It happened to me most when I tamped at a slight angle.
Once I started leveling the grounds with a finger before tamping, it mostly disappeared.
Single, double and manual shots
The brim gives you three ways to pull a shot.
The single and double buttons run a programmed amount of water and stop on their own.
You can also stop a shot by hand when it looks and tastes right, which I did more and more as the test went on.
| Option | How it works | When I used it |
|---|---|---|
| Single shot | Programmed small volume | Straight espresso with a single dose |
| Double shot | Programmed larger volume | Cappuccinos and lattes |
| Manual stop | You end the shot by pressing again | Dialing in or making a ristretto |
The double shot was my everyday choice, because it gives milk drinks enough coffee to cut through.
For straight espresso, I liked stopping the double early for a shorter, sweeter shot.
One thing worth knowing: the shot buttons control volume, not flavor.
If the coffee runs too fast or too slow, the button can't fix it.
That's the grind's job.
Our tip: Use the double shot for milk drinks, because a single shot gets lost under steamed milk.
Grind, dose and tamping
This is where most of my three weeks went, and where most buyers will need to spend a little time.
A pump machine like the brim needs a fine espresso grind.
Pre-ground coffee from the supermarket works, but freshly ground beans made a much bigger difference than anything else I changed.
My notes put it simply: too fine restricts the flow, and too coarse gives weak coffee.
| What I tried | Result | Verdict |
|---|---|---|
| Pre-ground drip coffee | Fast, pale, sour shot | Too coarse |
| Pre-ground espresso coffee | Decent shot, thin crema | Works in a pinch |
| Fresh beans, fine grind, full basket | Thick crema, sweet, balanced | Best result |
| Very fine grind, hard tamp | Choked, bitter drips | Too fine |
| Overfilled basket | Portafilter hard to lock | Use the right dose |
For beans, medium and medium-dark roasts gave me the most balanced shots.
Darker roasts were easier to get right, while lighter roasts needed a finer grind and tasted sharper.
If you want to understand why roast matters so much, our guide to coffee roast levels explains it well.
Tamp level and firm, and don't overfill.
An overfilled basket can stop the portafilter from locking and squashes the puck against the shower screen.
Our tip: Level the grounds with a fingertip before tamping, because an even bed of coffee is the easiest fix for uneven shots.
brim 19 Bar espresso performance
Once dialed in, the brim makes genuinely good espresso.
My best shots had a thick, hazelnut-colored crema✕CremaThe golden foam on top of an espresso. It forms when pump pressure pushes gases and oils out of freshly ground coffee, and it's a sign the shot extracted properly. that lasted a couple of minutes, with a sweet, chocolatey body and a clean finish.
That's the clearest difference from a steam espresso maker.
Consistency was good but not perfect.
Shot to shot, flavor stayed close once I'd locked in my grind and dose, but the first shot of the day was sometimes a bit cooler and thinner unless I preheated with a blank shot.
My scores out of 10 after three weeks of daily shots with fresh beans and a burr grinder.
Forgiveness is the lowest score, and that's honest.
With the wrong grind, the brim makes sour or bitter espresso, just like any real pump machine.
The pre-infusion and the gauge help, but they don't replace good coffee and a little practice.
The upside is that the machine rewards you for learning.
Week three's espresso was much better than week one's, and that's not true of every budget machine.
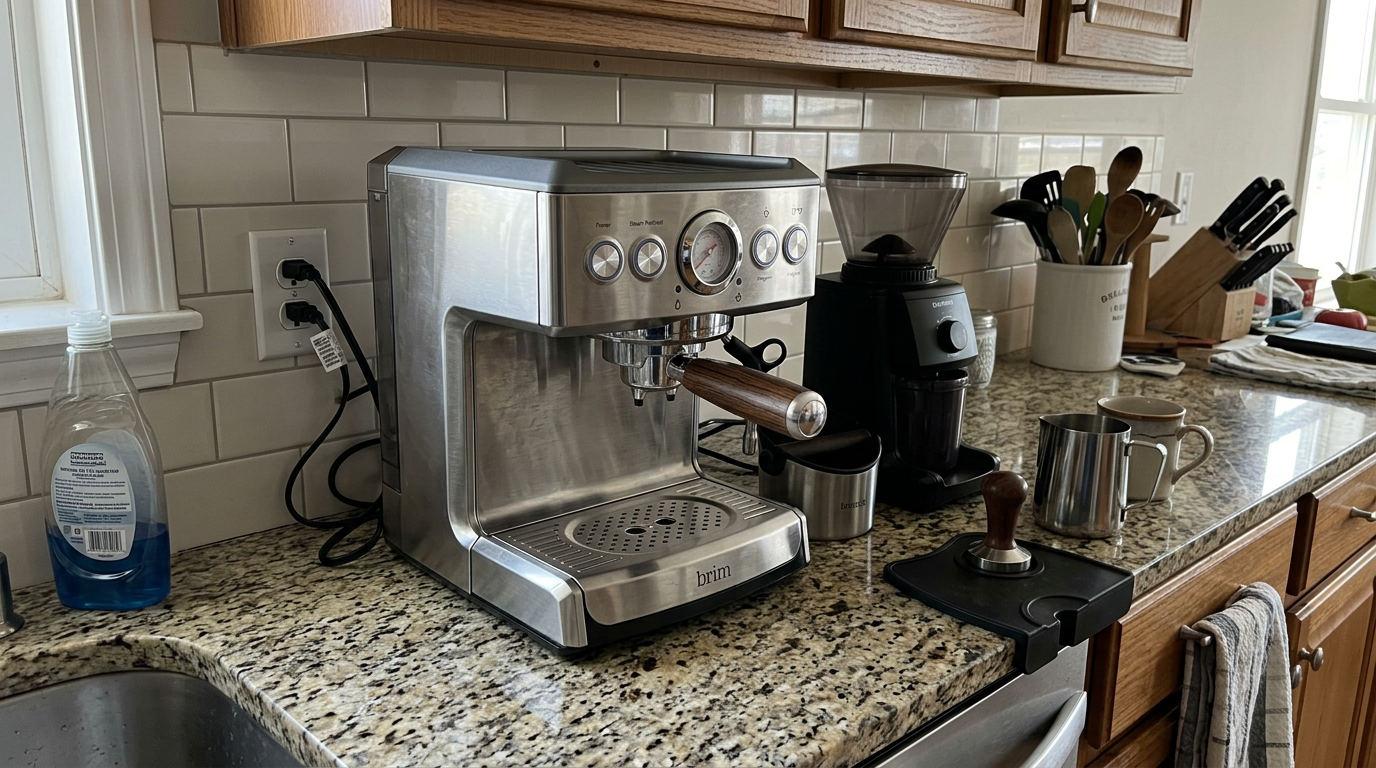
A grinder next to the brim made the biggest single improvement to my shots.
Steam wand and milk frothing
The steam wand was one of my favorite parts of the brim.
After brewing, I turned the dial to steam, gave the machine a moment to heat, purged a short burst of water from the wand and then dropped it into the milk.
The steam was strong and steady.
A small pitcher of cold milk went from fridge-cold to hot and foamy in roughly 40 to 50 seconds.
Technique makes a real difference here.
For cappuccino foam, I kept the tip just under the surface until the milk had grown by about half, then sank it a little deeper to heat and swirl.
For lattes, I let in less air early on and spent more time swirling.
My scores out of 10 with whole milk in a small stainless pitcher.
With practice, I got close to latte-art milk, glossy and smooth enough to pour a basic heart.
It took about a week to get there, and it was easier with whole milk than with plant milks.
Barista-style oat milk foamed nicely, while regular almond milk made thinner, bubblier foam.
The notes from my first days were right about one thing: milk residue needs to be cleaned away promptly, because the wand gets hot and dried milk is hard to remove.
Hot water for Americanos and tea
The brim can also dispense hot water through the wand, using the same dial.
It's a small feature that I used more than I expected.
For an Americano, I pulled a double shot into a mug and topped it up with hot water from the wand.
Pouring the espresso into hot water, rather than the other way round, kept more of the crema on top.
I also used it for a quick cup of tea when the kettle was busy.
It's not as fast as a kettle for large volumes, but for one mug it's convenient.
| Drink | My ratio | Result |
|---|---|---|
| Americano | Double shot, 4–6 oz hot water | Smooth, full-bodied |
| Long black | Hot water first, then the double shot | More crema on top |
| Tea | Hot water straight into the mug | Handy for one cup |
Drinks I made every day
Over three weeks I pulled around 90 shots and made about 60 milk drinks on the brim.
These were my favorites.
| Drink | How I made it | How it turned out |
|---|---|---|
| Espresso | Double basket, stopped a little early | Sweet with thick crema |
| Cappuccino | Double shot, foamy milk to the rim | The machine at its best |
| Latte | Double shot, silky milk, thin foam layer | Smooth, close to café quality |
| Flat white | Double shot, small amount of very silky milk | Strong and creamy |
| Americano | Double shot, hot water from the wand | Clean and easy |
| Iced latte | Double shot over ice, cold milk | Great on warm days |
If you make one drink to judge the brim, make a cappuccino.
It combines the machine's two strengths, real espresso and strong steam, in one cup.
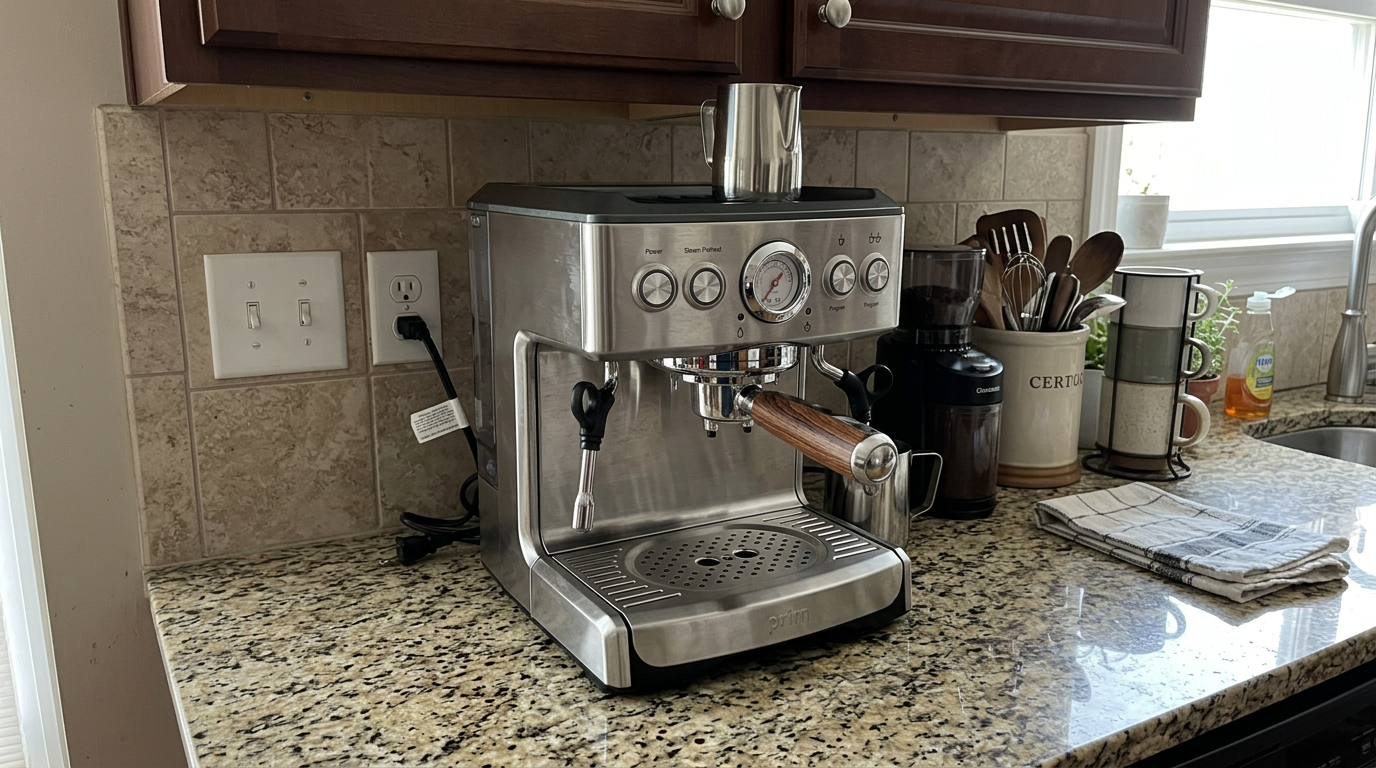
The brim's stainless finish suits both modern and traditional kitchens.
Cleaning and maintenance
Daily cleaning on the brim took me about three minutes.
Knock out the puck, rinse the basket and portafilter, wipe and purge the steam wand, and run a short flush of water through the group head.
My notes stress that long-term performance depends on water quality, cleaning frequency and correct use, and three weeks of daily use bore that out.
| Task | How often | Time |
|---|---|---|
| Knock out and rinse portafilter | After every shot | ~30 sec |
| Purge and wipe steam wand | After every milk drink | ~20 sec |
| Flush the group head | Daily | ~10 sec |
| Empty and rinse drip tray | Daily | ~1 min |
| Wipe the shower screen | Weekly | ~2 min |
| Descale | Every 1–3 months, depending on water hardness | ~20 min |
For descaling✕DescalingRunning a descaling solution through the machine to dissolve the mineral scale left by hard water. Scale slows water flow, lowers temperature and can damage the pump over time., follow the brim manual and use a descaler made for espresso machines.
If you notice slower flow, weaker pressure on the gauge or unusual pump noise, scale is the first thing to check.
The gauge is useful here too, because a change in how it behaves with your usual dose is an early warning sign.
Our tip: Flush the group head with a second of plain water after each shot, because it rinses off the coffee oils that turn stale and bitter.
What daily use is really like
My weekday cappuccino on the brim took about five minutes from switching on to rinsing up.
That's a little longer than a pod machine, but the drink was far better.
The workflow is classic espresso.
Grind, dose, tamp, lock in, brew, steam, pour.
After a week, it became a calm, enjoyable morning ritual rather than a chore.
The one thing I'd change is the brew-to-steam transition.
That short wait while the machine heats up for steam is fine for one drink, but it makes a second or third cappuccino slower.
A beginner’s first week with the brim
If you've never made espresso before, here's how I'd spend the first week, based on what worked for me.
On day one, don't aim for perfect.
Run blank shots, learn the buttons and the dial, and pull a few shots just to see how the gauge reacts.
On days two and three, fix your dose.
Fill the basket to the same level every time, level it, tamp it, and only change the grind.
Watch the needle and the speed of the pour, and taste every shot.
On days four and five, start steaming milk.
Practice with water and a drop of dish soap if you want to save milk, because it foams in a similar way.
By the weekend, combine the two and make a full cappuccino.
That's when the machine started to feel natural to me.
| Day | Focus | Goal |
|---|---|---|
| 1 | Blank shots, buttons, gauge | Know the controls |
| 2–3 | Same dose, adjust grind only | Steady needle, 25–30 second pour |
| 4–5 | Steaming milk | Thick foam without big bubbles |
| 6–7 | Full cappuccinos and lattes | A drink you'd happily buy |
| After | Fine-tune roast and ratio | Your personal favorite |
The 25 to 30 second target is a classic starting point for a double shot, not a strict rule.
Taste matters more than the clock, but the clock and the gauge together get you there faster.
Troubleshooting the problems I ran into
Most problems on a pump machine come back to grind, dose and cleaning.
These are the ones I hit, and what fixed them.
| Problem | Likely cause | What fixed it |
|---|---|---|
| Shot runs fast and sour | Grind too coarse or dose too light | Grind finer, fill the basket properly |
| Shot drips slowly and tastes bitter | Grind too fine or tamp too hard | Grind coarser, tamp evenly |
| Gauge needle barely moves | Light dose or coarse grind | Increase dose, grind finer |
| Portafilter won't lock | Overfilled basket | Use less coffee |
| Water under the machine | Tank not seated or drip tray full | Reseat the tank, empty the tray |
| Weak steam | Not yet at steam temperature | Wait for the light, purge first |
| First shot tastes thin | Cold portafilter | Run a blank shot to preheat |
None of these were faults with the machine.
They're the normal learning curve of espresso, and the gauge made every one of them easier to diagnose.
Common mistakes to avoid
Buying it for the 19 bar is the first mistake, because the number doesn't make the espresso taste better on its own.
Using coffee ground for drip machines is the second, and it's the most common reason people get sour, watery shots.
Skipping the preheat is the third, and it shows up as a thin first shot.
Leaving milk on the steam wand is the fourth, because dried milk clogs the tip and taints the next drink.
Finally, don't judge the brim on day one.
My notes and my experience agree: it rewards practice, and the improvement over the first week is big.
Our tip: Buy fresh beans with a roast date on the bag, because fresh coffee does more for your espresso than any machine setting.
Counter space and where to put it
The brim is roughly 11 inches deep, 11 inches wide and 13 inches tall.
That's a standard footprint for a home espresso machine, and it fit comfortably under my wall cabinets.
Leave room above it if you want to lift out the water tank or reach the lid, and a little space on the steam wand side for a pitcher.
At around 17 pounds, it's not something you'll put away after breakfast.
Plan for it to live on the counter, ideally next to a grinder.
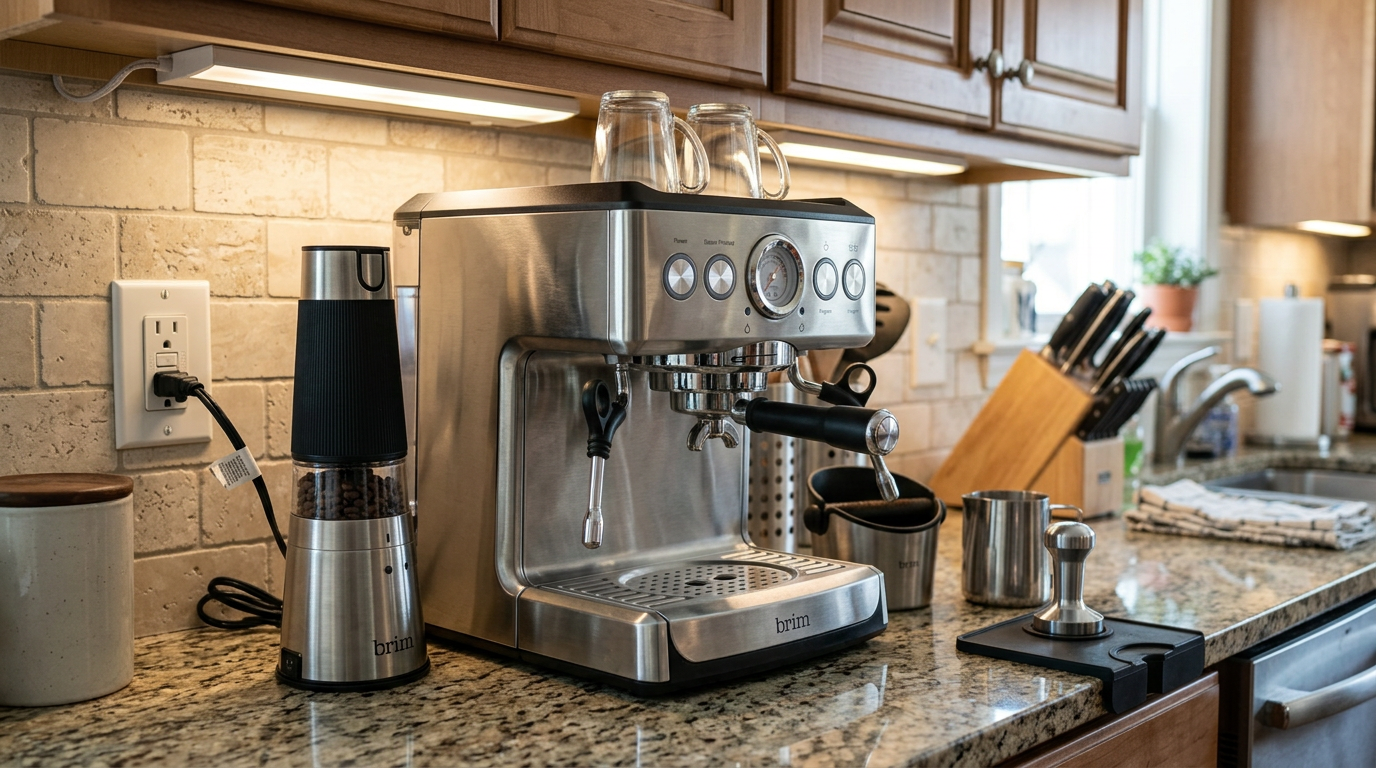
A grinder, the brim and a milk pitcher make a compact coffee corner.
If you're setting up a coffee corner for a few people at work, our guide to espresso machines for a small office covers what matters for shared use.
Is the brim 19 Bar good value?
I won't quote numbers here, because they change too often.
What I can tell you is what you get.
You get a real pump machine, a pressure gauge, programmed single and double shots, a strong steam wand, hot water and a solid stainless body.
You don't get a built-in grinder, temperature control or automatic milk frothing.
For someone who wants to learn espresso properly, that's a sensible set of features.
For someone who just wants a latte at the press of a button, it's more machine and more effort than they need.
My category scores out of 10, which make up the 7.3 overall rating.
Three weeks in: how it held up
After three weeks and well over a hundred drinks, the brim worked as well as it did on the first day.
The gauge behaved consistently with my usual dose, the steam was as strong as at the start, and nothing leaked once I'd learned to seat the tank properly.
The steam wand tip stayed clear because I purged and wiped it every time.
The drip tray filled faster than I expected with all the blank shots and purges, so I emptied it daily.
My notes say the machine is built for regular household use, and nothing in my test contradicted that.
Long-term, the key will be descaling on schedule and keeping the group head clean.
How it compares with other coffee setups
The most useful comparison is with the kinds of machines you're likely choosing between.
The brim 19 Bar stands out for its pressure gauge, its strong steam wand and its café-style stainless build.
| Feature | brim 19 Bar | Steam espresso maker | Super-automatic machine |
|---|---|---|---|
| Espresso style | Real espresso with crema | Strong, moka-like | Real espresso, less control |
| Pressure feedback | Front gauge | None | None |
| Milk frothing | Manual steam wand | Basic steam wand | Automatic or wand |
| Grinder | Separate | Separate | Built in |
| Learning curve | Moderate | Low | Very low |
| Control over taste | High | Low | Medium |
A steam espresso maker is simpler and smaller, but it can't make real espresso.
A super-automatic machine grinds and brews at the touch of a button, but it gives you less control and takes up more space.
The brim sits in the middle, for people who want to make espresso themselves and get better at it over time.
Which one is right for you: is the brim 19 Bar your match?
4 quick questionsbrim 19 Bar specifications
From manufacturer data and my own testing.
How I tested and scored the brim 19 Bar
For three weeks, I used the brim 19 Bar every day for espresso, cappuccinos, lattes, flat whites, Americanos and iced drinks, around 90 shots in total.
I tested medium, medium-dark and dark roasts, both pre-ground and freshly ground on a burr grinder, at different grind sizes and doses.
I frothed whole, 2%, oat and almond milk, logged the gauge reading and pour time for each shot and timed drinks from a cold start.
I followed the daily cleaning routine and checked my notes against the brim manual and product information.
- Espresso (7.2): crema, body, flavor and consistency across roasts, grind sizes, doses and single and double shots
- Milk drinks (7.4): steam power, foam texture, speed and how easy it is to make cappuccinos and lattes
- Ease of use (7.0): how quickly a beginner gets a good shot, clarity of controls and the gauge, and daily workflow
- Build and design (7.8): materials, stability, the water tank, the drip tray and how it looks on the counter
brim 19 Bar FAQ
Is the brim 19 Bar worth it?
Yes, if you want real pump espresso and good milk drinks and you're willing to learn. The gauge and strong steam wand make it a good machine to grow with.
Does 19 bar make better espresso?
No. 19 bar is the pump's maximum rating. Espresso is extracted at around 9 bar, and grind, dose and tamp matter far more for taste.
Do I need a grinder?
Not strictly, but freshly ground beans made the biggest improvement in my testing. Pre-ground espresso coffee works, drip-grind coffee does not.
Why does my pressure gauge stay low?
Usually the dose is too light or the grind too coarse. Fill the basket properly and grind finer until the needle settles in the espresso range.
Can it make hot water?
Yes. Turn the dial to hot water to dispense it through the wand for Americanos or tea.
How long does it take to heat up?
In my testing it was ready to brew in under a minute from cold, with a short extra wait before steaming.
How often should I descale it?
Every one to three months, depending on your water hardness and how much you use it.
Kitchen & coffee tester
Michael spent six years as a line cook in restaurants in Chicago and New York, and he has tested kitchen appliances for HouseholdMe since 2018, from air fryers to coffee makers. He holds an SCA certificate in barista skills and used the brim 19 Bar as his everyday coffee machine for three weeks for this review.
- Three weeks of hands-on testing of the brim 19 Bar Espresso Machine by Michael Reynolds
- brim 19 Bar Espresso Machine manual and product information
- General espresso brewing, milk steaming and maintenance guidance