Breville Barista Pro vs Barista Touch: buttons or touchscreen?
Same 1680-watt ThermoJet with a three-second heat-up, same 30-step conical burr grinder, same 54 mm portafilter and the same 67-ounce tank. Then they split: the Breville Barista Pro gives you buttons, an LCD shot timer and a powerful manual four-hole steam wand, while the Breville Barista Touch puts everything on a touchscreen, saves eight custom drinks and steams milk by itself to the temperature you choose. I used each one as my daily machine for four weeks to find out which one is worth it.
We choose products independently. We may earn a commission through links on this page; your price stays the same. Affiliate policy
Jargon helpNew to espresso? Tap any dotted term to see what it means.
In this comparison
If you drink lattes or flat whites every day and do not want to learn to steam milk, buy the Breville Barista Touch. Its sensor stops the steam at your set temperature, texture level 3 at 140°F poured clean latte art for me, and saved drinks let everyone in the house keep their own settings. If you enjoy steaming by hand, want the most powerful steam and the simplest controls, or mostly drink espresso, the Breville Barista Pro makes the same espresso for less: its four-hole wand textured 6 ounces in about 30 seconds and its shot clock made dialing in easy.
The two machines
Specs checked November 13, 2026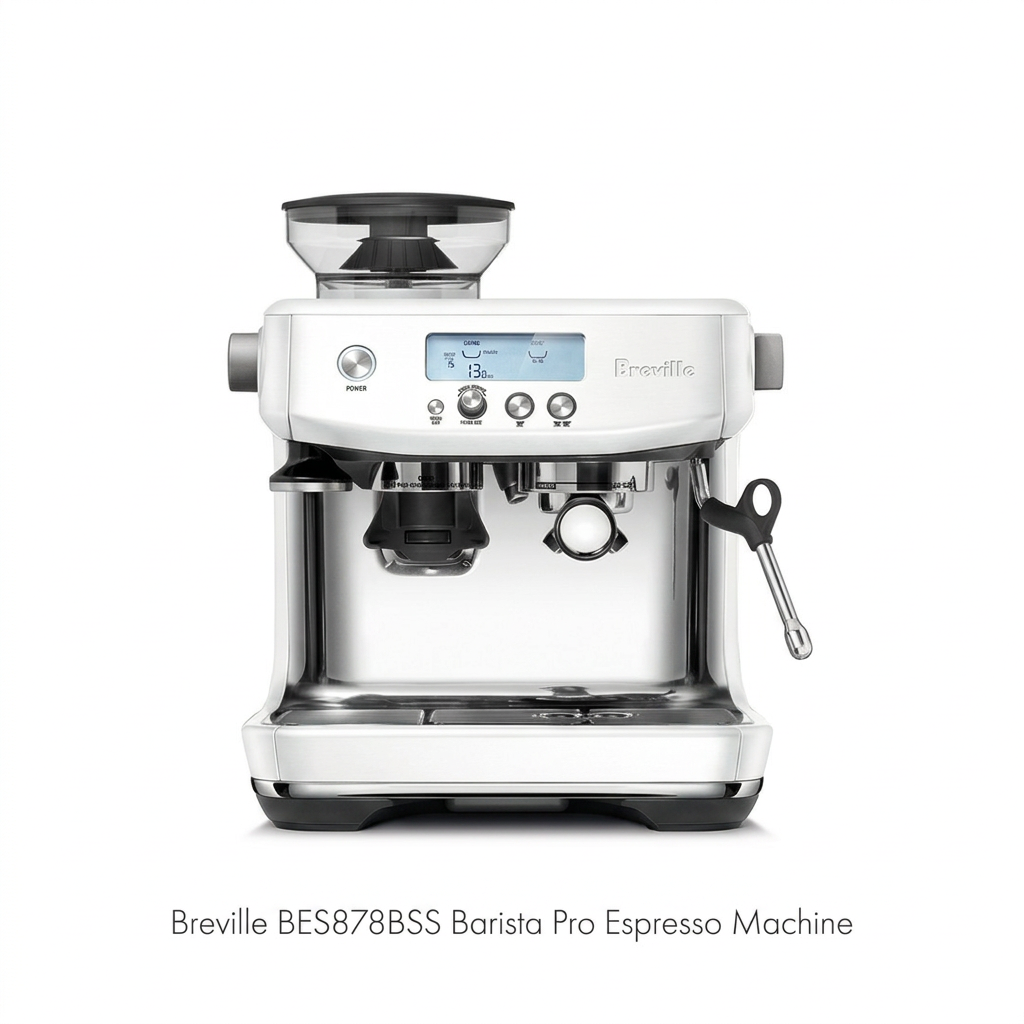
Buttons and an LCD shot timer, five temperatures, a 30-step grinder and a powerful manual four-hole steam wand.
Check price on Amazon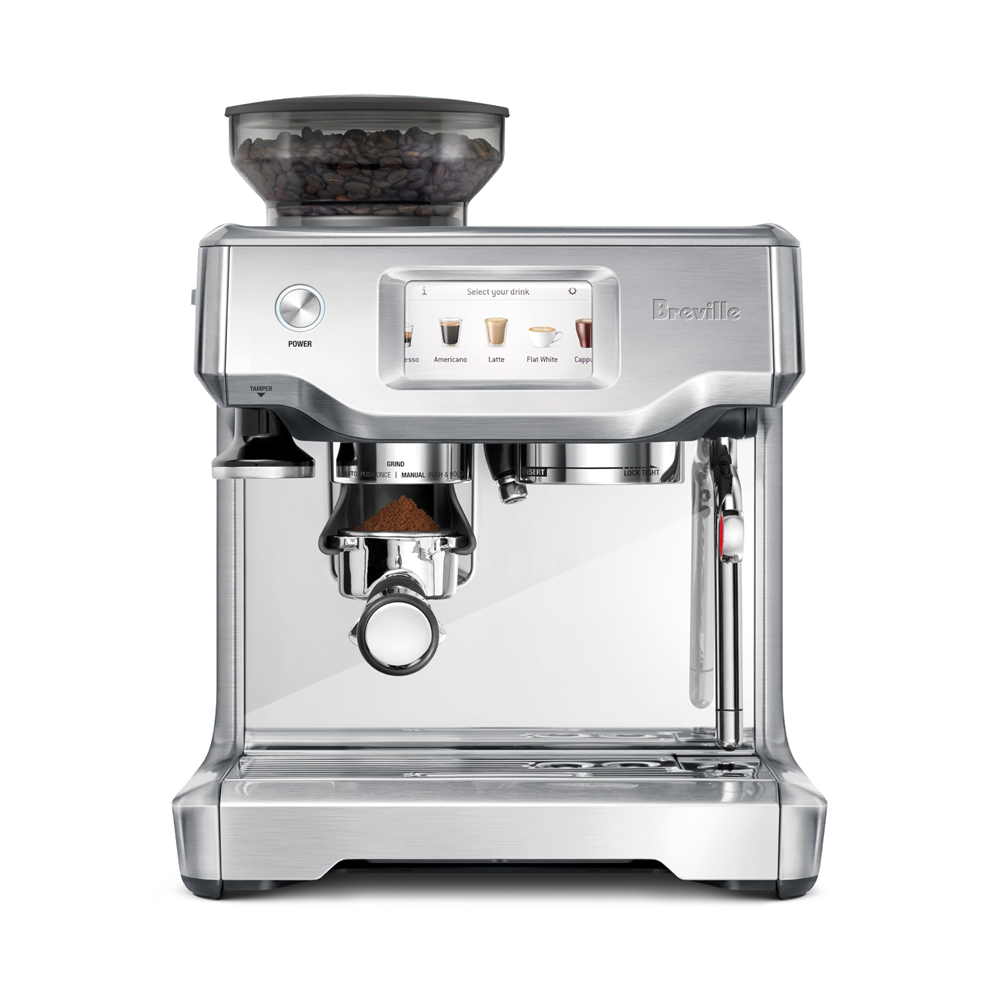
A color touchscreen, five presets plus eight saved drinks, and automatic milk that stops at your chosen temperature and texture.
Reveal Today’s DealBarista Pro vs Barista Touch at a glance
- Buy the Touch if you want lattes and flat whites with no steaming skill.
- Buy the Pro if you enjoy steaming by hand or mostly drink espresso.
- The espresso is the same: same ThermoJet, same 30-step grinder, same hand tamping.
- You tamp by hand on both; for assisted tamping, look at the Impress models.
Head to head
The better result in each row is marked, based on four weeks with each machine and Breville’s specs. Rows where they are the same have no winner.
The tally is close and it is not my verdict. If you never want to steam by hand, the milk row outweighs the rest.
| Spec | Barista Pro | Barista Touch |
|---|---|---|
| Controls | Buttons, dials and LCD | Color touchscreen ✓ Best |
| Milk | Manual four-hole wand | Automatic with temperature sensor ✓ Best |
| Steam speedmy timing, 6 oz | About 30 s ✓ Best | Automatic, stops itself |
| Milk temperature control | By hand | Set to the degree, 150°F default ✓ Best |
| Saved drinks | None | Up to 8 ✓ Best |
| Shot timer | Large on-screen clock ✓ Best | Manual mode, stop by weight |
| Heat-up | About 3 s | About 3 s |
| Grinder | 30 settings | 30 settings |
| Tamping | By hand | By hand |
| Drip tray | Standard ✓ Best | Compact, fills fast |
| Size (W x D x H) | About 14 x 13 x 16 in | About 12.6 x 12.6 x 16.1 in ✓ Best |
| Warranty (US) | 2 years | 2 years |
| Rows won | 3 | 5 |
Barista Pro vs Barista Touch pros and cons
Breville Barista Pro
- Ready in seconds, with near-instant steam
- Strong four-hole steam for fast, silky microfoam
- LCD shot timer makes dialing in easy
- No automatic milk
- No saved drinks or profiles
- Group head still needs a warm-up flush
Breville Barista Touch
- Hands-free milk stops at your set temperature
- Clean touchscreen with 8 saved drinks
- Compact footprint with hidden storage
- You still dose and tamp by hand
- Presets all use the same shot settings
- Small drip tray needs frequent emptying
Who should buy which machine?
- People who enjoy steaming milk by hand
- Espresso and americano drinkers
- Anyone who prefers buttons to screens
- Latte and flat white drinkers who want easy milk
- Households where several people make drinks
- Small kitchens that need a compact machine
Design, size and build
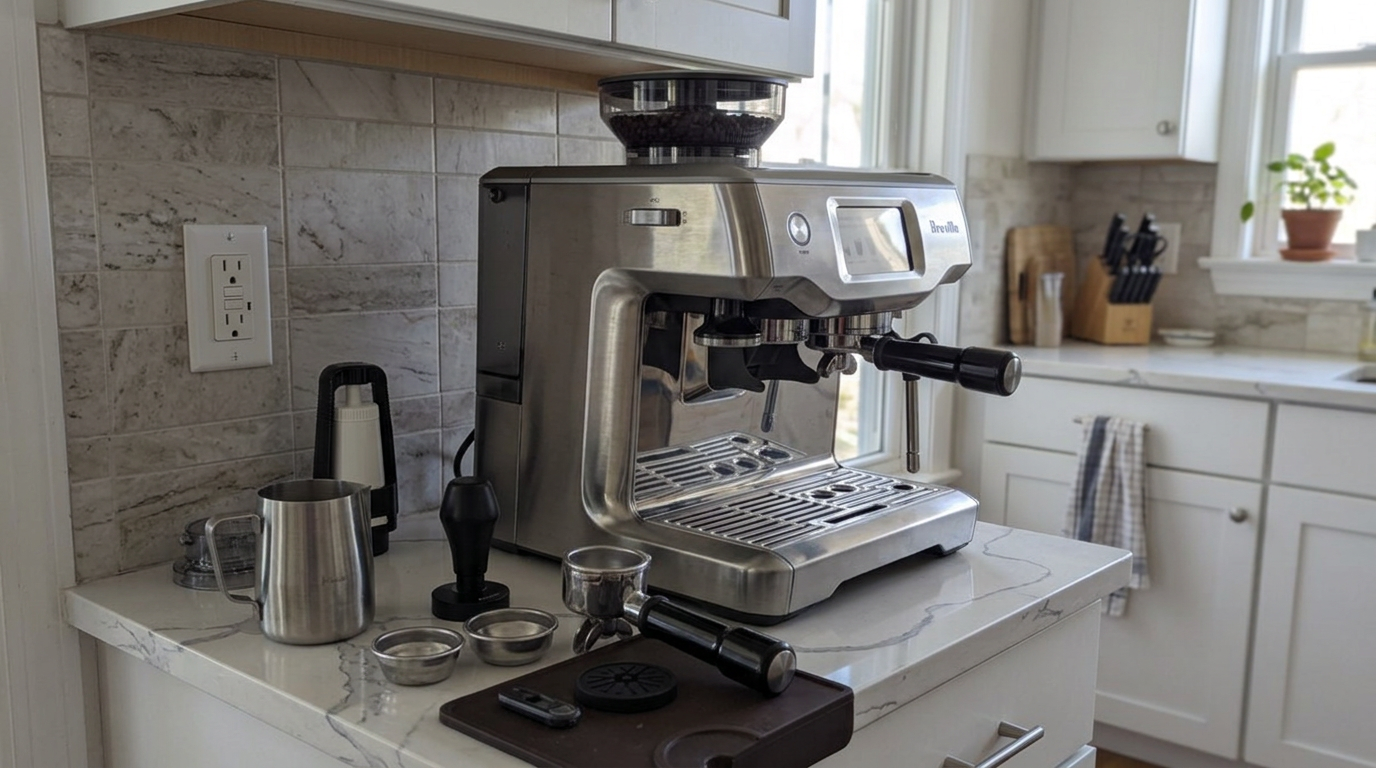
Both are brushed stainless steel with a bean hopper on top, a 54 mm portafilter in the middle and a steam wand on the right. The difference is the front.
The Pro has an LCD in the center, surrounded by buttons for the shot size, grind amount and menu, plus a steam knob. The Touch has almost no knobs at all: everything except the grind dial runs through a color touchscreen, which keeps the panel clean and easy to wipe.
The Touch replaces almost every knob and button with one touchscreen.
The Touch is the more compact of the two, at about 12.6 inches wide, 12.6 deep and 16.1 tall. The Pro is wider at about 14 inches, though slightly less deep at about 13 inches.
Both have a hidden storage compartment behind the drip tray for spare baskets and cleaning tools. The Pro’s panels are magnetic, so small tools stick to its side; the Touch’s hopper has a rubber seal to keep beans fresher.
Width on the counter
The Touch is the better fit for a narrow gap between a sink and a wall.
Buttons vs touchscreen
This is half the decision, and it comes down to taste as much as features.
The Pro’s LCD shows the grind setting, grind time, selected shot and a running shot clock that starts when full pressure kicks in. Changing the brew temperature takes two button presses across five settings, and you can program the one-cup and two-cup buttons.
The Touch’s capacitive screen responded instantly, even with slightly damp fingers, and its menu is flat with no deep submenus. It has five presets, Espresso, Americano, Latte, Flat White and Cappuccino, plus hot water, and it can save up to eight custom drinks with their own grind time, shot and milk settings.
The saved drinks were the Touch’s best feature for a household. Each of us saved a drink under our own name, so nobody overwrote anyone else’s settings.
The catch: the factory presets all use the same default double shot, and the cappuccino foam is only one step higher than the latte. To make them genuinely different, I raised my cappuccino foam to level 7 and dropped my flat white to level 3, then saved them.
| Control | Barista Pro | Barista Touch |
|---|---|---|
| Display | Backlit LCD | Color touchscreen |
| Shot timer | Large running clock | In manual mode |
| Presets | 1 and 2 cup, programmable | 5 drinks plus hot water |
| Saved drinks | None | Up to 8, by name |
| Temperature | 5 settings | Adjustable in settings |
| Built-in tutorials | No | Yes, step-by-step guides |
The Touch also has built-in tutorials. An info icon on the main screen opens short, step-by-step visual guides for brewing, grind changes, milk and cleaning, and they made my first day much easier.
The Pro has nothing like that, but it hardly needs it: its controls are few and labeled, and after a day I never looked at the manual again.
Our tip: Save drinks on the Touch under people’s names, so everyone in the house keeps their own milk temperature and foam level.
Heat-up and the warm-up flush
Both use the same 1680-watt ThermoJet✕ThermoJetBreville’s compact, low-mass heating block. It reaches brewing temperature in about three seconds and switches to steam almost instantly., and both were ready about three seconds after I pressed power. Switching from brew to steam took about five seconds on each.
Both also share the same catch. The heater is hot instantly, but the metal group head✕Group headThe round fitting the portafilter locks into. Hot water flows out of it and through your coffee. and portafilter are not, and cold metal pulls heat from the first shot.
On both, one or two blank shots of hot water through the empty portafilter fixed it in about 15 to 20 seconds. Once warm, back-to-back shots were consistent on both, and I could not taste any temperature drift.
My timings, same on both
Rough stopwatch timings in my kitchen.
Grinder and puck prep
Both have a 30-step grinder with hardened steel conical burrs✕Conical burrsTwo cone-shaped grinding parts, one inside the other. Beans are crushed between them, and the gap sets how fine the coffee is., and both dose by time. On the Pro, the collar is effectively stepless; on the Touch, the side dial has 30 stepped settings.
Both gave me enough range for light, medium and dark roasts without touching anything inside the machine.
Neither tamps for you. On both, I weighed the dose, stirred the grounds with a needle tool to break up clumps, tapped once and tamped firmly and level.
On the Pro, a clip-on dosing funnel made stirring spill-free; on the Touch, the cradle lets you pause halfway through grinding to settle the grounds. My doses were 16 grams on the Pro and 17.5 grams on the Touch.
| Step | Barista Pro | Barista Touch |
|---|---|---|
| Dose | 16 g, timed in 0.1 s steps | 17.5 g, timed on screen |
| Pause mid-grind | No | Yes, push to pause |
| Stir | Funnel plus needle tool | Needle tool |
| Tamp | By hand | By hand |
| Dose drift | About 0.2–0.4 g | Similar, check on a scale |
Our tip: If you add only one tool to either machine, make it a needle stirring tool, because it fixed more sour shots than any grind change.
Espresso quality
Because they share the same heater, grinder and portafilter, the espresso is essentially the same. What differs is how you control the shot.
On the Pro, I used 16 grams in and 32 grams out, a 1:2 brew ratio✕Brew ratioThe weight of coffee in the basket compared with the weight of espresso in the cup. 16 g in and 32 g out is a 1:2 ratio.. With a medium roast, shots ran 28 to 30 seconds and poured like syrup, with thick hazelnut crema and chocolate, caramel and a gentle acidity.
On the Touch, the factory presets stop the shot by time, which drifts as beans age. In manual mode with a scale under the cup, I used 17.5 grams in and 40 grams out; with a medium roast it ran 28 to 32 seconds, with golden-brown tiger striping and chocolate and nut notes.
Share of shots in my target window, by week
From my shot logs; the Touch jumped once I stopped shots by weight in manual mode.
The Pro’s big on-screen shot clock made it slightly quicker to learn. On the Touch, the lesson was simple: stop by weight in manual mode, not by the timed presets.
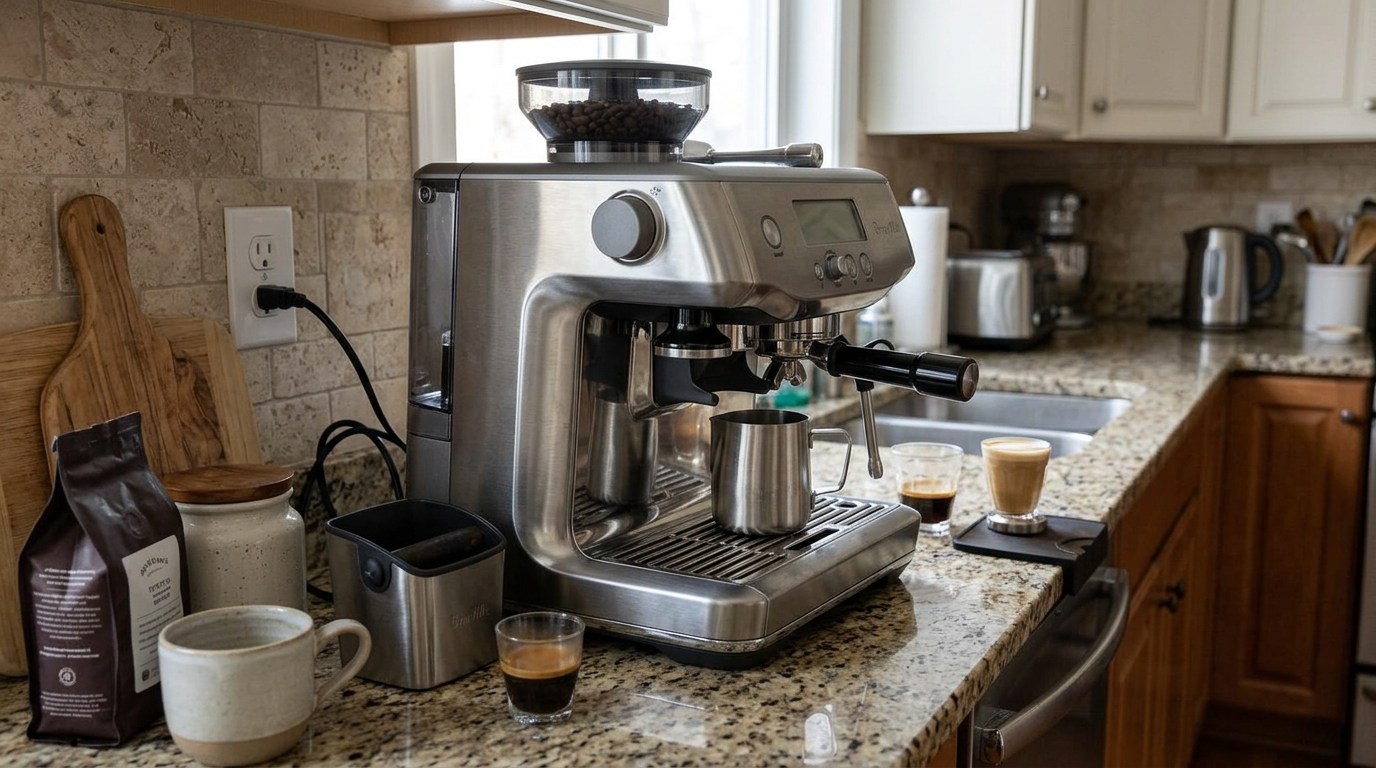
Same heater, same grinder: the Pro and Touch pull the same espresso.
| What you taste | Likely cause | First fix on either machine |
|---|---|---|
| Sour, thin, fast | Under-extraction✕Under-extractionWhen water does not pull enough flavor out of the coffee. The shot tastes sour, thin and watery. | Finer grind or slightly more coffee |
| Bitter, harsh | Grind too fine, uneven tamp | Coarser grind, tamp level |
| Spurts and sprays | Channeling✕ChannelingWater finding a weak path through the coffee puck instead of flowing evenly through it. | Stir longer before tamping |
| First shot weaker | Cold portafilter | Blank shot first |
| Different every day (Touch) | Timed preset with aging beans | Stop by weight in manual mode |
My four weeks, side by side
In week one on the Touch, I relied on the timed presets and my shot times wandered by several seconds; switching to manual mode and stopping by weight fixed that almost immediately. On the Pro, week one was mostly about learning that two blank shots made the first espresso as sweet as the third.
In week two, stirring the grounds cut spurts and sour shots on both. By week three, both machines were consistent, and I only touched the grind when a bag aged or changed.
The difference in week four was not the espresso but the milk. On the Pro, my latte art had improved steadily with practice. On the Touch, it had been good from the first week, because the machine never overshot the temperature.
Roasts and temperature
Both let you set brew temperature, and both handled every roast I tried. On the Pro, five settings from Low to High sit two button presses away; on the Touch, temperature lives in the settings menu.
Dark roasts wanted lower temperatures and a slightly coarser grind on both. Light roasts wanted the top of the range and a finer grind.
| Roast | Barista Pro | Barista Touch |
|---|---|---|
| Dark | Medium-Low or Low, grind 14–16 | 198–200°F, slightly coarser |
| Medium | Medium-High, grind 10–12 | 200–202°F, middle |
| Light | High, grind 7–9 | 204–206°F, finer, ~1:2.5 |
On the Pro, a light roast that tasted sharp on the default setting opened up into sweet citrus and stone fruit on High. On the Touch, I stretched light roasts to about 44 grams out from 17.5 grams in to get the same sweetness.
Our tip: When a roast tastes wrong on either machine, change the temperature first, then fine-tune the grind.
Manual vs automatic milk
This is the real reason to choose one over the other.
The Pro has a manual four-hole steam wand. Dry steam arrived within seconds, the milk spun almost immediately and a 6-ounce jug took about 30 seconds, glossy and smooth like wet paint. You stop by feel, when the jug is too hot to hold, around 140 to 150°F.
The Touch textures milk by itself. A temperature probe in the drip tray reads the jug constantly and cuts the steam at your target, 150°F by default; I lowered it to 140°F for most drinks. Eight texture levels run from hot milk with almost no air to tall cappuccino foam.
Its wand also has a plastic sleeve inside the stainless shaft, so the outside stays cooler and milk does not bake onto it as quickly. Lowering the wand after a drink triggers an automatic purge.
Milk drink scores, my testing
Both scored 8.6 in their single reviews, for different reasons: power on the Pro, convenience on the Touch.
| Milk detail | Barista Pro | Barista Touch |
|---|---|---|
| How it works | You steam by hand | Sensor-controlled, automatic |
| Speed, 6 oz | About 30 s | Automatic, then stops |
| Temperature | By feel, ~140–150°F | Set to the degree |
| Texture | Your technique | 8 levels |
| Plant milk | Stretch a little longer | Two texture levels higher |
| Brew while steaming | Switch in seconds | Start milk as the shot begins |
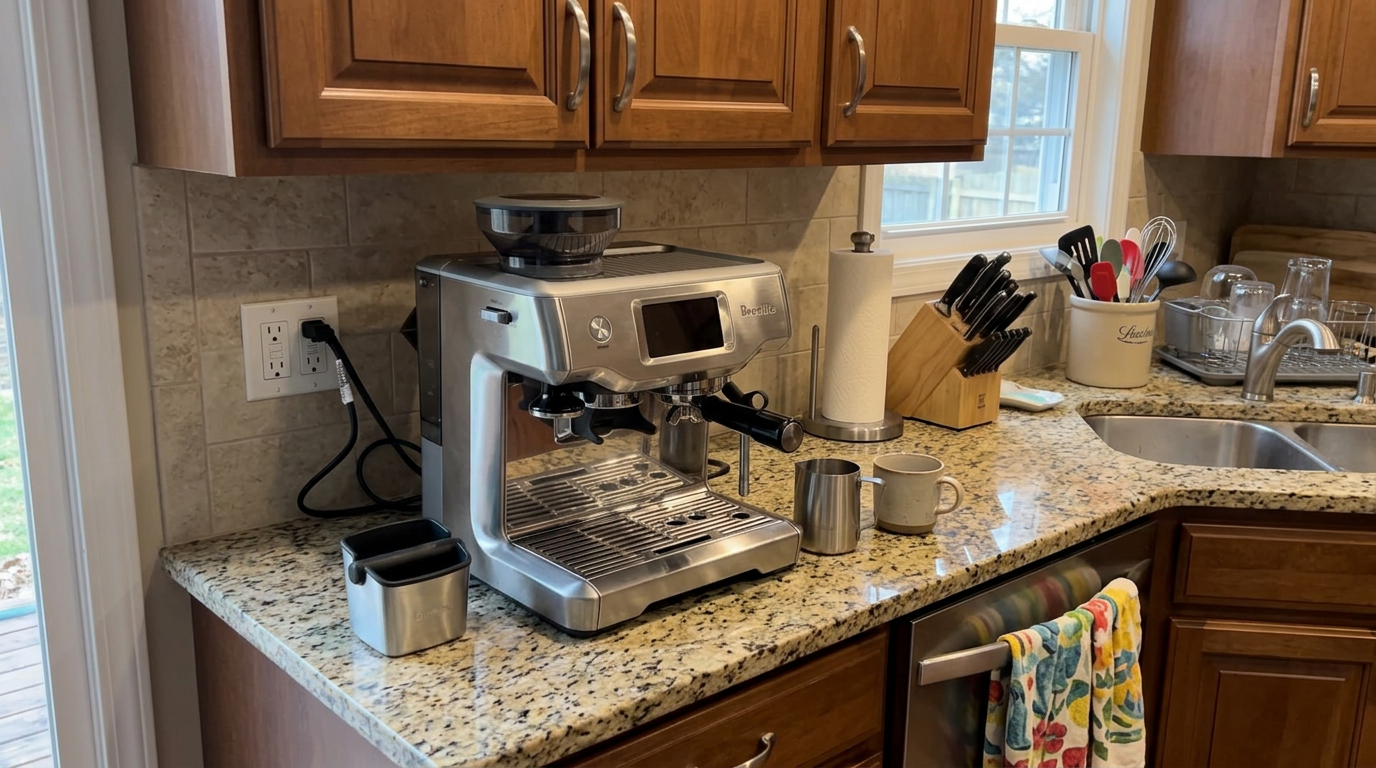
On the Touch, the drip tray sensor stops the steam at the temperature you choose.
Our tip: Use about 5 ounces of cold milk in the Touch’s jug, because it gives the automatic steam enough depth to spin the milk properly.
Latte art on each
I expected automatic milk to be too foamy for latte art. At the right setting, it was not.
On the Touch, texture level 3 at 140°F produced a fine, liquid microfoam✕MicrofoamMilk foam with bubbles so small you can barely see them. It feels silky and glossy, which is what latte art needs. that poured clean hearts and tulips. Level 4 was fine for simple shapes; level 5 and above was too thick for detail.
On the Pro, I was pouring hearts and simple tulips by the end of week two. The four-hole tip gets the milk spinning so quickly that you spend less time hunting for the angle, but small jugs heat fast, so it is easy to overshoot the temperature.
Touch texture level vs latte art
My results with cold whole milk at 140°F.
For a beginner, the Touch is the faster route to pourable milk because it removes the temperature guesswork. For someone who wants to master the craft, the Pro’s wand has more power and more control.
See Today’s PriceHot water and americanos
Both have hot water on tap. The Pro has a dedicated outlet that pours a smooth, steady stream; I made americanos by pouring water first and pulling the shot on top to keep more crema.
The Touch has an Americano preset that brews a standard espresso and then adds hot water automatically, plus a separate hot water option for tea and warming cups.
| Drink | Barista Pro | Barista Touch |
|---|---|---|
| Americano | By hand, water first | One-touch preset |
| Long black | Water first, shot on top | Water first, shot on top |
| Tea | Green and herbal | Green and herbal |
| Cup warming | Hot water outlet | Hot water option |
Cleaning and the drip tray
Daily care is similar on both: flush the group head after each session, knock out pucks, wipe the wand after every milk drink and let it purge.
The big difference is the drip tray. The Touch’s compact tray fills quickly with purge water; I emptied it every day, sometimes twice when friends visited. The Pro’s purge uses less water and its tray needed emptying less often.
On both, you backflush✕BackflushingRunning water backwards through the brew valve with a rubber disc and a cleaning tablet. It dissolves coffee oils that build up inside. with a rubber disc and a cleaning tablet when prompted, and run a guided descale every three to six months depending on your water. The Touch needs a container of at least 30 ounces under the group head and wand for descaling.
My hands-on cleaning time per day
My estimate, not counting automatic purges.
| When | Barista Pro | Barista Touch |
|---|---|---|
| After milk drinks | Purge and wipe the four holes | Wipe once, lower to auto-purge |
| Daily | Empty the drip tray | Empty the drip tray, often twice |
| Weekly | Brush gasket and burr chamber | Clean the steam tip and baskets |
| When prompted | Backflush from the menu | Backflush from the maintenance menu |
| Every 2–3 months | Replace the water filter | Replace the water filter |
Our tip: Empty the Touch’s drip tray at the end of every day, because the compact tray fills with purge water faster than you expect.
Daily use
My Pro routine for a flat white took about three to four minutes: power on, two blank shots, grind into the funnel, stir, tamp, brew, steam, pour and wipe.
On the Touch, a flat white took about three and a half minutes, because the milk steamed by itself while I cleaned the portafilter. An espresso took about two minutes with weighing and stirring.
Minutes for each drink on the Touch
From power on to first sip, including puck prep.
The 67-ounce tank lasted two people about two days on both. For a household of two, both were quick; for six people, the Touch’s one-jug-at-a-time milk and small drip tray made a bit of a queue.
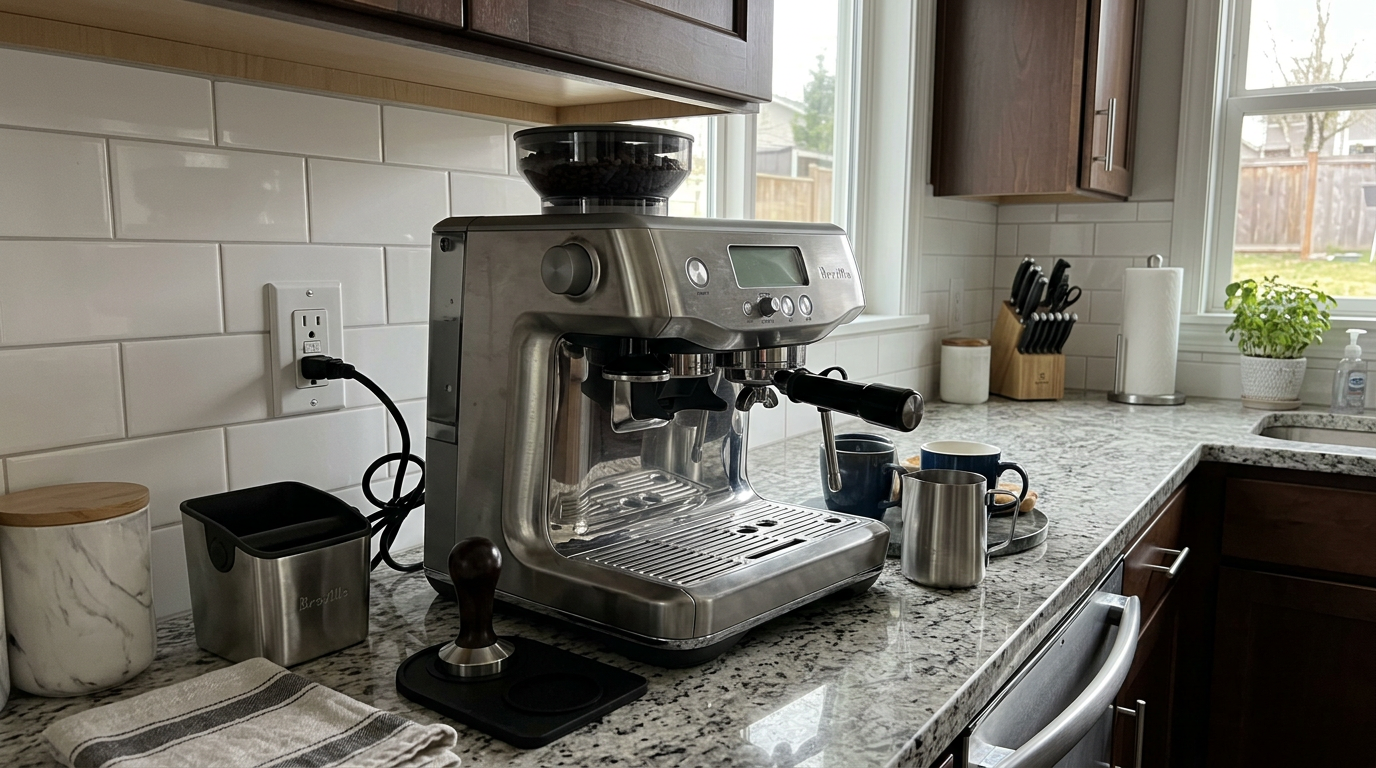
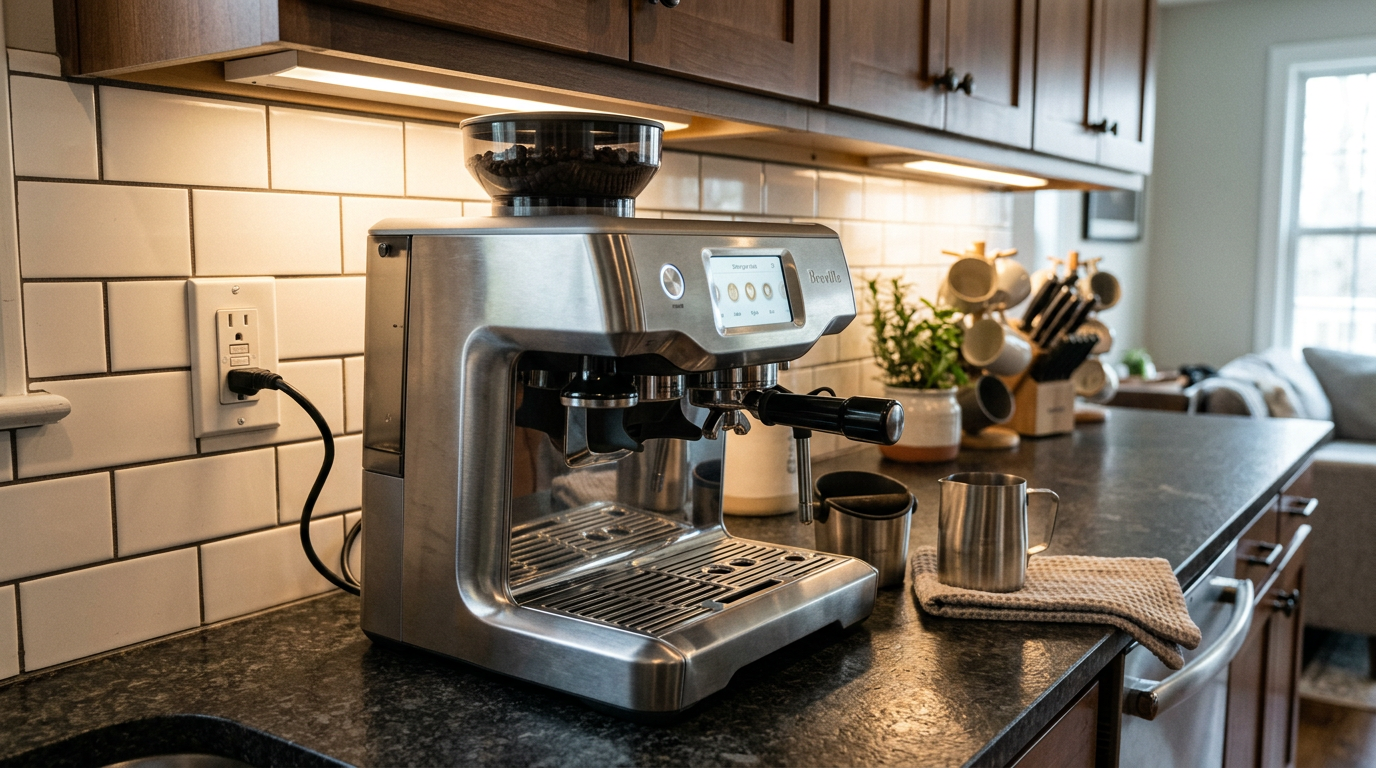
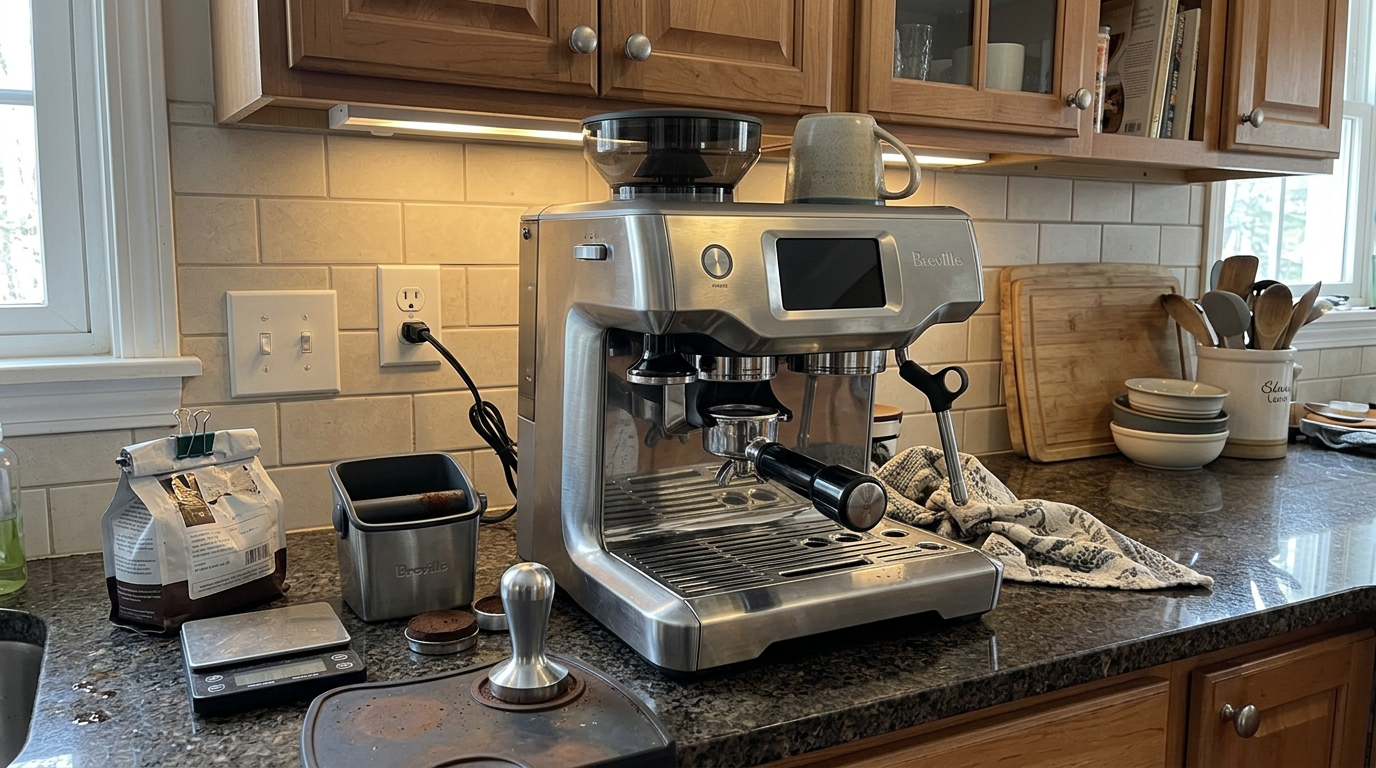
A knock box and tamper beside the Pro keep the whole routine under four minutes.
Beans, water and milk
Both reward fresh beans roasted within a few weeks. Old supermarket beans ran fast and flat on both, even at fine settings.
Water matters more than most people expect. A good target is around 120 to 150 ppm of total dissolved solids; very hard water leaves scale in the ThermoJet’s narrow channels, and pure distilled water makes flat, under-extracted espresso.
| Milk | Barista Pro | Barista Touch |
|---|---|---|
| Whole | Glossy, sweet, stable | Level 3 for flat whites |
| Oat (barista) | Good, slightly looser | Level 5 |
| Almond | Light, fades fast | Level 5 |
| Skim | Tall and stiff | Raise the texture |
University of Oregon researchers found that uneven extraction can waste up to 40% of the coffee in a puck, which is why stirring and a level tamp mattered so much on both machines.
Our tip: Use barista versions of plant milks on either machine, because regular cartons often will not foam at all.
Find Out the Price TodayWho each one is really built for
Breville makes several all-in-one machines that look almost the same, so it helps to be clear about what these two are for.
The Pro is built for people who want speed and control. It is the quickest way into hands-on espresso with powerful steam, and it assumes you want to learn the milk side yourself.
The Touch is built for people who want the milk handled for them. Steaming by hand is the step that takes longest to learn, and the Touch removes it while leaving the espresso in your hands.
| You are | Barista Pro fit | Barista Touch fit |
|---|---|---|
| A latte drinker new to espresso | Good, with a week of practice | Great, milk is automatic |
| An experienced home barista | Great, full control | Good, manual mode available |
| A black-coffee drinker | Great, no wasted features | Fair, you will not use the milk system |
| Nervous about tamping | Fair, tamping is manual | Fair, tamping is manual |
| A busy family | Fair, no saved drinks | Great, 8 saved drinks |
Setting up your coffee corner
Whichever you choose, a tidy setup made my routine much faster. I arranged everything left to right in the order I used it: beans and hopper, grinder cradle and scale, stirring tool and tamper, group head and cup, milk jug and towel, then a knock box on the far right.
I kept two microfiber towels: a damp one only for the steam wand and a dry one only for the basket. Mixing them up leaves milk on your basket or water in your coffee.
| Position | What goes there | Why |
|---|---|---|
| Far left | Beans and hopper | Start of the routine |
| Left | Grinder cradle and scale | Weigh as you grind |
| Center left | Stirring tool and tamper | Puck prep in one spot |
| Center | Group head and cup | Brewing |
| Right | Milk jug and damp towel | Steaming and wiping |
| Far right | Knock box and dry towel | Cleanup |
On the Touch, I started the automatic milk as soon as I pressed brew, and wiped the portafilter while both finished. On the Pro, I pulled the shot first and steamed straight after, because switching from brew to steam takes only about five seconds.
Our tip: Use different colored towels for the steam wand and the basket, so you never mix them up.
Real-life scenarios
Specs only go so far. These are the situations where one machine clearly pulled ahead during my eight weeks of testing.
Texture level 3 at 140°F, hands-free, poured a clean heart.
The four-hole wand rewards technique and spins milk in seconds.
Eight saved drinks, each under a name, so nobody resets anyone else.
Same ThermoJet, same grinder, same shot.
About 12.6 inches wide against about 14.
Its drip tray filled far more slowly than the Touch’s compact tray.
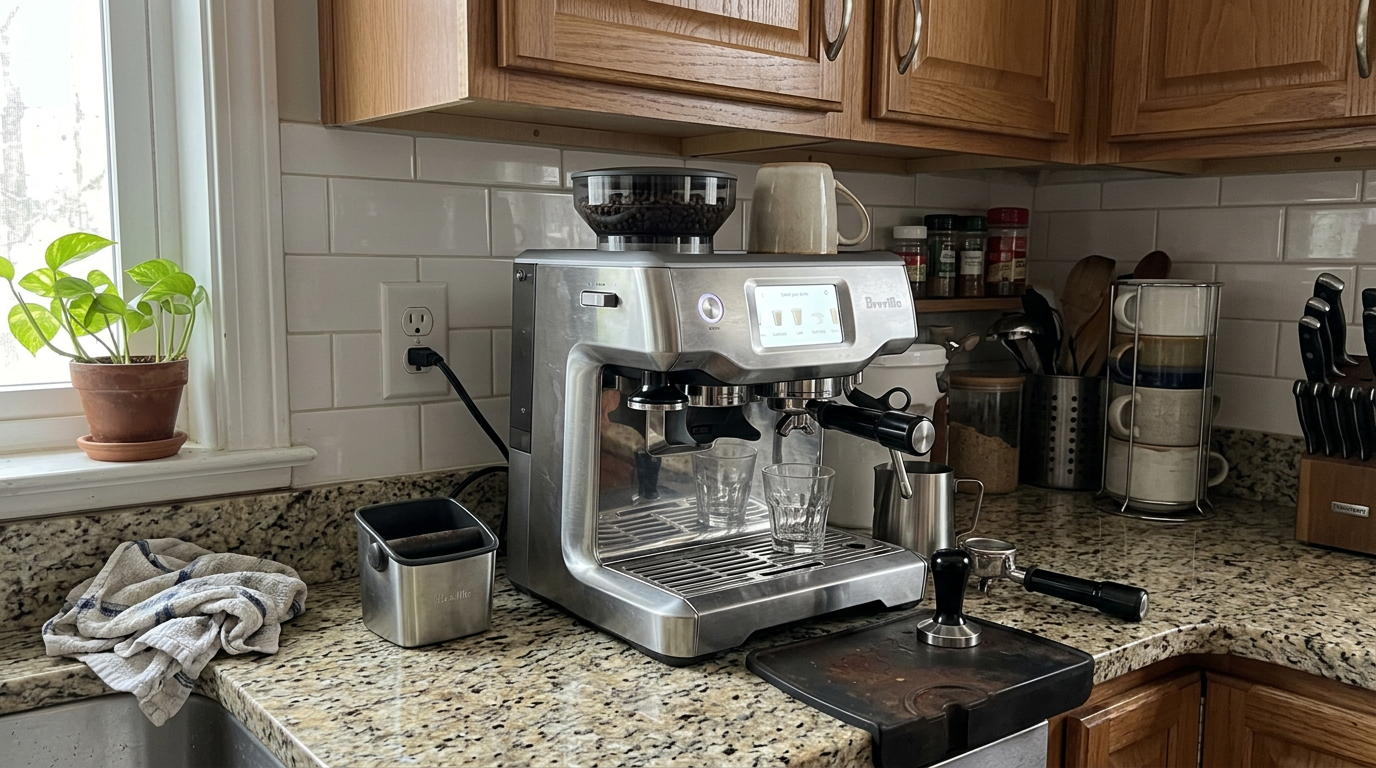
For shared kitchens and daily milk drinks, the Touch is the easier machine to live with.
My scorecard
These are my own scores out of 10, straight from my single reviews of each machine, plus two areas that decide this matchup.
Breville Barista Pro
Breville Barista Touch
Overall, I rate the Pro 8.5 and the Touch 8.4. That is effectively a tie: the Pro is the better tool for a hands-on barista, and the Touch is the better appliance for a busy household.
See How Much You’ll SaveWhich one is right for you?
4 quick questionsWhich one should you buy?
It comes down to one question: who should steam the milk, you or the machine? Everything else, from the espresso to the heat-up, is the same.
For more detail, read my Barista Pro review and Barista Touch review, or compare the Pro with the classic Barista Express.
The Touch keeps every setting on one simple screen.
- You enjoy steaming milk
- You mostly drink espresso
- You prefer buttons to screens
- You want fewer drip-tray trips
- You want hands-free milk
- Several people need saved drinks
- Your counter is narrow
- You drink lattes or flat whites daily
- You never want to learn to steam
- Several people share the machine
- You want a compact footprint
- You want assisted tamping
- You mostly drink black coffee
- You hate emptying drip trays
For daily latte and flat white drinkers, my pick is the Breville Barista Touch. Its sensor-controlled milk takes the hardest skill out of the routine, saved drinks keep a household happy, and with texture level 3 at 140°F it even pours latte art. Stop shots by weight in manual mode and empty the drip tray daily, and it is a joy to live with.
The Breville Barista Pro is the smarter buy if you enjoy steaming by hand or mostly drink espresso. It makes the same espresso, its four-hole wand is the most powerful in Breville’s Barista line, and its buttons and shot clock are as simple as controls get.
Whichever you choose, weigh your dose, stir the grounds and run a blank shot each morning. Both machines reward that care with café-quality coffee.
Barista Pro vs Barista Touch specifications
From manufacturer specifications and my own testing.
| Barista Pro | Barista Touch | |
|---|---|---|
| Model | Breville BES878BSS | Breville BES880BSS |
| Heating | 1680 W ThermoJet, ~3 s | 1680 W ThermoJet, ~3 s |
| Temperature | PID, 5 settings | Adjustable in settings |
| Pre-infusion | Programmable, up to 10 s | Automatic, low pressure |
| Grinder | Hardened steel conical, 30 settings | Hardened steel conical, 30 settings |
| Dosing | Timed, 0.1 s steps | Timed, push-to-pause cradle |
| Portafilter | 54 mm | 54 mm |
| Display | LCD with shot timer | Color touchscreen |
| Presets and saved drinks | 1 and 2 cup | 5 presets plus 8 saved drinks |
| Milk | Manual four-hole wand | Automatic wand, sensor, 8 texture levels |
| Water tank | 67 oz, level sensor | 67 oz |
| Dimensions (W x D x H) | About 14 x 13 x 16 in | About 12.6 x 12.6 x 16.1 in |
| Weight | About 20 lb | About 22 lb |
| Warranty (US) | 2 years limited | 2 years limited |
How I tested and compared them
I used each machine as my everyday espresso machine for four weeks, making espresso, americanos, long blacks, flat whites, lattes and cappuccinos. Testing notes were written up together by Michael Reynolds and the HouseholdMe team.
I logged dose, yield and time for every shot with a 0.1-gram scale, compared the Touch’s timed presets with manual shots stopped by weight, tested all milk texture levels on the Touch and timed manual steaming on the Pro.
I dialed in light, medium and dark roasts at different temperatures, followed every cleaning and descaling routine, then checked my notes against Breville’s specifications and owner documentation.
- Coffee: dose, crema, body, flavor and consistency.
- Milk: foam texture, temperature, speed and drink range.
- Workflow: heat-up, controls, guidance and daily routine.
- Ownership: cleaning, water care, noise and footprint.
Barista Pro vs Barista Touch FAQ
Is the Barista Touch worth it over the Barista Pro?
Yes, if you want hands-free milk and saved drinks. The Touch steams milk automatically to the temperature you set and saves up to eight custom drinks. If you enjoy steaming by hand or mostly drink espresso, the Pro makes the same espresso for less.
Do the Barista Pro and Barista Touch make the same espresso?
Yes. Both use the same 1680-watt ThermoJet, the same 30-step conical burr grinder and the same 54 mm portafilter. My week-four logs were about 92% and 90% of shots on target.
Can the Barista Touch make latte art?
Yes. Texture level 3 at 140°F produced fine, liquid microfoam that poured clean hearts and tulips in my testing.
Does the Barista Touch tamp for you?
No. You dose, stir and tamp by hand on both. For assisted tamping, look at the Barista Express Impress or Barista Touch Impress.
Which has stronger steam?
The Barista Pro. Its four-hole manual wand textured 6 ounces of milk in about 30 seconds.
How fast do they heat up?
About three seconds on both. Run a blank shot to warm the group head and portafilter before your first espresso.
Which is smaller?
The Barista Touch, at about 12.6 x 12.6 x 16.1 inches, against about 14 x 13 x 16 inches for the Pro.
Why does the Touch drip tray fill so fast?
It is compact and collects purge water from the automatic steam wand. I emptied it daily, sometimes twice.
Do the presets on the Touch make different shots?
No. The factory presets all use the same default double; the drinks differ in milk settings. Save your own versions with different foam levels.
Which has the better warranty?
Both have a two-year limited warranty in the US.

- Our hands-on Breville Barista Pro review
- Our hands-on Breville Barista Touch review
- Breville product specifications and owner documentation
- The perfect shot of espresso every time with chemistry, University of Oregon research
- General espresso brewing, milk steaming and water quality guidance